JumpCloud is an identity management service that eliminates username and password struggles. JumpCloud’s open directory platform makes it possible to unify your technology stack across identity, access, and device management, in a cost-effective manner.
Configure JumpCloud SSO for Profit.co
With your JumpCloud single sign-on, you can access Profit.co OKR software using your existing company credentials.
What can you do with Profit.co – Jumpcloud Integration?
- With your Jumpcloud single sign-on, you can access Profit.co OKR software.
- You can Import users from Profit.co to create a new Jumpcloud user
Step 1
To enable JumpCloud Single Sign-On.
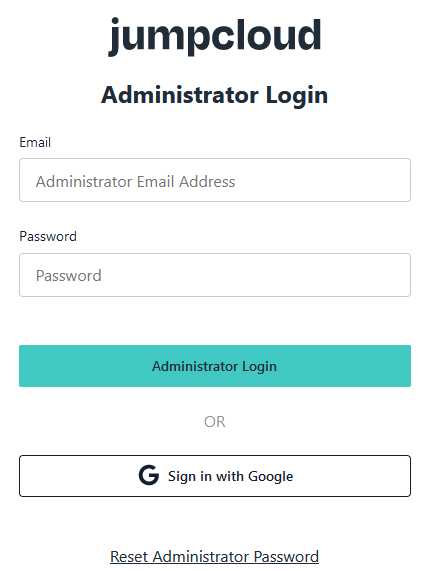
Login to the Link – https://console.jumpcloud.com/login/admin
Step 2
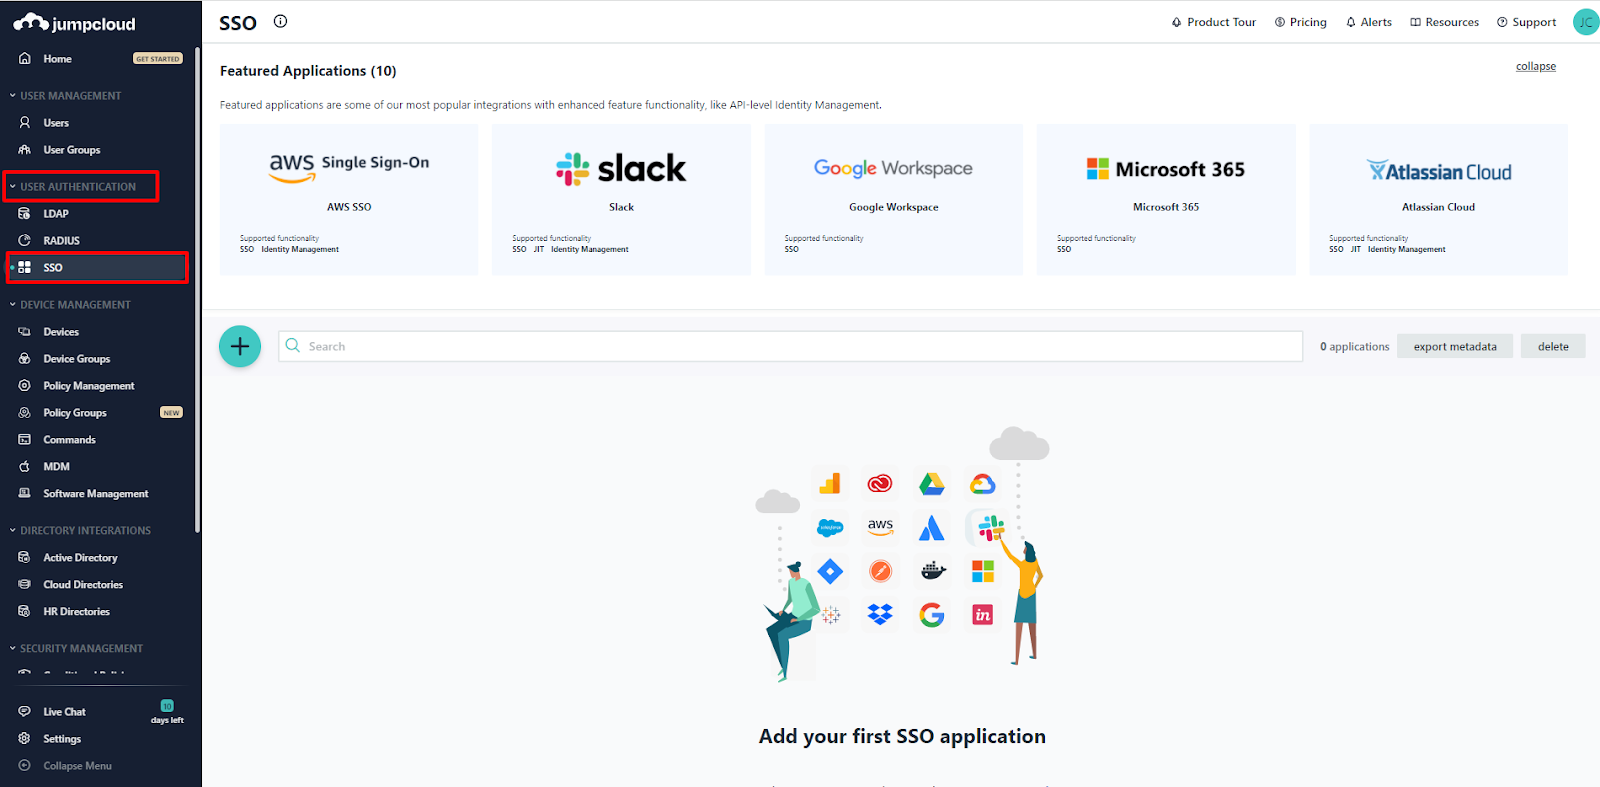
After logging in, go to the left navigation bar and select USER AUTHENTICATION → SSO
Step 3
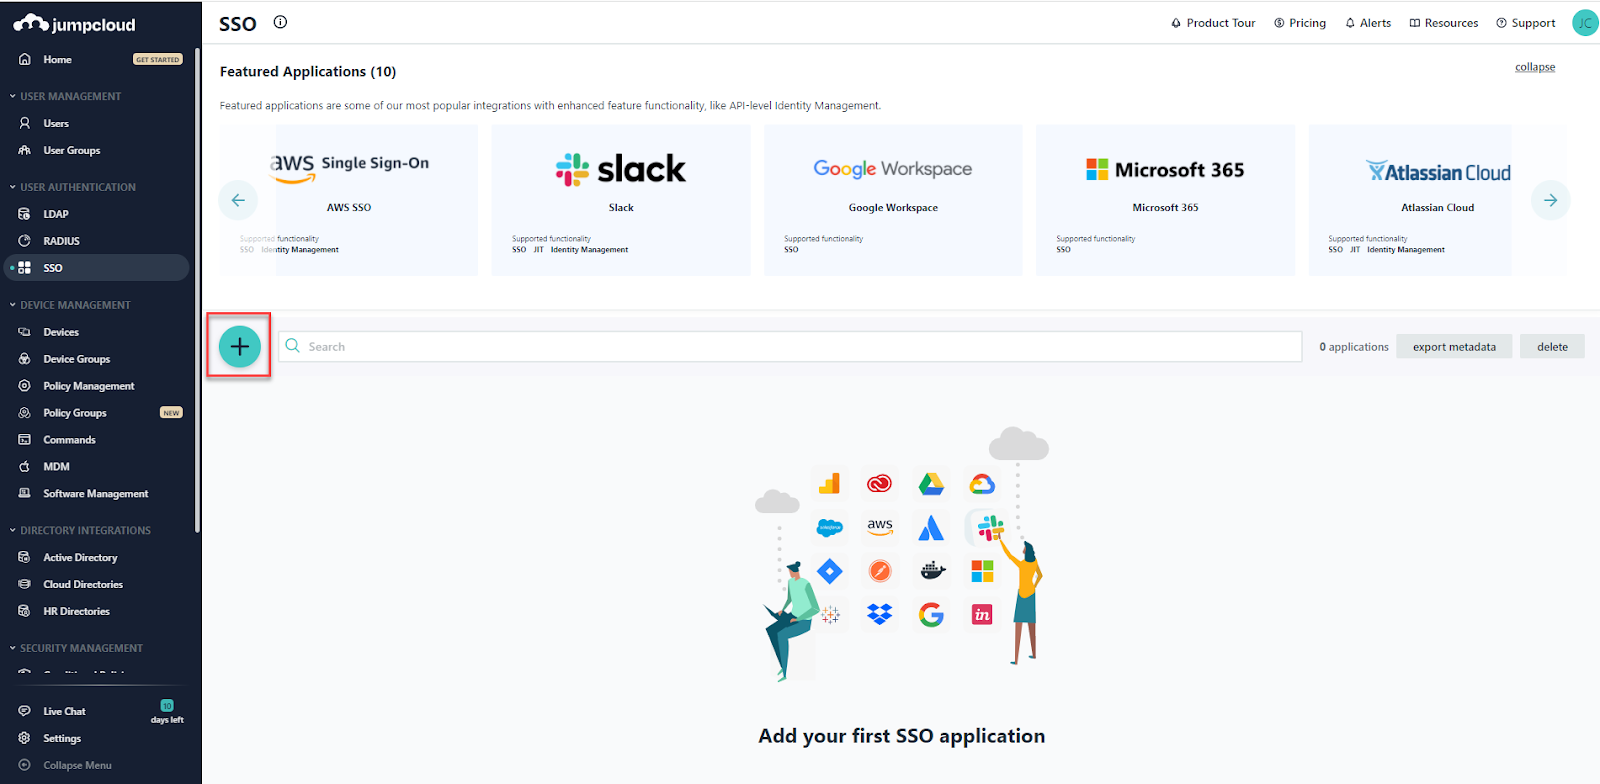
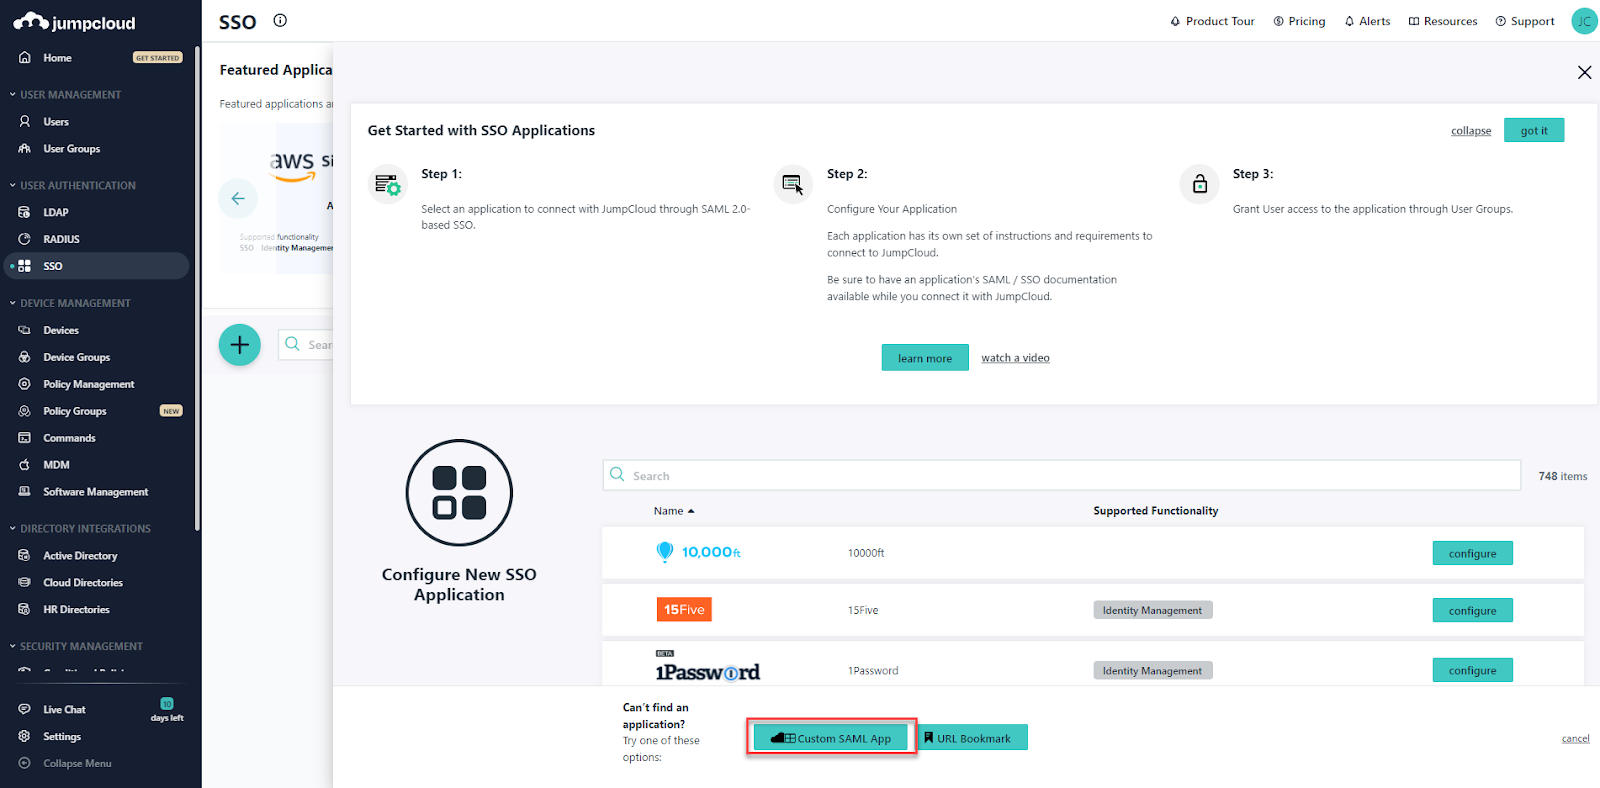
Click on the green plus icon to configure a new application.
Step 4
In the SSO Applications page, click on the Custom SAML App to create a customizable SAML application.
Step 5
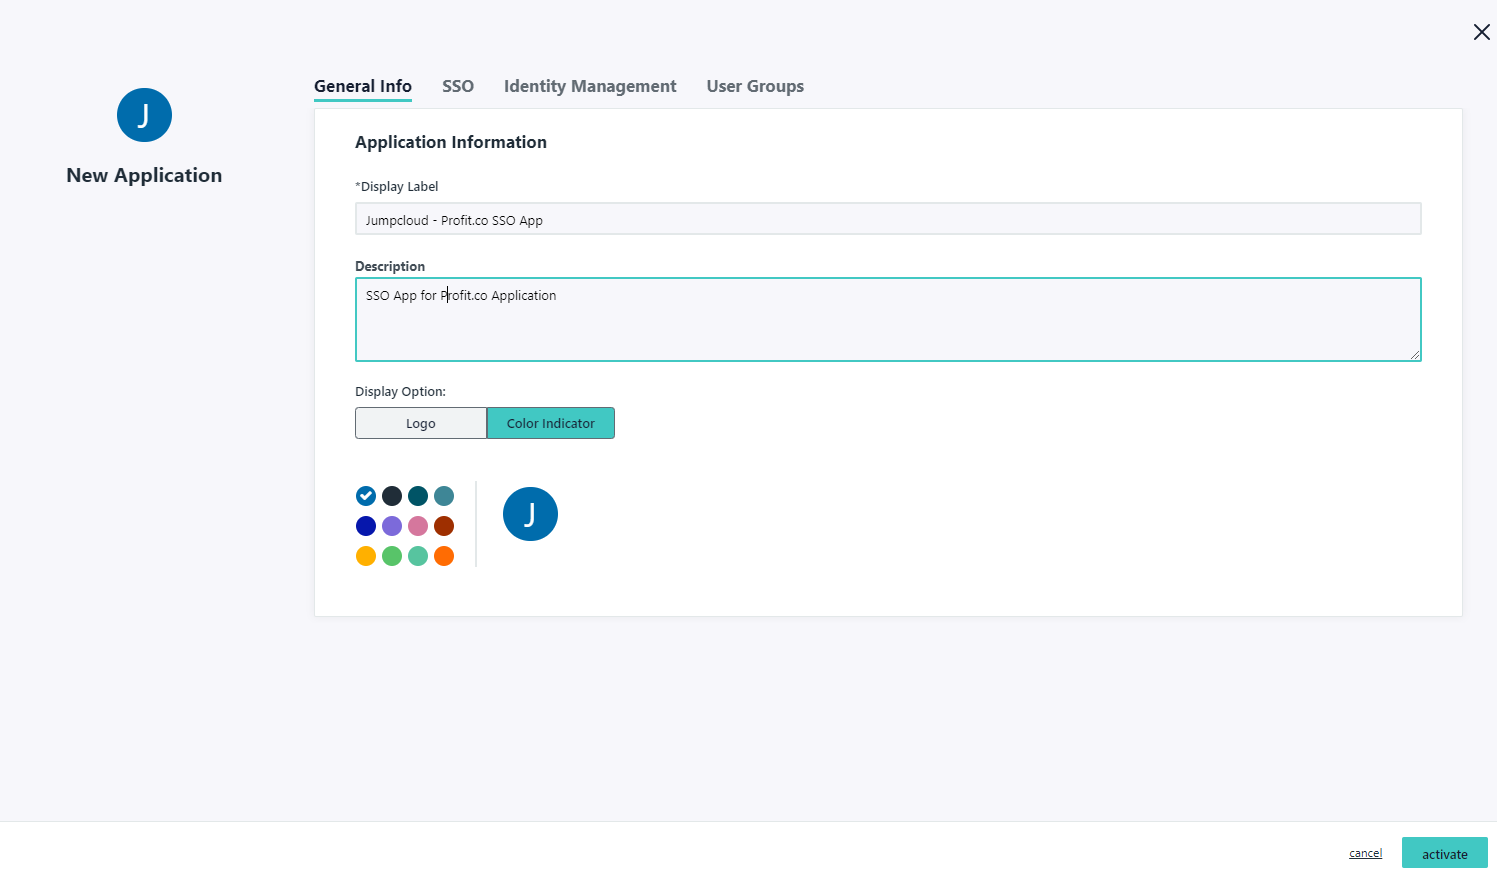
In the General Info tab, Provide the Display Label, Description and the Display Option.
Note: You can set the display label as “JumpCloud – Profit.co SSO App”. Grab the logo from here and upload it.
Step 6
Go to the SSO tab and enter the following information given below by Profit.co
IdP Entity Id Provide your IdP Entity ID SP Entity Id (Entity Id of Profit.co) urn:profit-prod:profit-prod-sso-auth
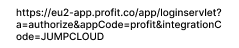
ACS URL US region

(or)
EU region

SP Certificate Optional
SAML Subject NameID email
SAML Subject NameID Format urn:oasis:names:tc:SAML:1.1:nameid-format:emailAddress
Signature Algorithm RSA-SHA 256
Sign Assertion Checked
User Attributes Service Provider Attribute Name JumpCloud Attribute Name username email 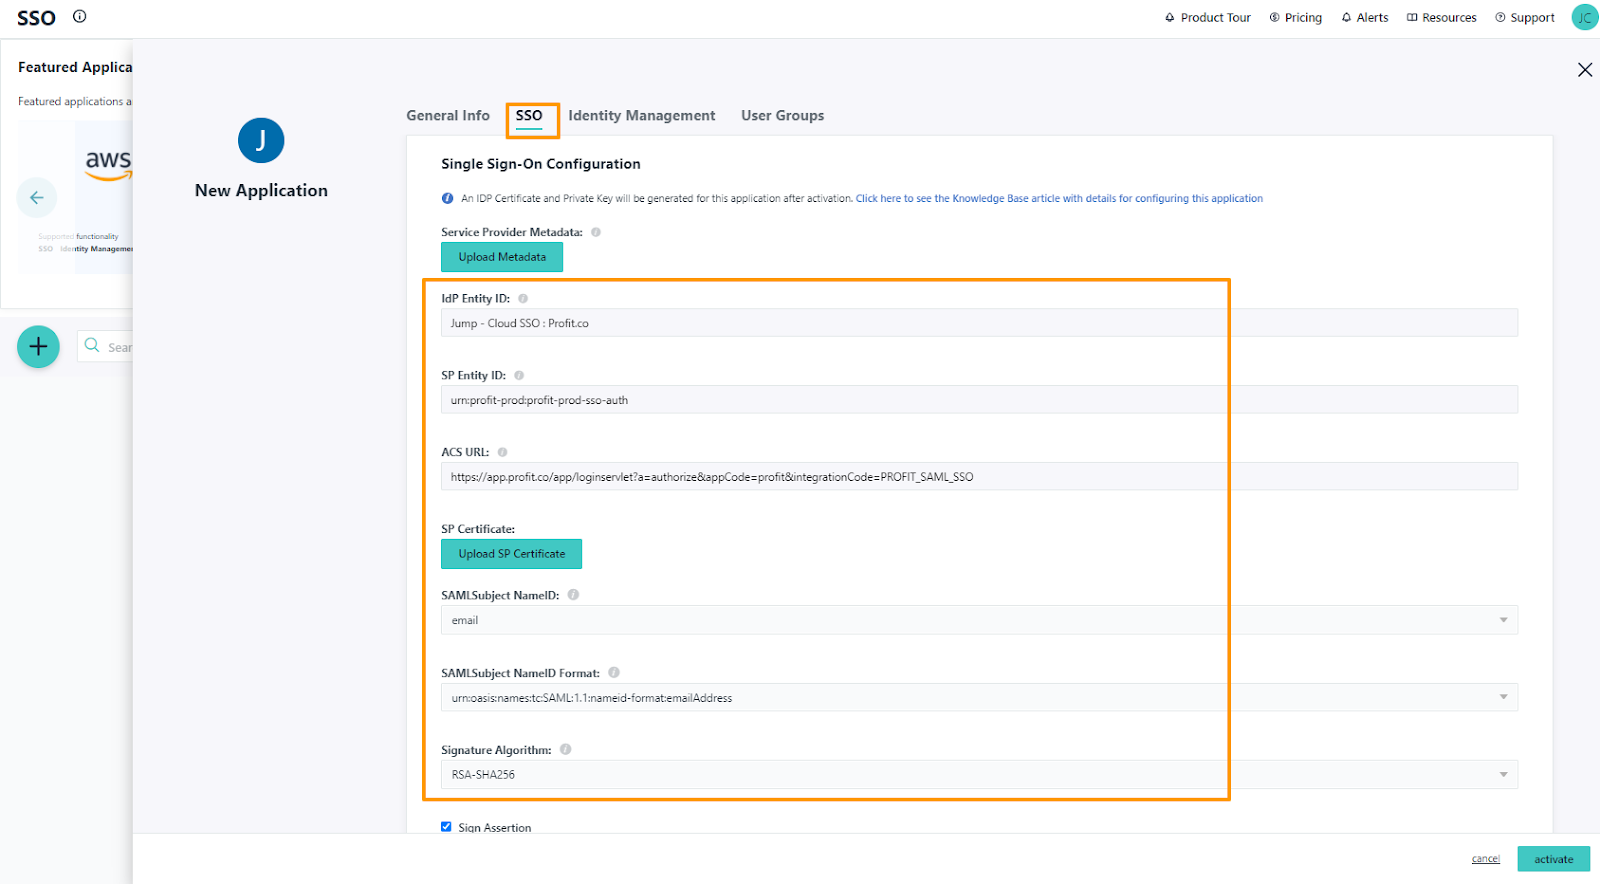
Step 7
Go to the User Groups tab, search and select the user group which is configured with Profit.co Users.
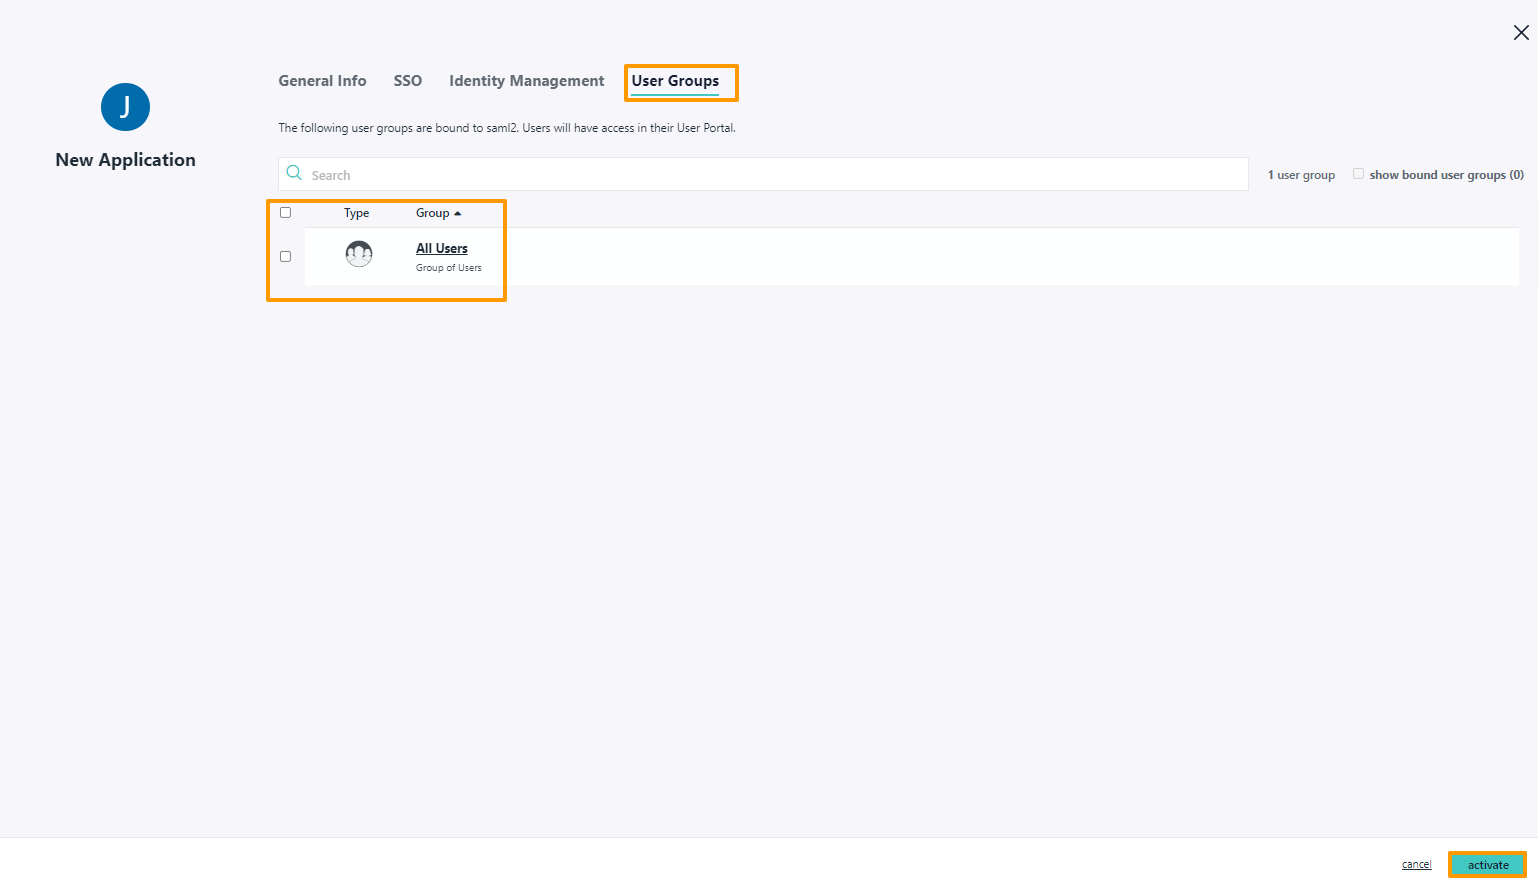
Finally, click on the Activate button.
Step 8
Click on jumpcloud Export Metadata
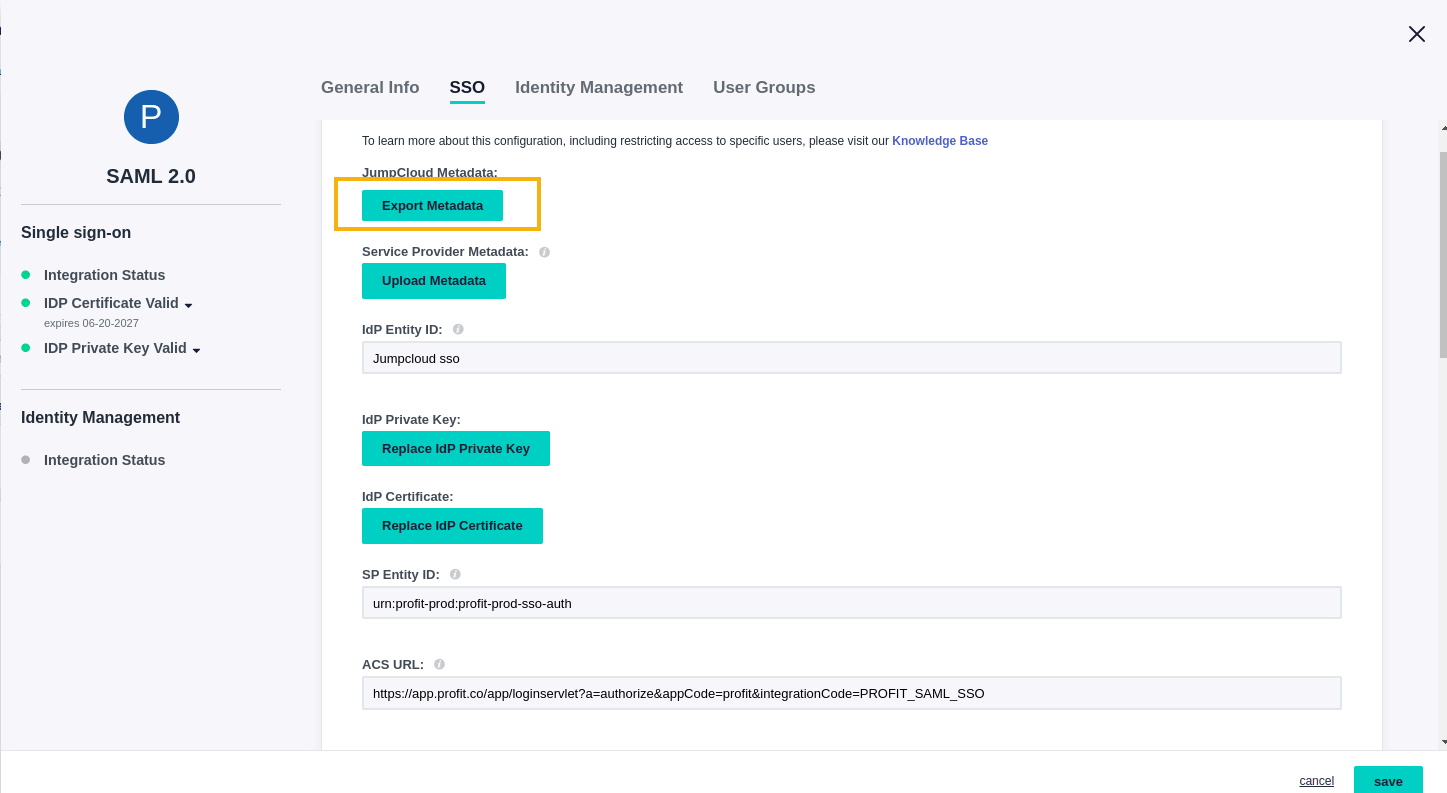
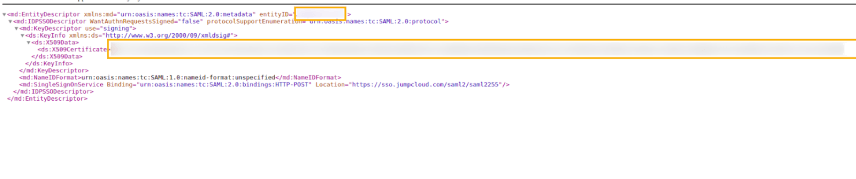
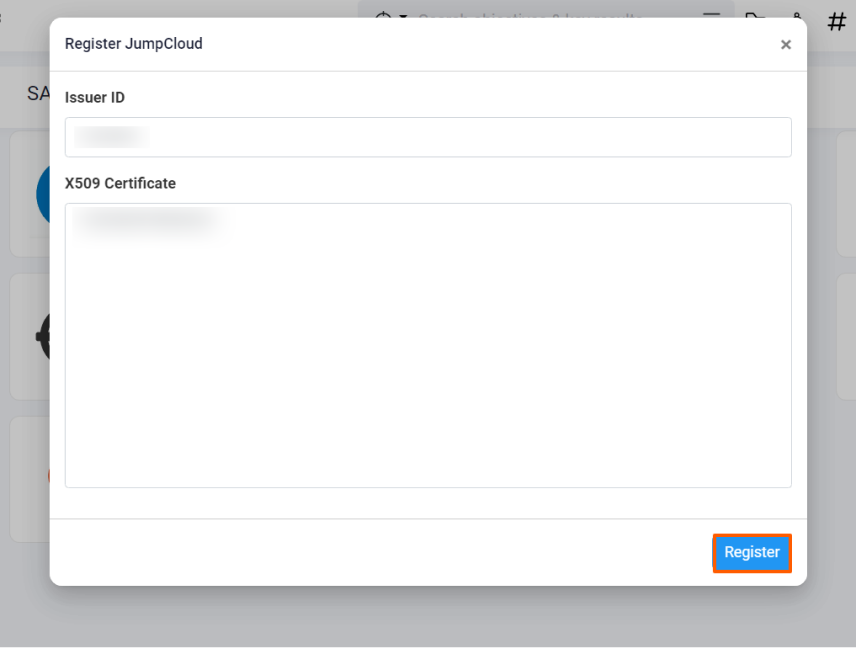
Copy the Entity Id and X509 Certificate without double quotes
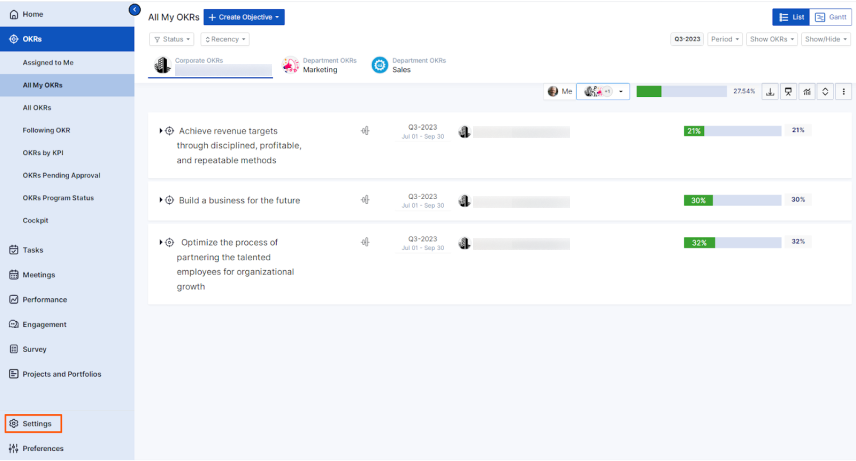
Paste the Entity Id and X509 Certificate in Setting → Integration → SAML SSO and authorize JumpCloud.
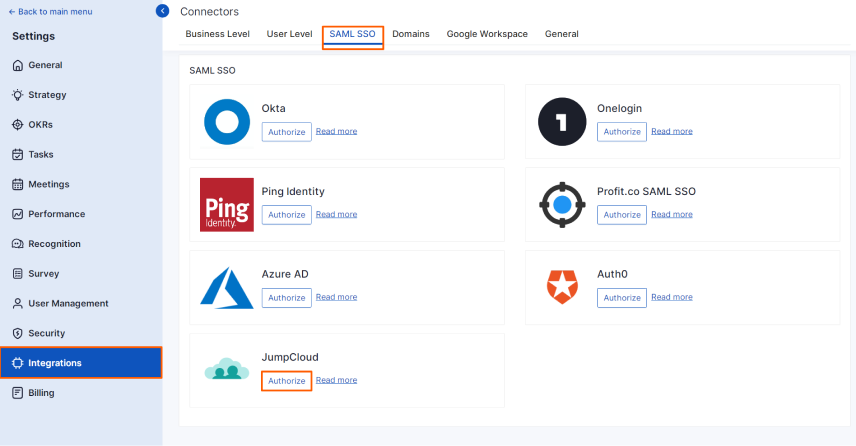
Enter the required information and click Register.
Step 9
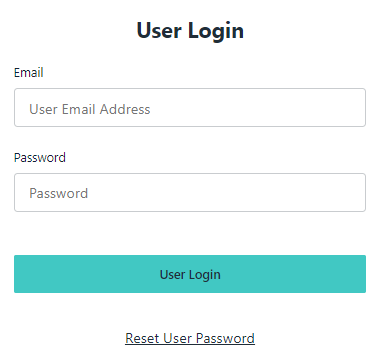
Open a new tab and navigate to JumpCloud user login.
User Link – https://console.jumpcloud.com/login
In the Applications, you’ll be able to see the Profit.co SSO application.
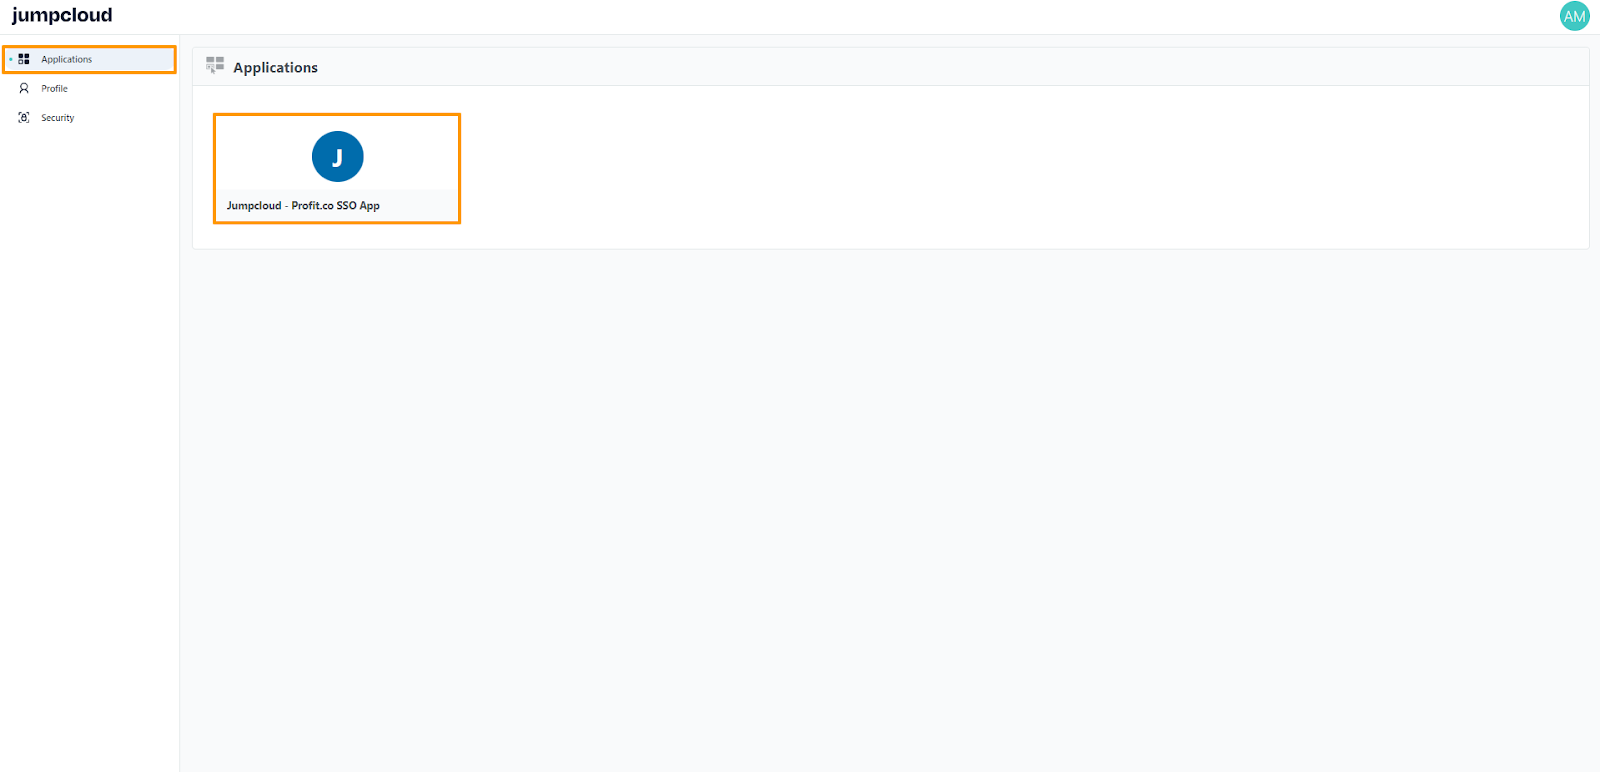
By clicking on the JumpCloud – Profit.co SSO App you’ll be redirected to the Profit.co application.

Configure JumpCloud User Provisioning for Profit.co
The following provisioning features are supported:
- Create Users Users assigned to the Profit.co App will be created in Profit.co User Management.
- Update Users Updates made to the user’s profile in JumpCloud will be pushed to Profit.co User Management.
- Deactivate Users Suspending the user in JumpCloud or removing the user from the User Group of Profit.co App will deactivate the user in Profit.co User Management.
- Reactivate Users User accounts can be reactivated in Profit.co by assigning the removed users back to the Profit.co User Group in JumpCloud.
Requirements
You need Admin account access in Profit.co to get API Key and SCIM Key to form the SCIM Token key.
Step 1
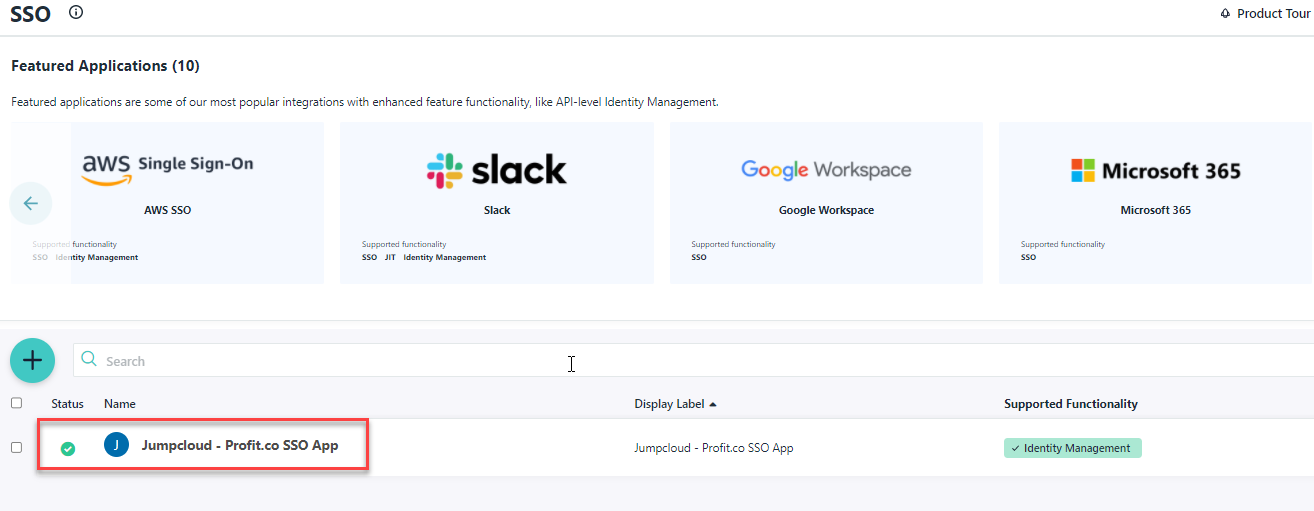
Open the Custom SAML App created for Profit.co in JumpCloud.
Step 2
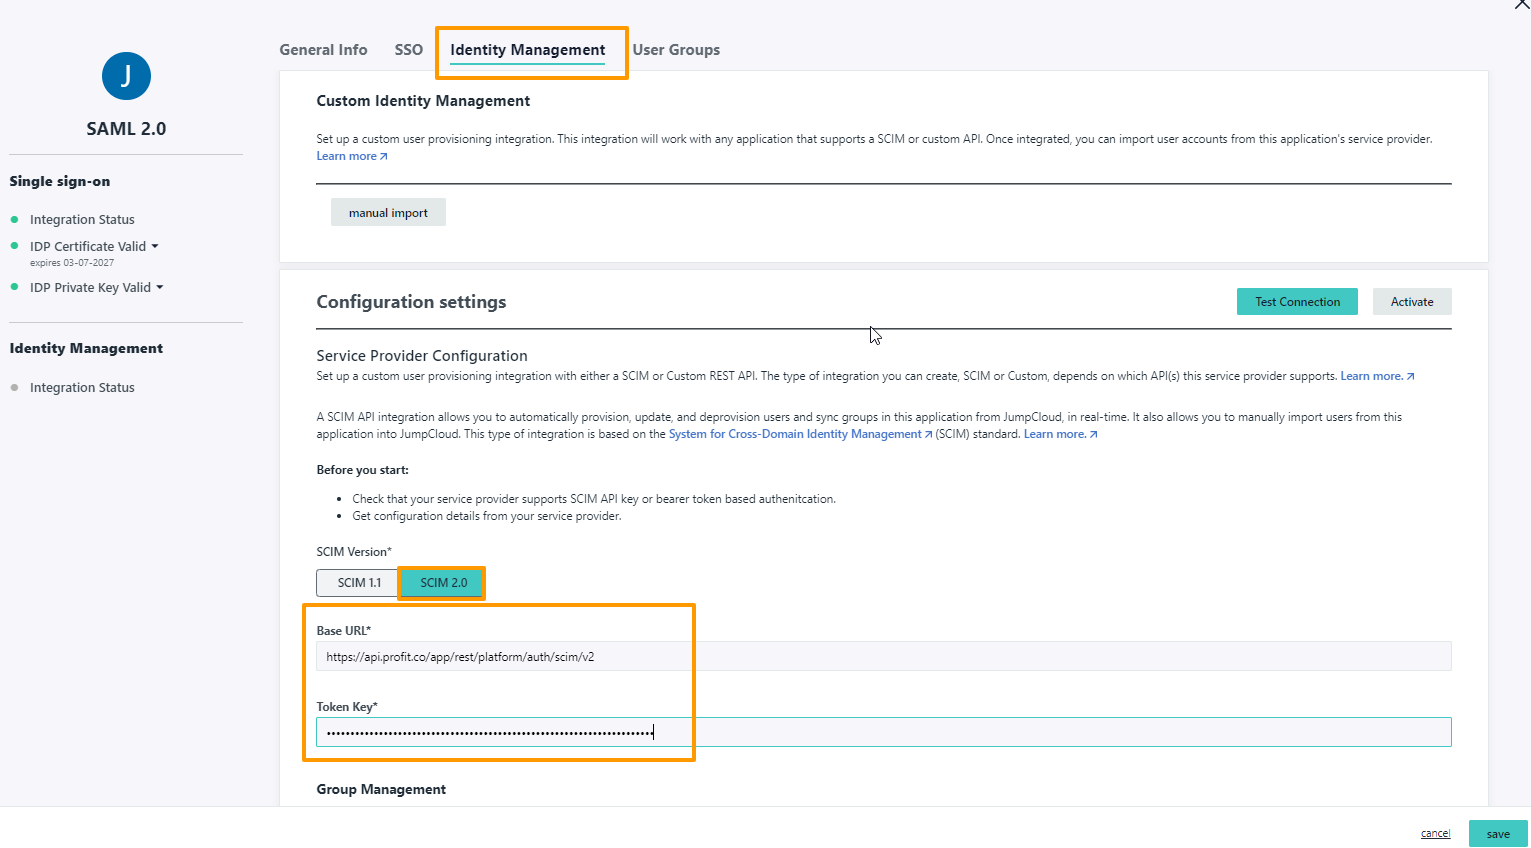
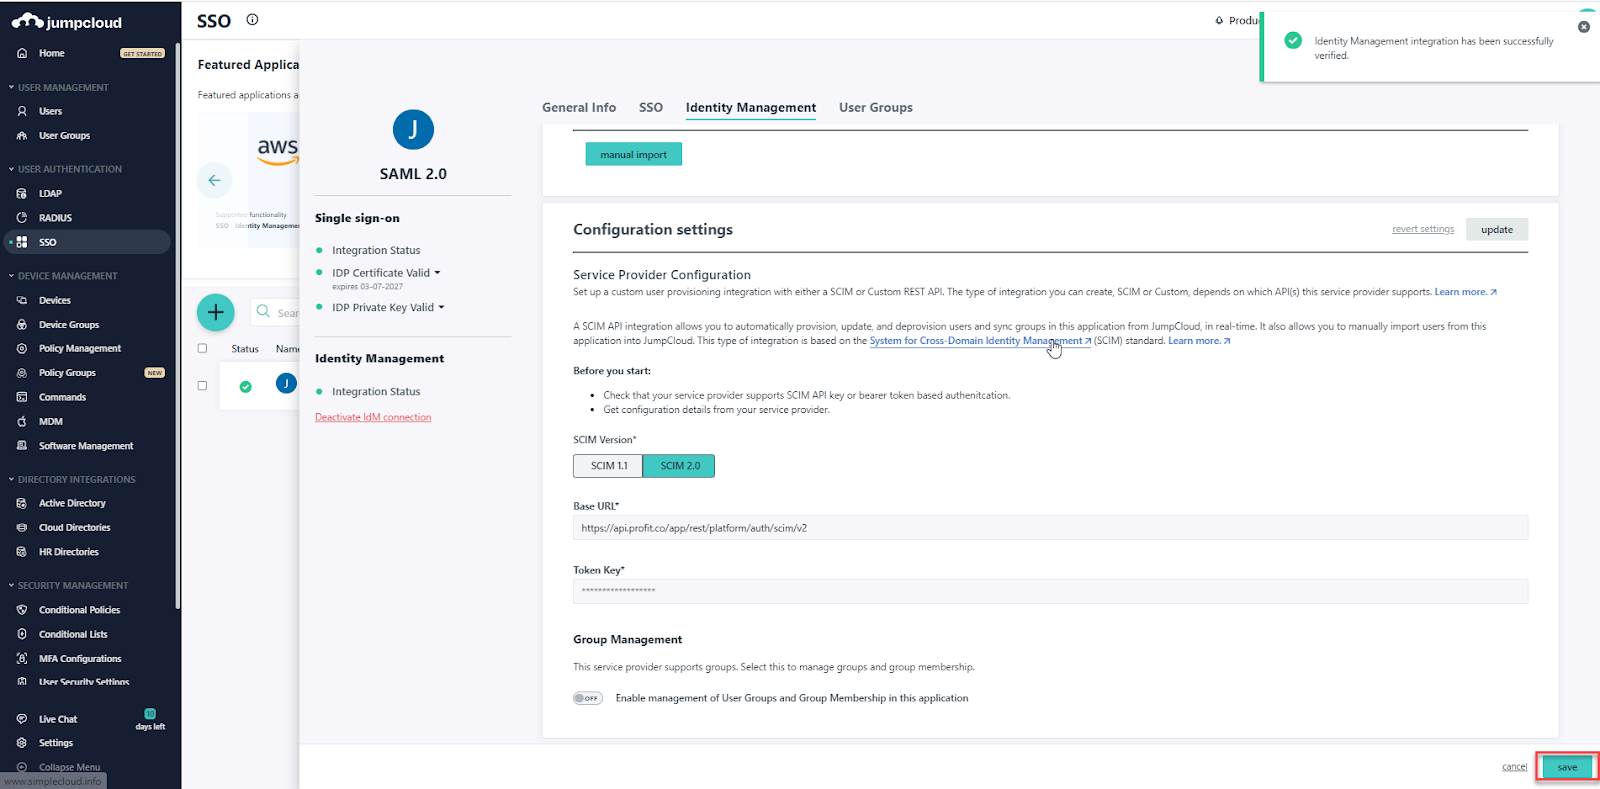
In the Identity Management tab, Select SCIM V2.0 then provide the SCIM base URL and Token key.
SCIM base URL should be either

or

based on the Region of your Profit.co Application.
To generate the Token key in Profit.co, go to Settings → Security → API Access and get the values of API Key and SCIM Key.
Form the Token key in the following Format.
API_KEY:SCIM_KEY
Step 3
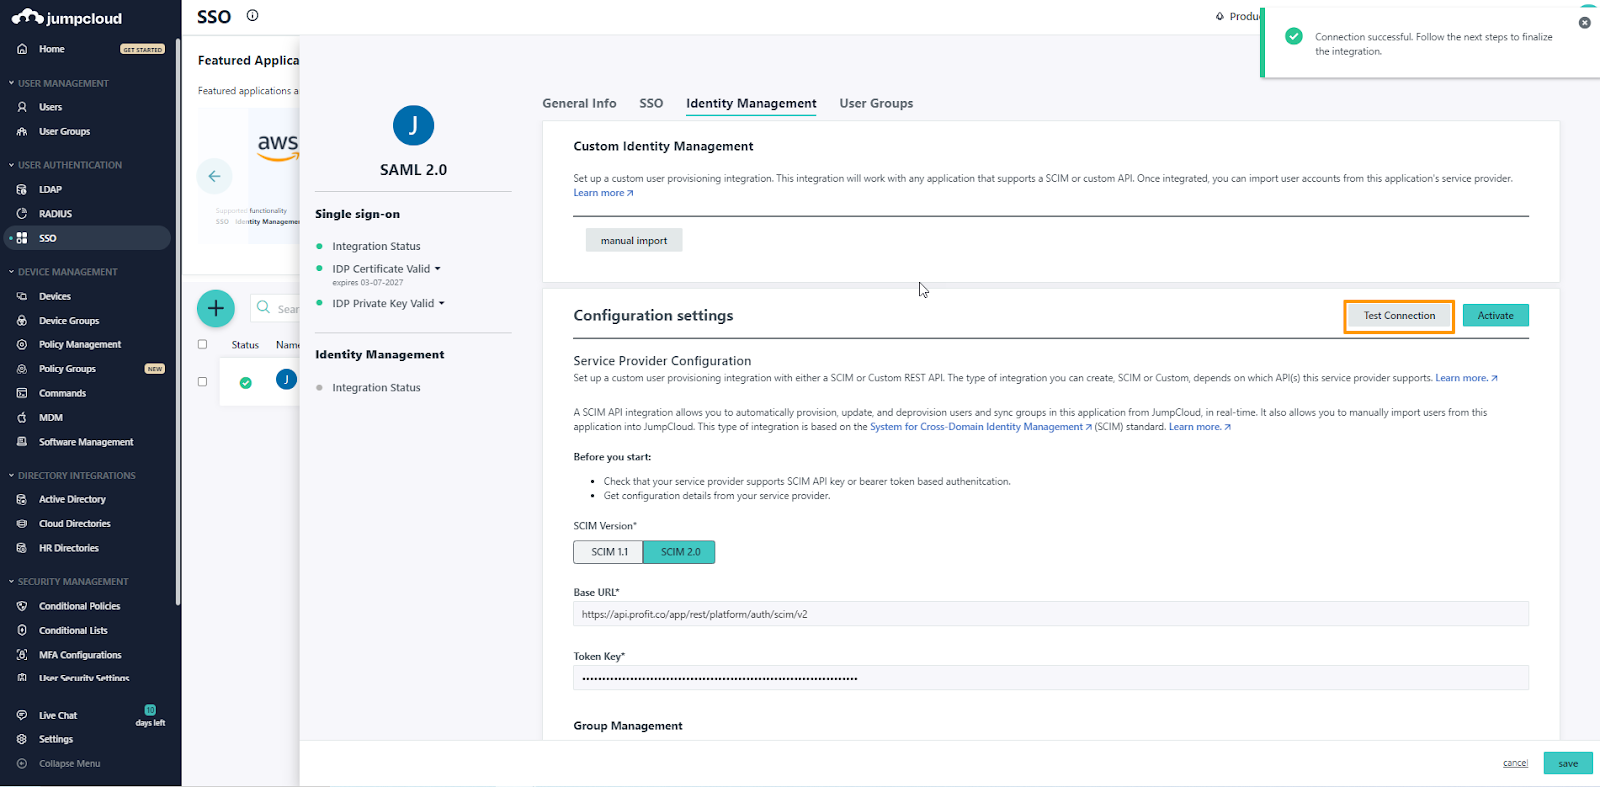
Click on the Test Connection button to validate the SCIM connection.
Step 4
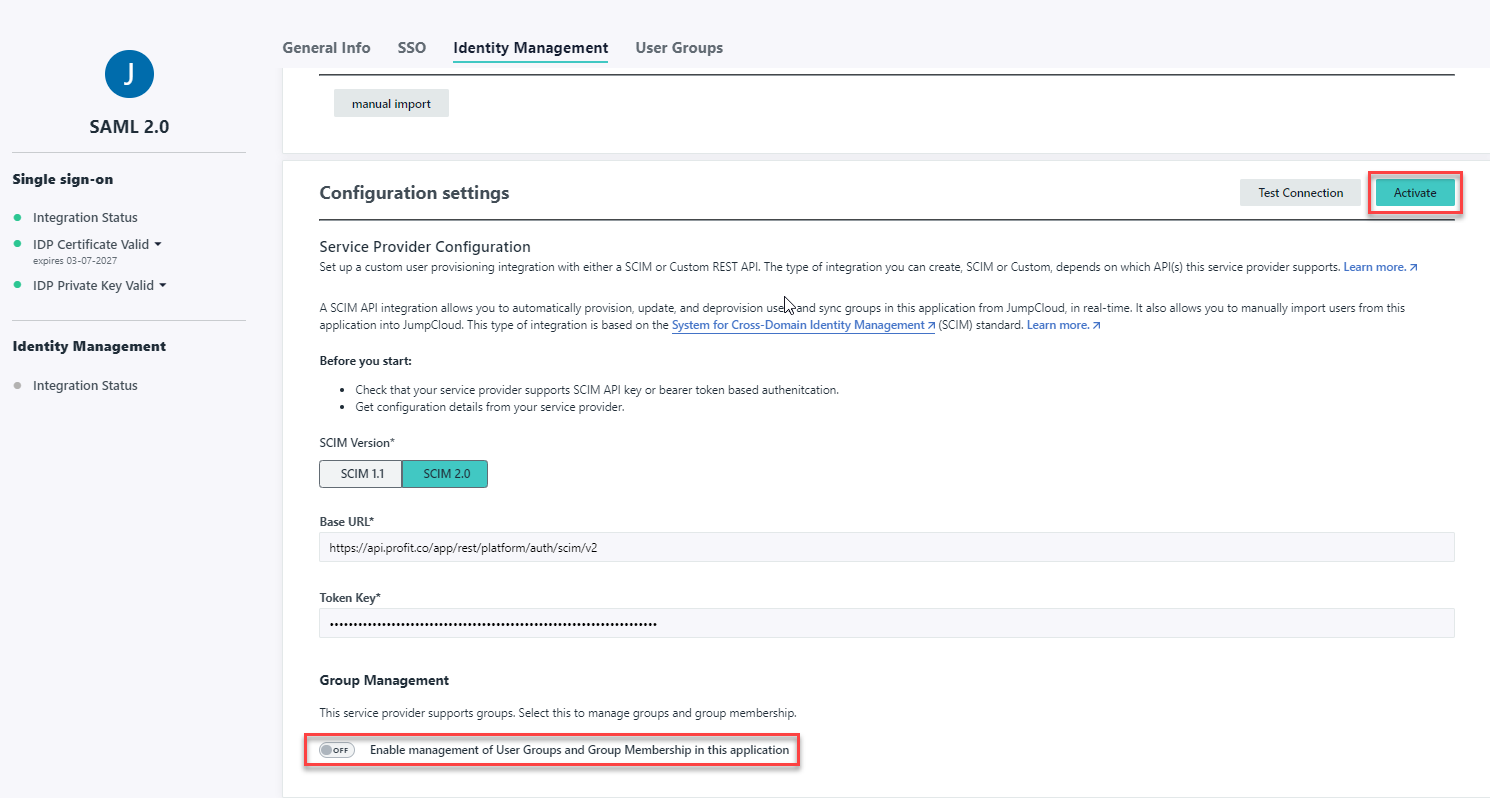
In the Group Management section, disable the toggle named “Enable management of User Groups and Group Membership in this application” and click on the Activate button
Step 5
After successful activation, click on the Save button.
The supported attributes are,
- Given name
- Family name
- Email Address
- Active Status
- Job title
- Department
Note:
- If a department already exists in Profit.co in either an enabled or disabled state, it will be merged. No duplicate departments will be created. The user sync to the department won’t take place if the department is disabled.
- The department will be created as a new department if it does not already exist in Profit.co.