


Snowflake revolutionizes data storage, processing, and analytics, offering speed, simplicity, and flexibility, seamlessly integrating with SQL databases for real-time information access.
What you can do with Snowflake and Profit.Co-Integration?
Profit.co enables you to integrate and connect your Snowflake account and create key results via the database server of Snowflake.
Configure Snowflake in Profit.co
Note: Only Super Users can be able to configure the Profit.co <> Snowflake Integrations.
Step 1
Navigate to Settings from the left navigation panel. Click on Integrations, select the Business Level tab, and click the Snowflake Manage Button.


Step 2
In the Connect to Snowflake page, provide information for Connection Name, Account name.
Under Authentication Method, you have two options:
- Username & RSA Key
- Username & Password
Username & Password
Enter your Snowflake login Username and Password.

Username & RSA Key
Enter your Username and

Note: You can get your RSA private key from your Snowflake account. Use the following query to set the RSA public key:
ALTER USER user_name SET RSA_PUBLIC_KEY=’
Your Profit.co account is now successfully integrated with Snowflake.

Step 3
Now, create a key result using the Using Form option.
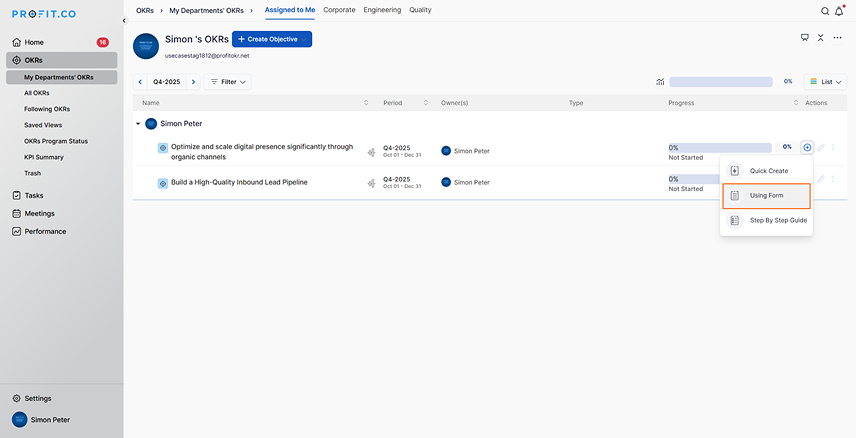
Note: Snowflake supports Increase KPI, Decrease KPI, and Control KPI types.
Step 4
Enter the Key Result name and choose the required Key Result type and KPI.
Select Automate Check-in and choose Snowflake from the Connection drop-down.

Step 5
In the Connect to Snowflake pop-up, enter the SQL Query. The current value will be automatically updated based on this query.
Click the Add button to complete the process.


Step 6
Once the Key Result is created, click on the Check-in button.
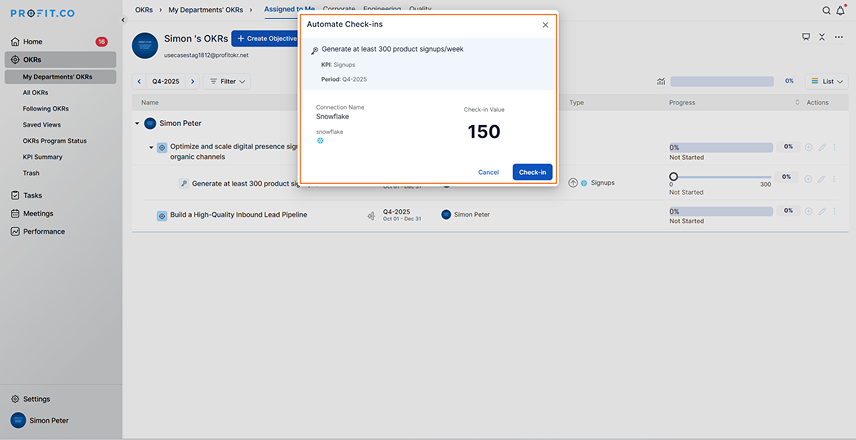
In the Check-in page, click Update. The progress value will now reflect the data from Snowflake.


Note: Automatic check-ins occur every 24 hours to ensure consistency and timely progress updates.