


Zenefits is a comprehensive cloud-based suite that offers integrated solutions for HR, payroll, and benefits management. It provides a range of key features that include time management, performance management, hiring, and onboarding, as well as document management.
What you can do with Zenefits and Profit.co Integration?
- Profit.co’s integration with Zenefits allows you to sync the users from Zenefits and create them as users in Profit.co. It simplifies the synchronization process.
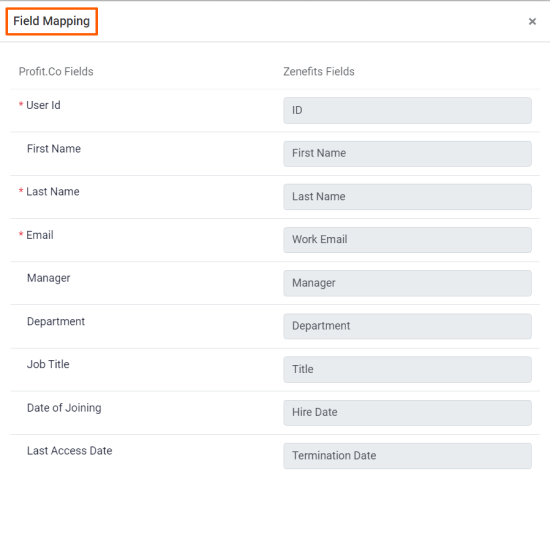
- You can Import First name, Last name, Email ID, Manager, Departments, Job title, and Date of Joining, from the Zenefits account to Profit.co
Configure Zenefits in Profit.co
Note: Super Users can only enable the Zenefits integration in Profit.co.Step 1:
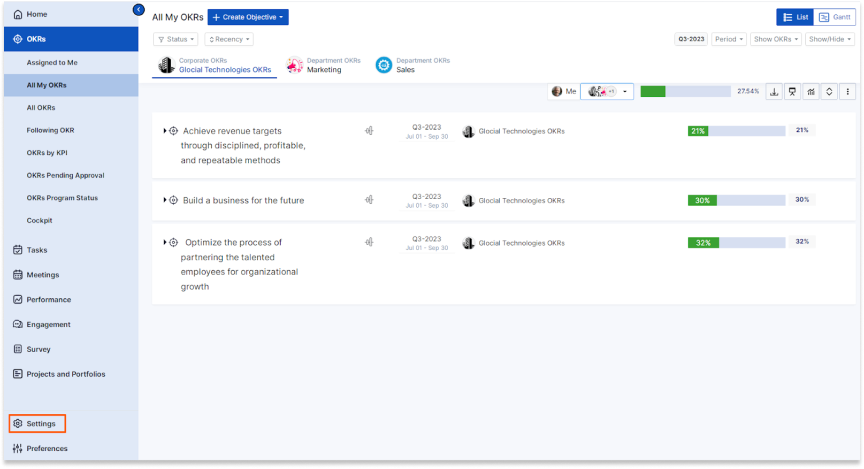
Navigate to Settingsfrom the left navigation panel.
Click on Integrations, On the Connectors page, Select the Business Level tab and click on the Zenefits Manage button.
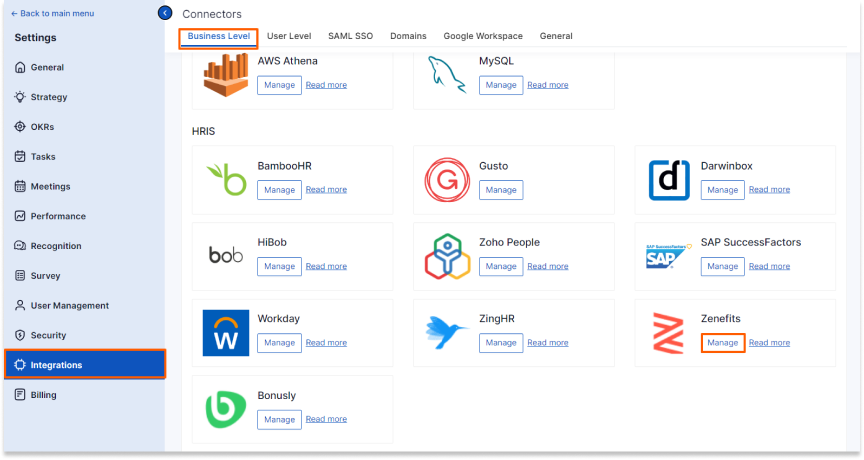
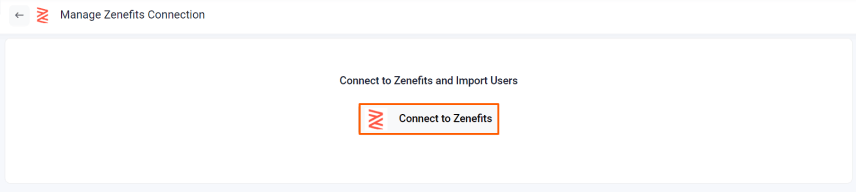
Then, click the Connect to Zenefits button.
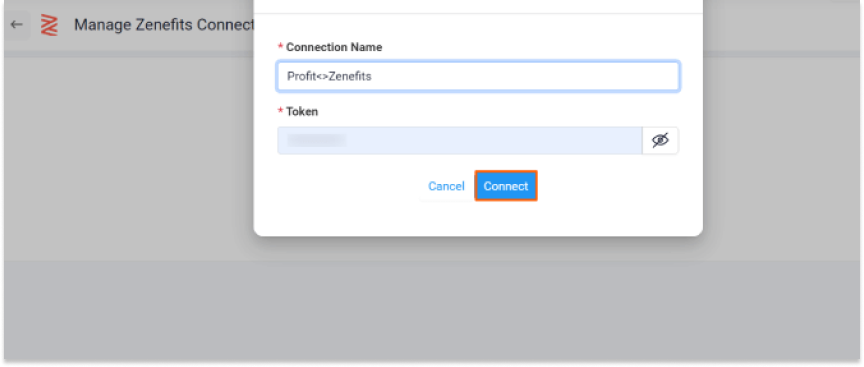
Step 2:
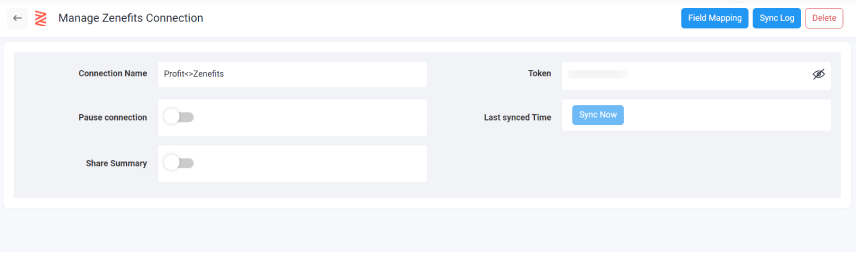
Enter the Connection Name and required details and click on Connect button to configure the Zenefits Integration connection successfully.
Step 3:
Once the connection is established, It will import users from your Zenefits account to Profit.co after 30 mins.
Step 4:
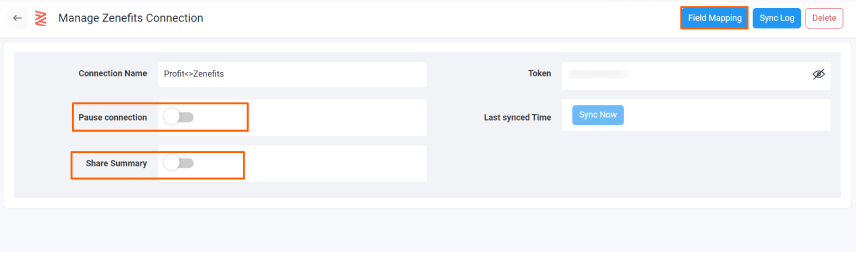
At any stage, If you do not want to synchronize the user details for a particular period of time you can enable the Pause Connection toggle. Users will not be synchronized until you disable the toggle.
If you want to know the summary of imported users, you can enable the Share Summary toggle. After sync, you will receive an email with the user’s information.
You will also have the option to do the Field mapping Field mapping shows records of Zenefits and Profit.co
Note:
1. The first sync will happen only after 30 mins once the sync is done and Periodic syncs will happen every day at 9 PM local time.
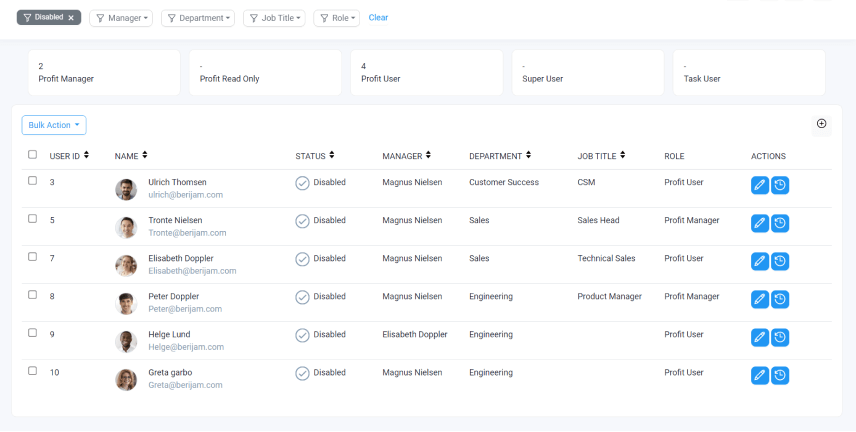
2. All users will be given Profit user access permissions and by default their login permissions will be in the disabled state, you have to enable it manually.