


What you can do with Custom Connector and Profit.co Integration?
The Profit.co Custom Connector facilitates direct API-based access to essential application data, streamlining the integration process.Configure Custom Connector in Profit.co
Note: Super Users can only enable the Custom Connector integration in Profit.co.Step 1:
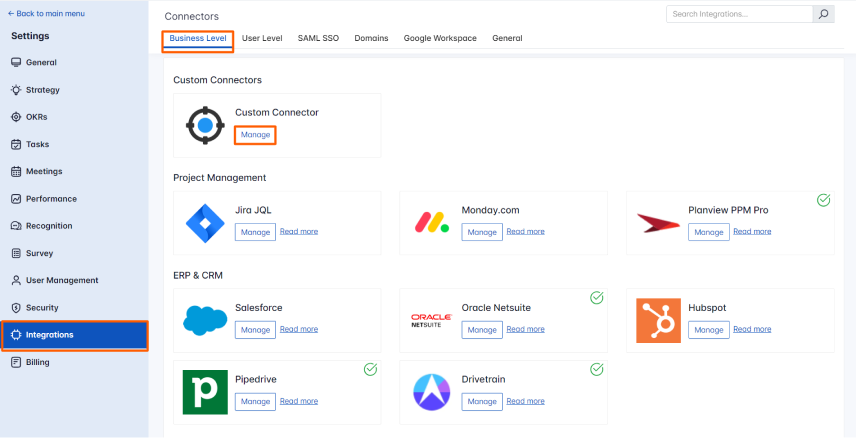
Navigate to Settings from the left navigation panel. Click on Integrations, On the Connectors page, Select the Business Level tab and click on the Custom Connector Manage button.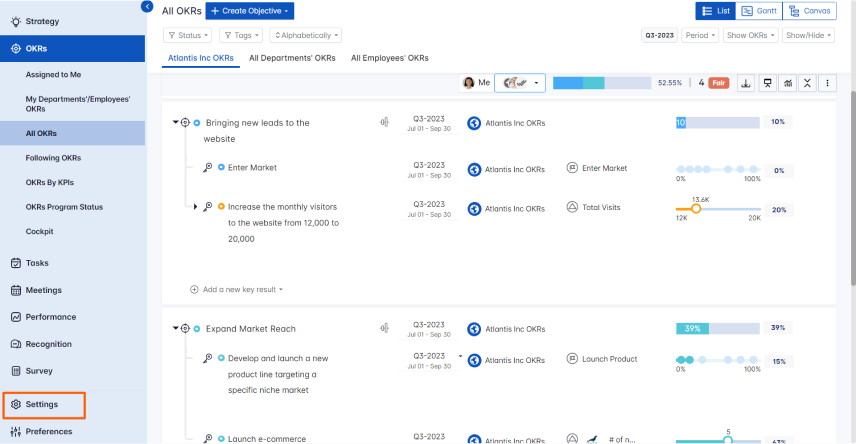
Step 2:
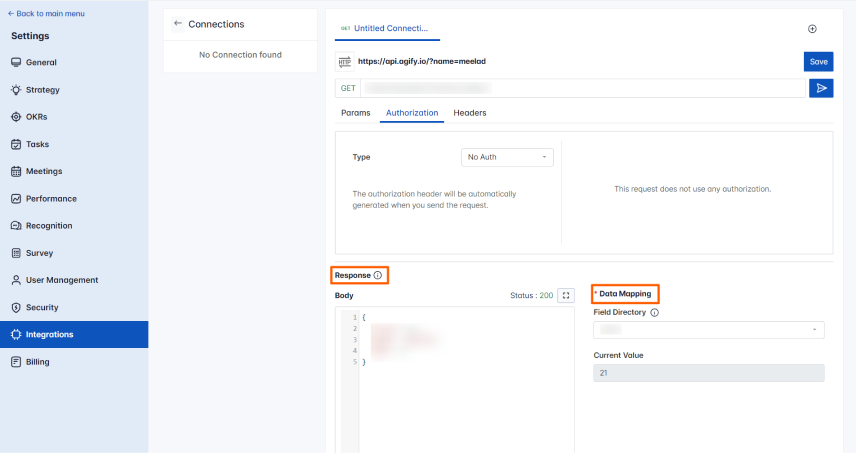
To make a Connection, Enter the URL or API and fill in the Params and Headers. To Authenticate with the respective API or URL switch to the Authorization tab, and choose the required Type from the dropdown.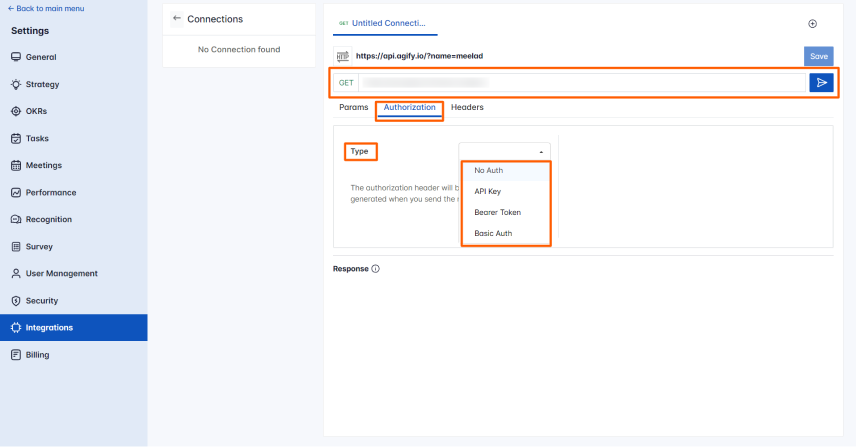 Note: By default, the Type will be in No Auth.
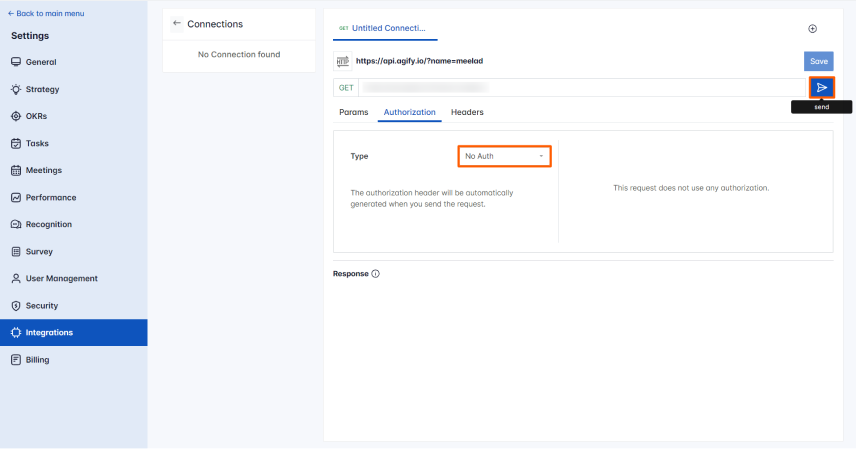
After selecting the required Type, click on Send.
Note: By default, the Type will be in No Auth.
After selecting the required Type, click on Send.
 You will find the Response in the Body and choose the required Field Directory from the Data Mapping which should be used for the KR progress.
Step 3:
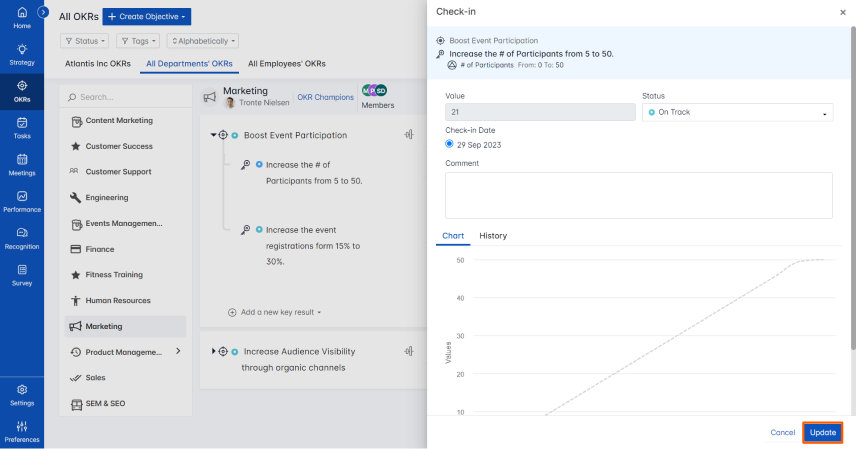
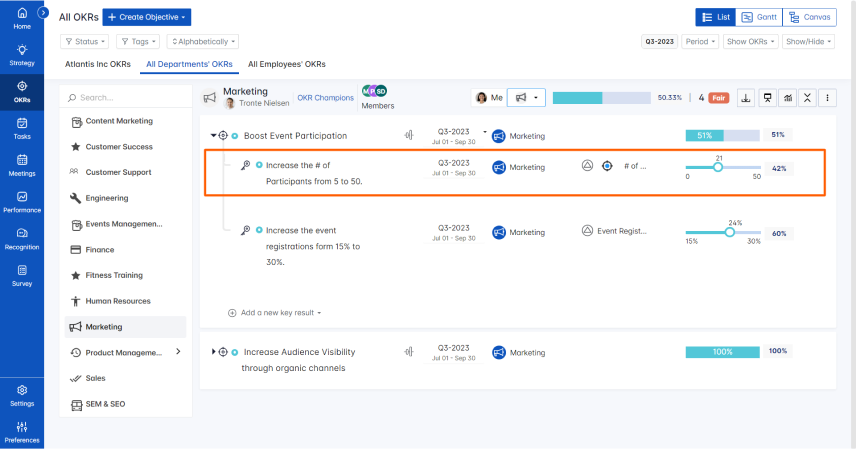
Now Create a key result Using the Form in Profit.co where you want to integrate the Custom Connector in a key result. Note: Custom Connector supports Increase KPI, Decrease KPI, or Control KPI type. Enter the Key Result name, and choose the required Key Result type and KPI. Select the Automate Check-in and choose Custom Connector from the Connection dropdown.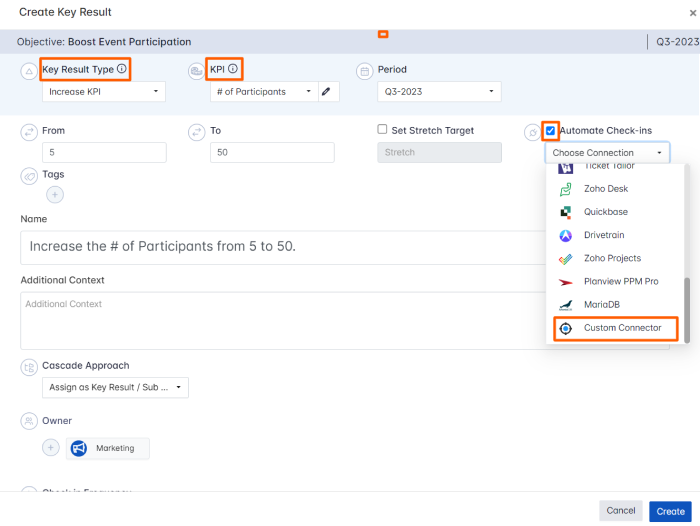 On the Connect to Custom Connector tab, choose the required Connection and you will find the Current Value. Then, click Add.
Note: You can also set the current value as the start value by clicking the Set as start value checkbox.
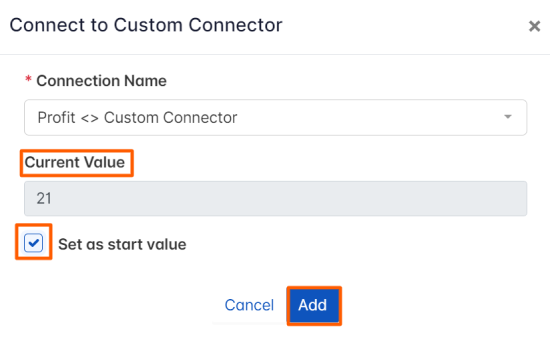
On the Connect to Custom Connector tab, choose the required Connection and you will find the Current Value. Then, click Add.
Note: You can also set the current value as the start value by clicking the Set as start value checkbox.
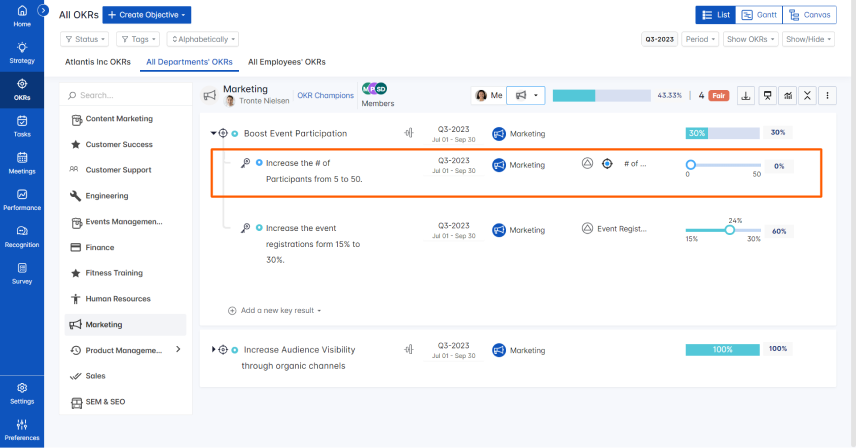
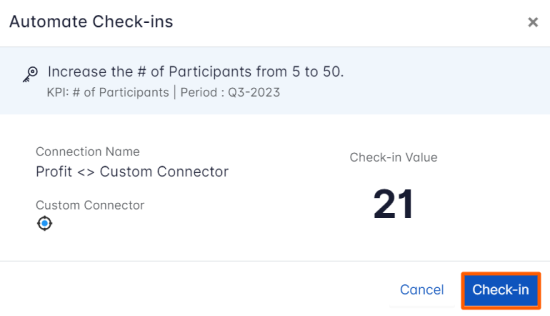
 Note: The automatic check-in will happen every day at 09.00 AM based on the user region.