


Profit.co enables users to integrate tableau with their accounts and automate their key results progress. Tableau is a visual analytics platform transforming the way we use the data to solve problems – empowering people and organizations to make the most of their data.
We can integrate Profit.co with Tableau in two ways. They are,
- Integrate Profit.co with Tableau using username and password.
- Integrate Profit.co with Tableau via an Access token.
- Add multiple users while you integrate Profit.co with Tableau.
- Set visibility for connections while you integrate Profit.co with Tableau.
Integrate Profit.co with Tableau using username and password:
You can integrate your Profit.co account with Tableau and create key results via the below steps
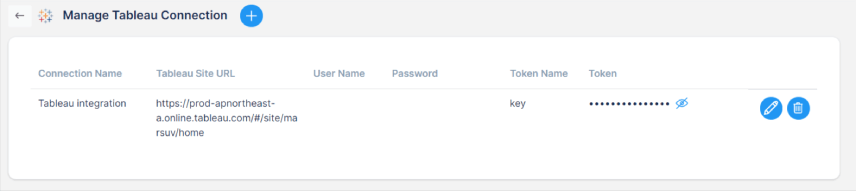
Configure Tableau in Profit.co?
Note: Only Super Users can be able to configure the Profit.co <> Tableau Integrations.Step 1
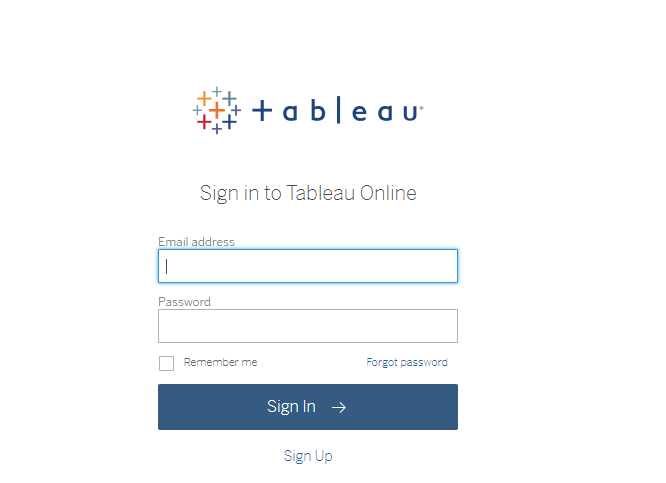
Login to your Tableau Online account using your Email and id password.
Step 2
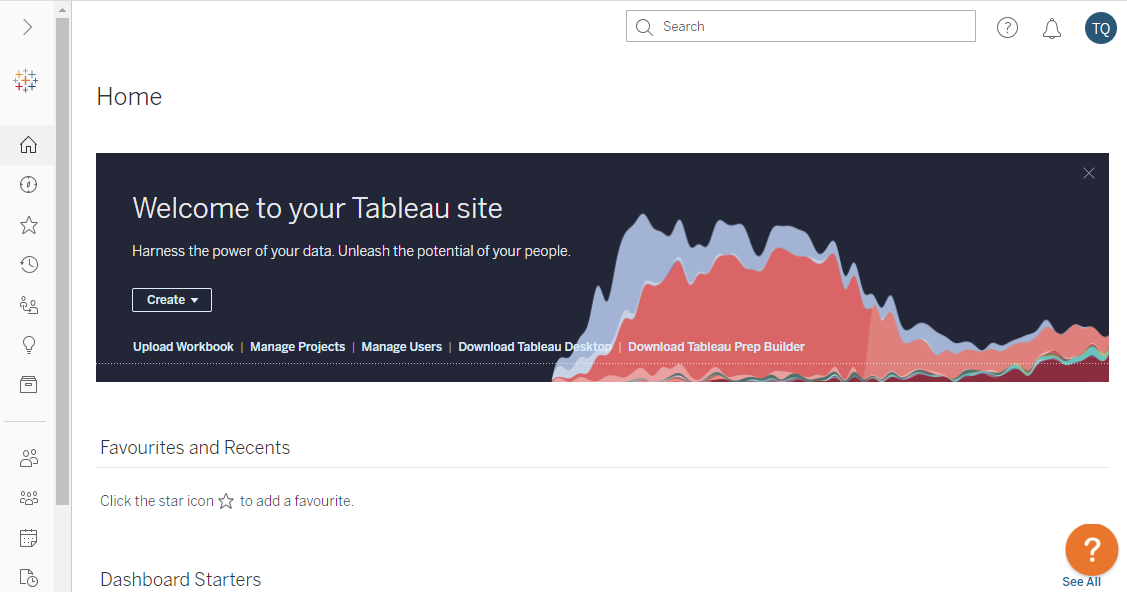
You will be directed to the home page, now copy the URL of the home page.
Step 3
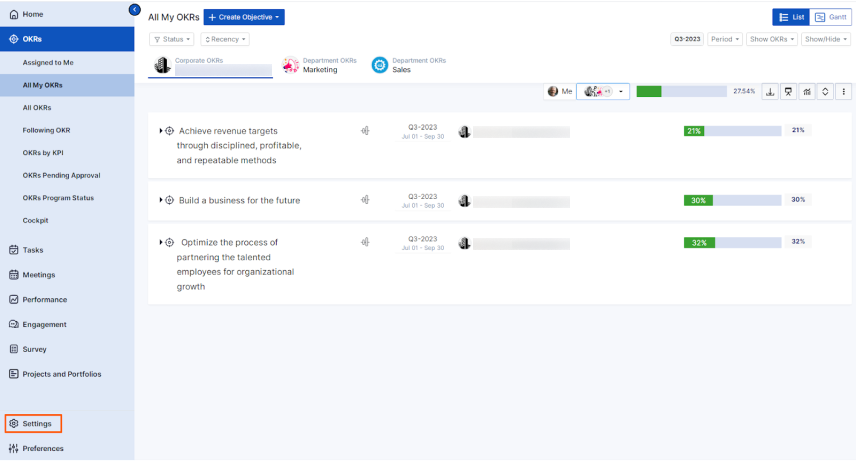
Navigate to Settings from the left navigation panel.
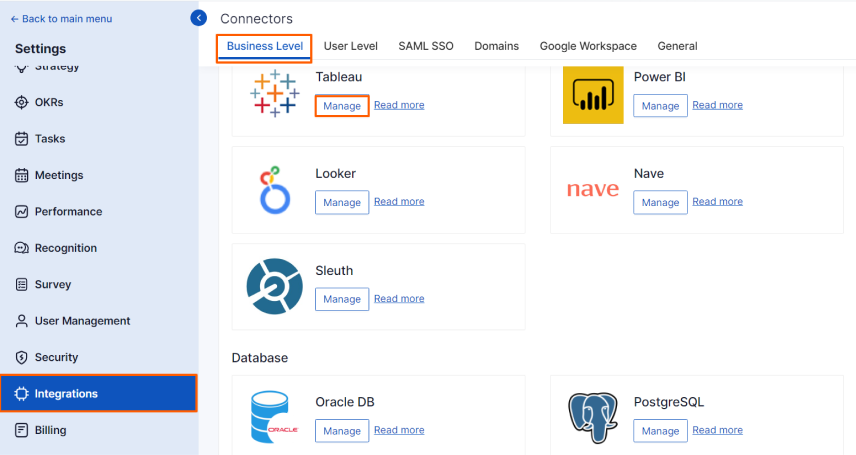
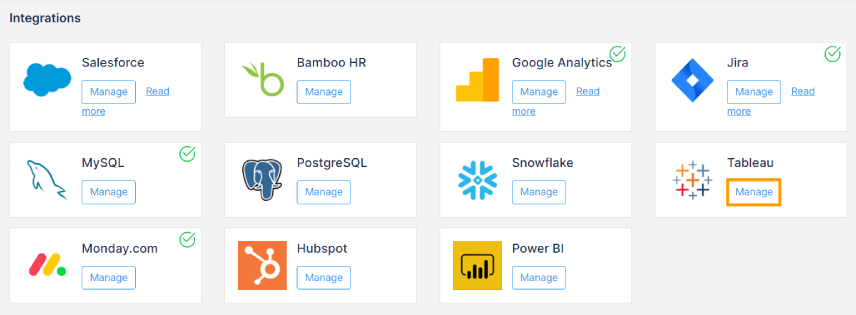
Click on Integrations, On the Connectors page, Select the Business Level tab and click on the Tableau Manage button.
Step 4
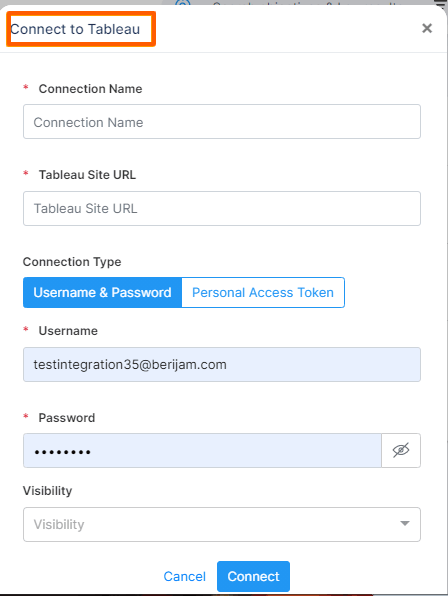
Now click on the Connect to Tableau button.

Step 5
In the connect to Tableau page, provide information for Connection Name, under Tableau site URL copy and paste the home page URL of your tableau account.
Now select Connection type → Username & Password.
Give your Username & Password the same as that of your Tableau login username and password. Now set visibility.
Note: When the visibility of the connection is in Public view, any user can integrate tableau with key results and When if your connection is restricted to Access list view, only the selected user can integrate tableau with key results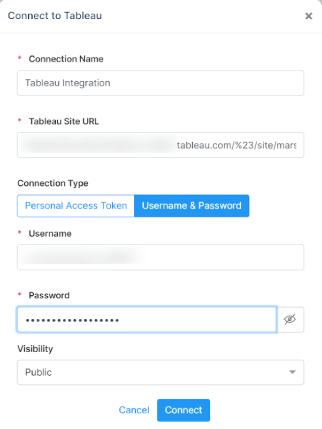
Step 6
Now the Profit.co account is successfully integrated with the Tableau account.
Step 7
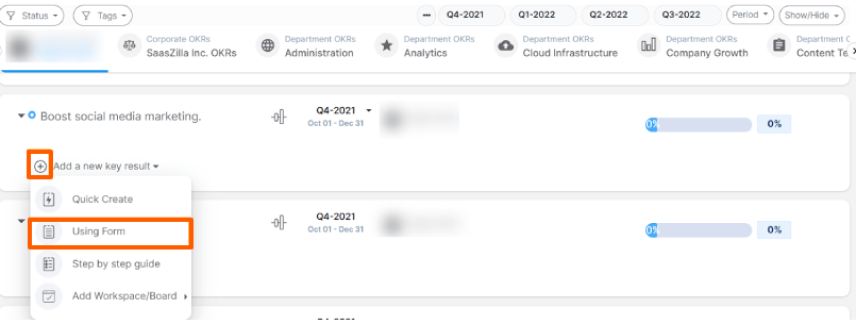
Now click on Create Key result → Using Form.
 Note: While creating key results using an integrated connector, you can use only Increase, Decrease and Control KPI.
Now create the key result in the usual way, here Increase KPI is selected.
In the third step, enable the Auto Update toggle, choose connections and Tableau, and give a value.

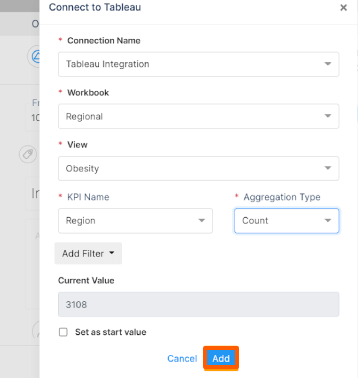
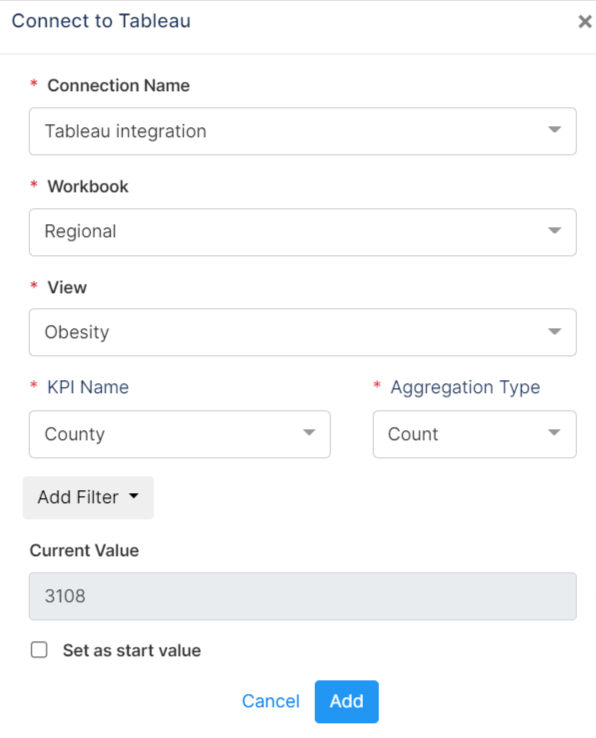
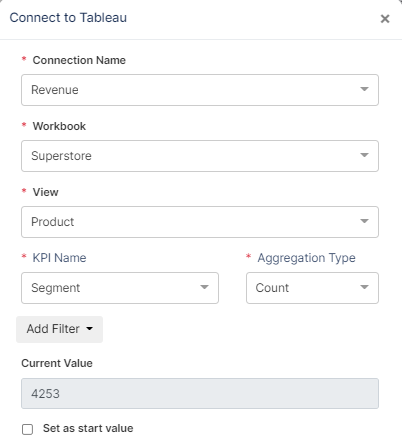
Once you click on the Tableau integration, you will be directed to the Connect to Tableau page, where the Connection Name will be automatically populated, under Workbook select Superstore, and then provide information for other sections based on your need.
Once you choose your Aggregate type, the current value of your KPI will be automatically updated. Now click Update.
Step 8
Now the key result will be created.

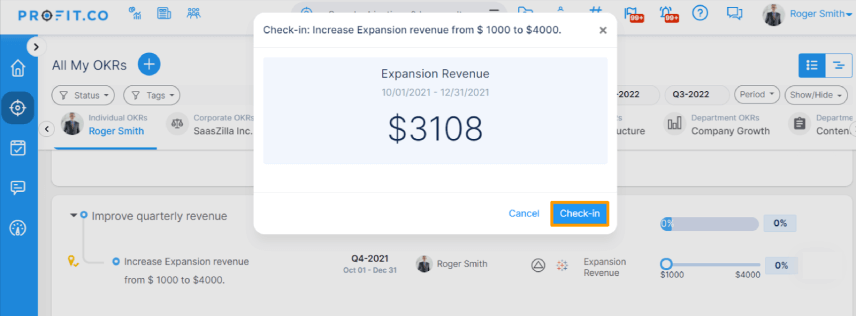
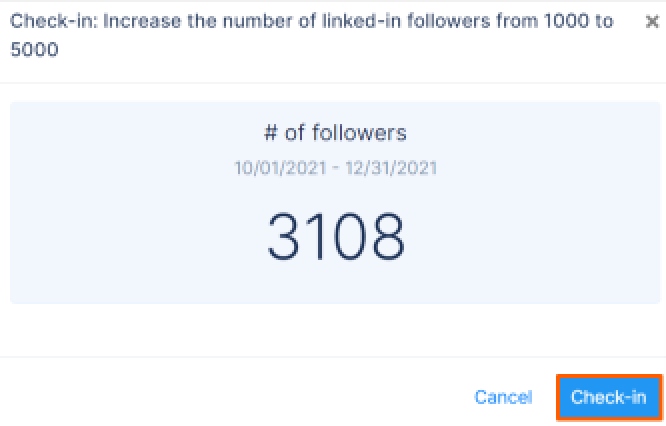
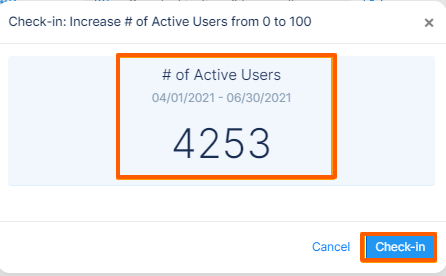
Now click on the check-in toggle, the value will be mentioned, click on the Check-in button.
Step 9
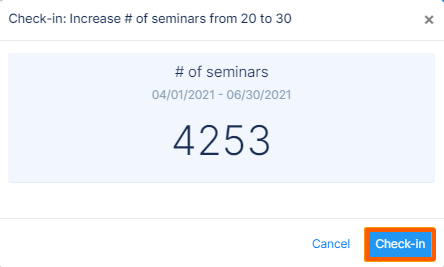
Check-in the key result and click Update.
Now click on the check-in toggle, the value will be mentioned, click on the Check-in button.

Step 10
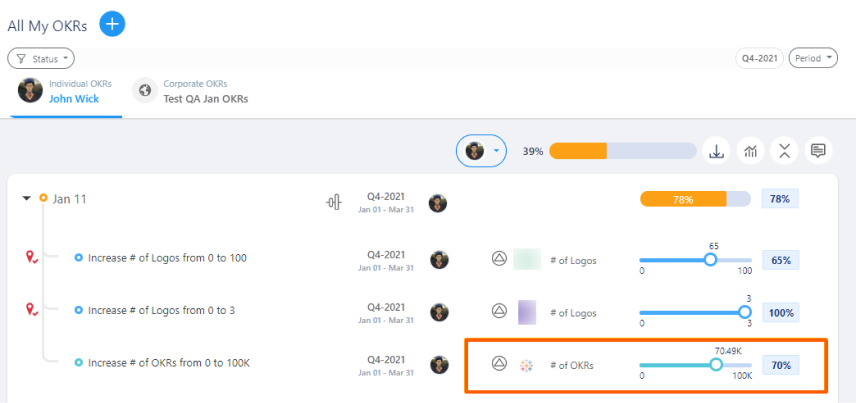
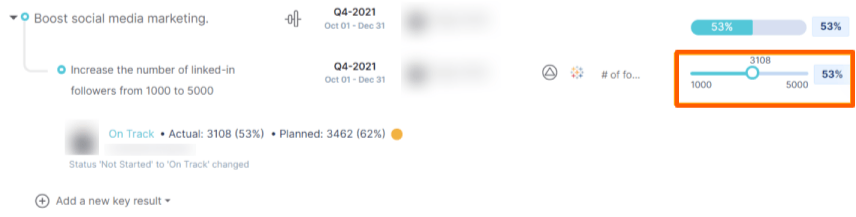
The key result will be updated. If you want you can change the status of the key result.

Step 11
The key result will be updated. If you want you can change the status of the key result.
Integrate Profit.co with Tableau via Access token:
Step 1
Login to your Tableau Online account using your Email and id password.

You will be directed to the home page, now copy the URL of the home page.
Step 2
Now click on the Profile icon→ My Account Settings.

Step 3
In the Personal Access Tokens section, provide a token name and click on the “Create new token” button and copy the token to the clipboard by clicking on Copy to Clipboard.

Step 4
Navigate to Settings from the left navigation panel.
Click on Integrations, On the Connectors page, Select the Business Level tab and click on the Tableau Manage button.
Now click on the Connect to Tableau button.
Step 5
In the connect to Tableau page, provide information for Connection Name, under Tableau site URL copy and paste the home page URL of your tableau account.
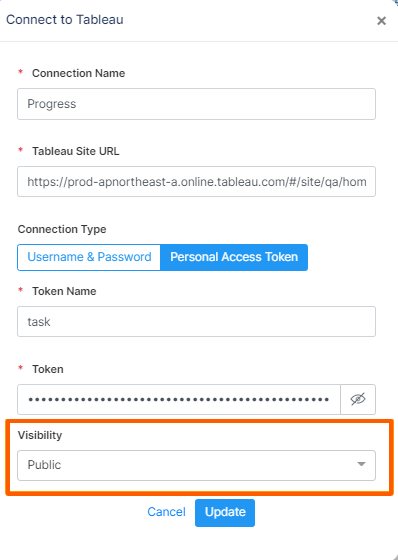
Now select Connection type → Personal Access Token.
Give Token Name & paste the Access Token from the clipboard. Now set visibility.
Note: When the visibility of the connection is in Public view, any user can integrate tableau with key results and When if your connection is restricted to Access list view, only the selected user can integrate tableau with key results
Step 6
Now the Profit.co account is successfully integrated with the Tableau account.
Step 7
Now click on Create Key result → Using Form.
Step 8
Note: While creating key results using an integrated connector, you can use only Increase, Decrease and Control KPI.In the third step, enable the Auto Update toggle, choose connections and Tableau and give a value.
Once you click on the Tableau integration, you will be directed to the Connect to Tableau page, where the Connection Name will be automatically populated, under Workbook and others, give the information based on your need.
Once you choose your Aggregate type, the current value of your KPI will be automatically updated. Now click Add.
Step 9
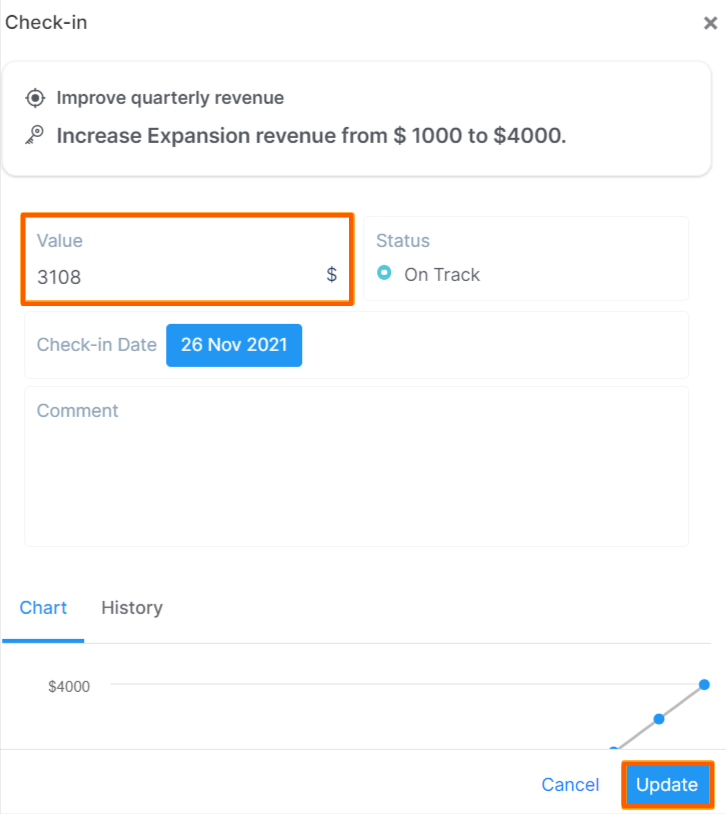
Now the value of your increased KPI will be updated here. As the value of the Increase KPI is 3108, give the to value as 5000, Finally create the key results.

Step 10
After creating the Key Result, click on the check-in toggle, the value will be mentioned, click on the check-in button. Once you check-in click Update.
The key result will be updated. If you want you can change the status of the key result it can also be done.
How to add multiple users to Tableau integration?
You can now add multiple user connections while integrating your Tableau account with Profit.co account. With this option, the added connections can be selected by the users to establish tableau integration, to create and assign OKRs to the other users.
Step 1
Navigate to Settings from the left navigation panel.
Click on Integrations, On the Connectors page, Select the Business Level tab and click on the tableau Manage button.
Step 2
Note: Only Super users can access Settings and only super users can add users and connect them to tableau.On the Integrations page, click on the Manage button of Tableau.
To add users and connect them to Tableau click on the Plus icon.

Step 3
Fill in the necessary details in the connect to Tableau form.
To know how to set up Tableau integration using Username & Password, click here.
To know how to set up Tableau integration using Access Token, click here.
Step 4
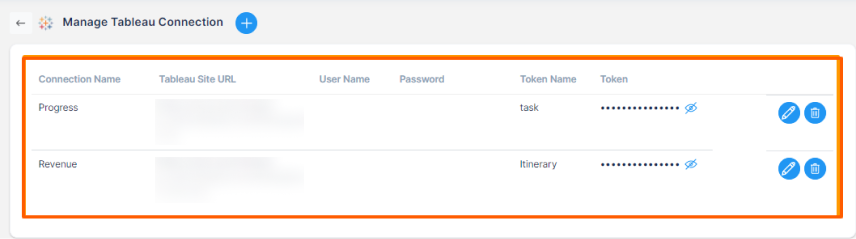
Here three connections are established.
Step 5
Once the connection is set up, while creating key results the user who has been given the access to view all the two connections, i.e Public view, can switch between the established connection and create key results.
Note : Tableau integration is possible only with Increase and decrease KPI.
How to access public and private visibility options in Tableau?
You can now access and manage visibility of Tableau via Public view and Access list. These options help you to restrict users from accessing connections while creating keyresults by integrating with tableau.
To know how to set up Tableau integration using Username & Password, click here.
To know how to set up Tableau integration using Access Token, click here.
In Profit.co you can establish visibility for Tableau connection via Two ways
Step 1
Let’s see how to manage visibility options for multiple connections.
Let’s say that you have managed to establish two connections
Public visibility
Step 2
When your connection is in Public view, any user can integrate tableau with key results.
In the Add a new key result → Using Form page, enable the integration toggle and click on the pencil icon.
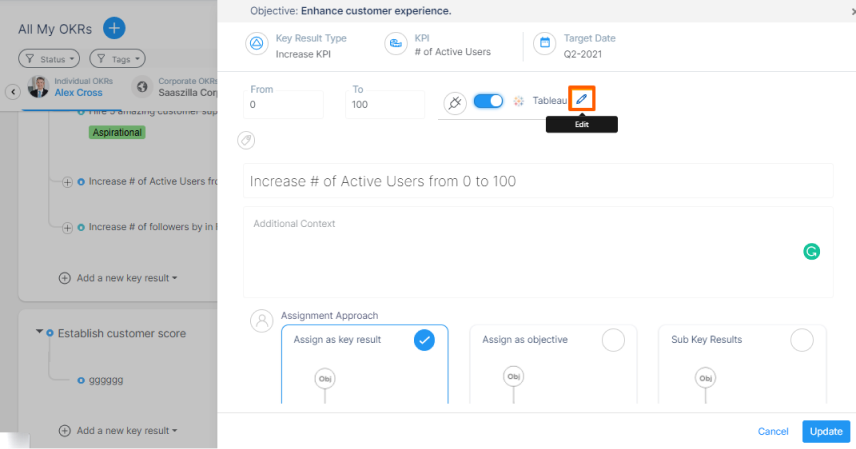
Step 3
Now select the Connection Name from the list and establish the connection, Now assign values to the remaining fields from the drop down and click Add button

Step 4
Now the key result is created and check-in has been made and you can see the value generated automatically.
Access List visibility
Step 1
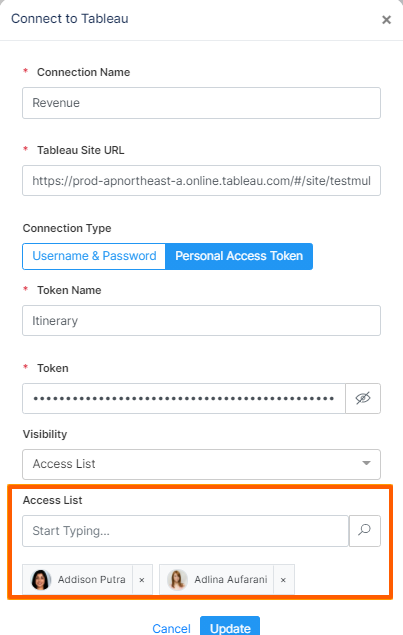
When your connection is restricted to Access list view, only the selected user can integrate tableau with key results. Let’s say that the super user has given access to only the employees Addison Putra and Adlina Aufrani.
Step 2
In the Add a new key result → Using Form page, enable the integration toggle and click on the pencil icon.
For instance Let’s say that Addison putra wants to establish tableau integration under the Connection Name Revenue. Since she is given visibility access, only she and Adlina can establish the connection for Revenue.

Once the details are updated in the fields, click Add.
Step 3
She can check-in the key result as usual.
Step 4
If any other users other than the selected users try to establish tableau connection under the name Revenue, they will not be able to do it. Here the user Angga Fauzan tries to integrate a key result with tableau, the Revenue connection will not be visible for him, he can find only the connection name progress as the visibility of it is s set as Public.