HubSpot is a CRM platform that connects everything scaling companies need to deliver a best-in-class customer experience in one place. Our crafted, not cobbled solution helps teams grow with tools that are powerful alone, but better together.
What you can do with HubSpot and Profit.co Integration?
Profit.co helps you to integrate HubSpot with your accounts and automate Key results progress.
Configure HubSpot in Profit.co
Note: Only Super Users can be able to configure the Profit.co <> HubSpot Integrations.
Step 1
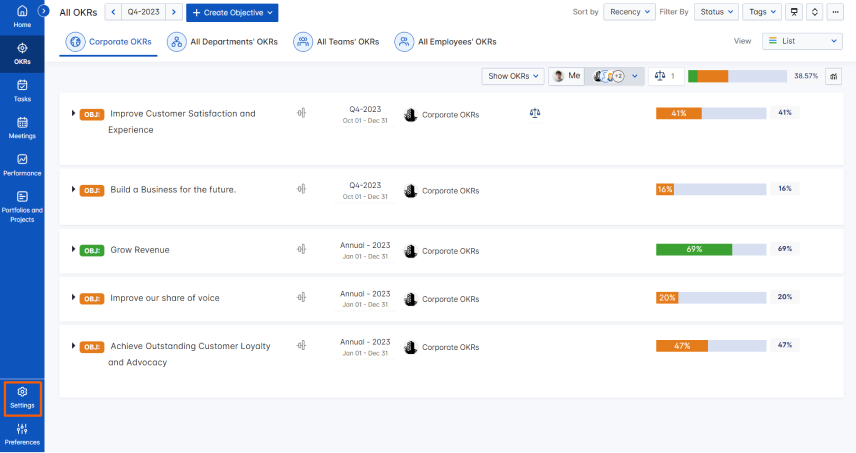
Navigate to Settings from the left navigation panel.
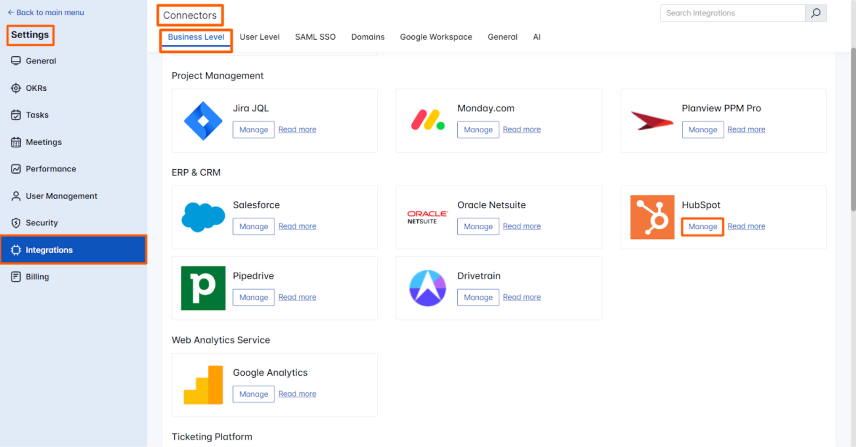
Click on Integrations and on the Connectors page, select the Business Level tab and click on the HubSpot Manage button.
Step 2
Now click on the Sign in to HubSpot button.

Once you click on Sign in to HubSpot it will automatically navigate to the HubSpot page. Once you provide access to Profit.co it will automatically make the connection.

Step 3
Now Create a key result Using the Form in Profit.co where you want to integrate the HubSpot in a key result.
Note: HubSpot supports Increase KPI, Decrease KPI, or Control KPI type.
Enter the Key Result name, and choose the required Key Result type and KPI.
Select the Automate Check-ins and choose HubSpot from the Connection dropdown.
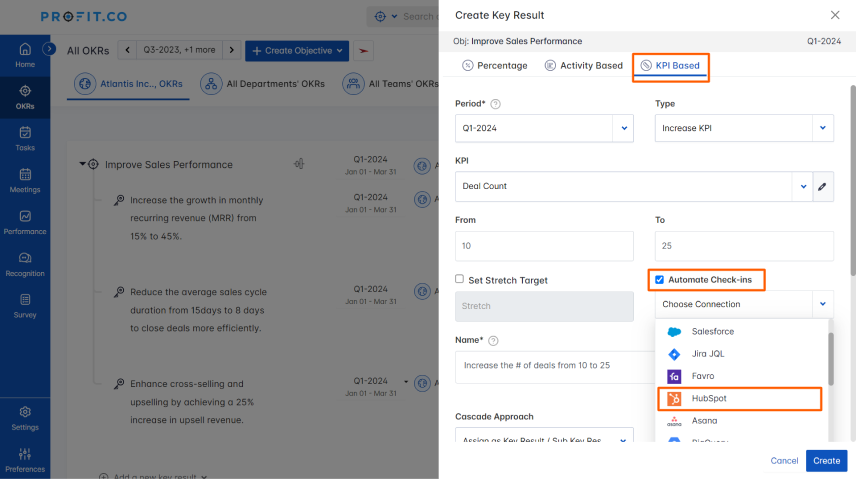
The HubSpot supported KPIs are below and you can choose which is required.
| HubSpot KPI | Description |
|---|---|
| Deal Amount | The total value of deals is based on the selected pipeline, stage, owner, and period. |
| Number of Raw Views | Count of raw views within the specified period. |
| Number of Subscribers | Total count of subscribers within the specified period. |
| % Contact to Customers | Percentage of contacts converted to customers within the period. |
| Deal Count | Total count of deals based on selected pipeline, stage, owner, and period. |
| Deal-Based List – Count | Count of items in a deal-based list. |
| % Session to Contact | Percentage of sessions that resulted in new contacts within the period. |
| Average Page View per Session | Average page views per session within the period. |
| Contact-Based List | Total number of contacts in the contact-based list. |
| Number of Opportunities | Count of opportunities within the specified period. |
| % Bounce Rate | Percentage of single-page sessions relative to total sessions within the period. |
| Number of SQLs | Count of SQLs (Sales Qualified Leads) within the period. |
| Number of MQLs | Count of MQLs (Marketing Qualified Leads) within the period. |
| Number of Visits | Total number of site visits within the period. |
| Number of Visitors | Total count of unique visitors within the period. |
| Number of leads | Total count of leads within the period. |
| Number of Customers | Total count of customers within the period. |
| Time per session (in seconds) | Average duration per session within the period. |
| Deal-Based List – Amount | Total value in a deal-based list. |
| Number of Contacts | Total count of contacts within the period. |
| % New Sessions | Percentage of sessions from new users within the period. |
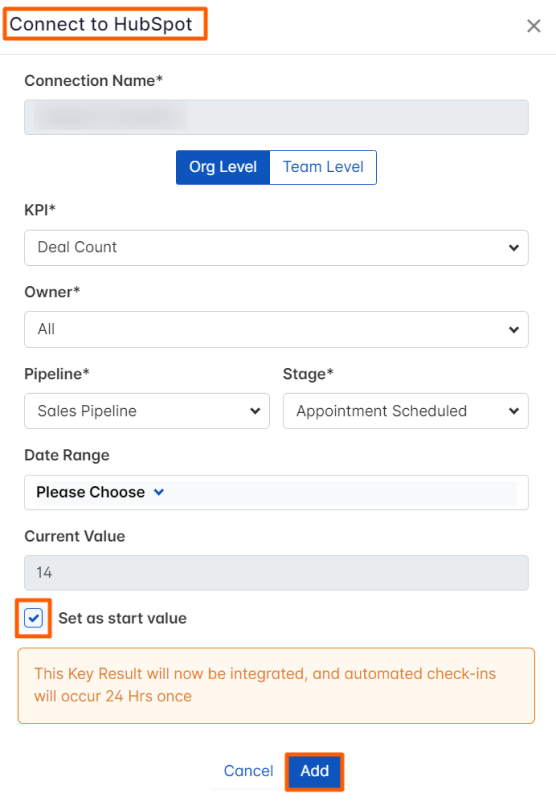
On the Connect to HubSpot tab, choose the required Connection, Level, KPI, and all the required fields, you will find the Current Value.
Then, click Add.
Note: You can also set the current value as the start value by clicking the Set as start value checkbox.
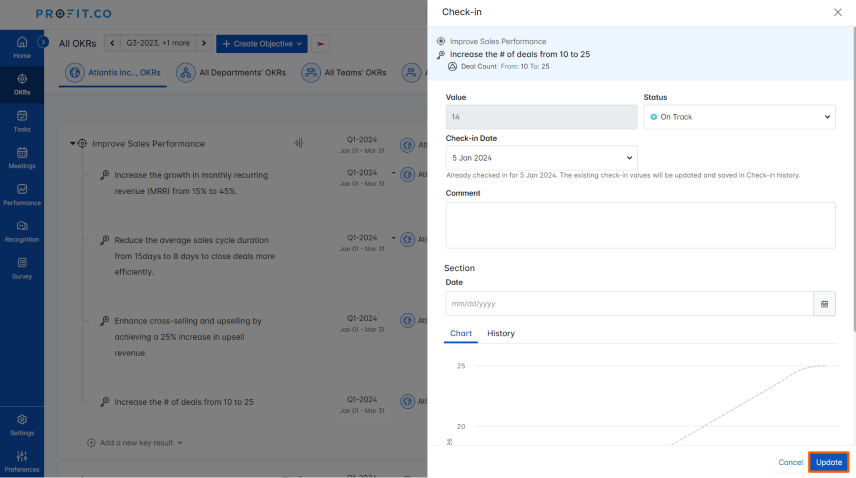
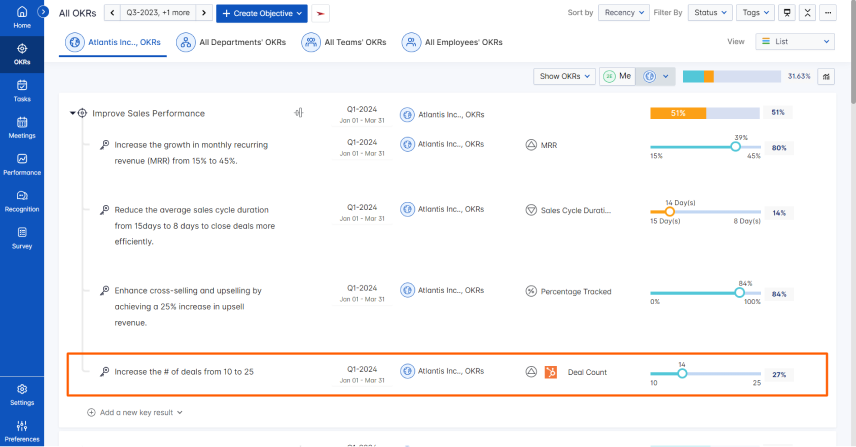
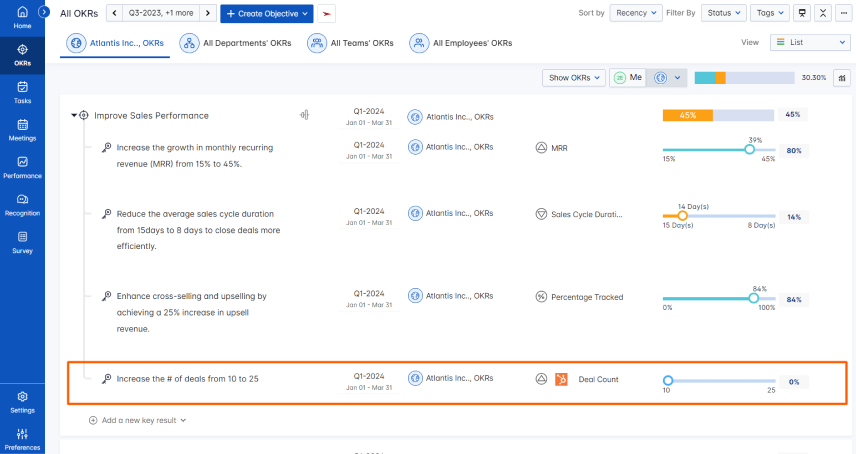
Once the Key Result is successfully created, click on the Check-in button and complete the Check-in to update the status value in the key result
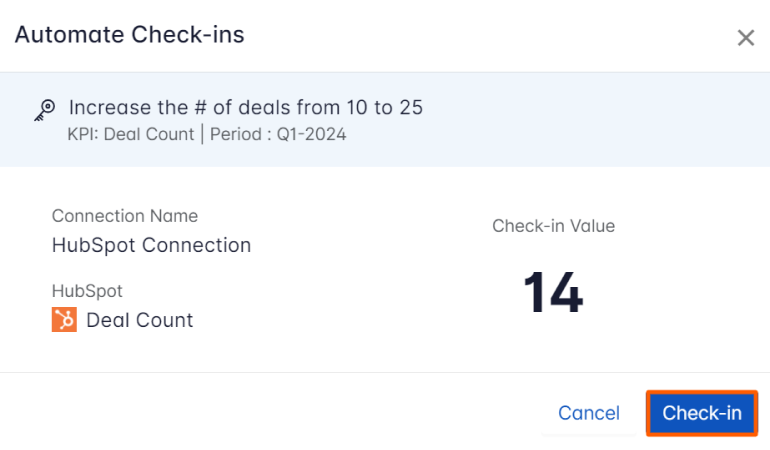
If you check-in you’ll be redirected to the review page. Finally, you can Update it to make progress to your key result.
