ClickUp is a Task Management software and it also lets you create rich-text Docs for your marketing plans, reports, strategies, and other files. You can store them all in one place within ClickUp and also attach them to tasks.
What you can do with ClickUp and Profit.co Integration?
Now you can integrate your Profit.co account with ClickUp and help team, organize, manage and work effectively and create key results to track performance instantly.
Configure ClickUp in Profit.co
Note: Super Users can only enable the ClickUp integration in Profit.co.
Step 1:
Navigate to Settings from the left navigation panel.
Click on Integrations, On the Connectors page, Select the User Level tab and enable the ClickUp toggle.
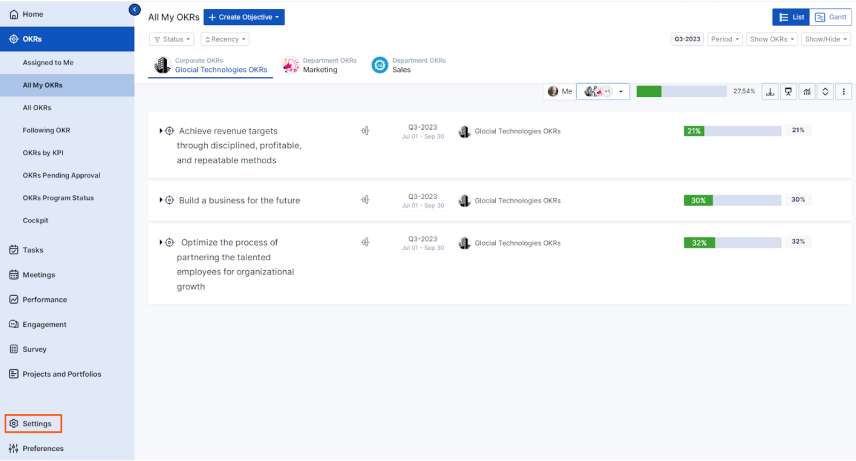

After enabling it, navigate to Preference from the left navigation panel, select the Integrations tab, and select ClickUp Manage button to make a connection.
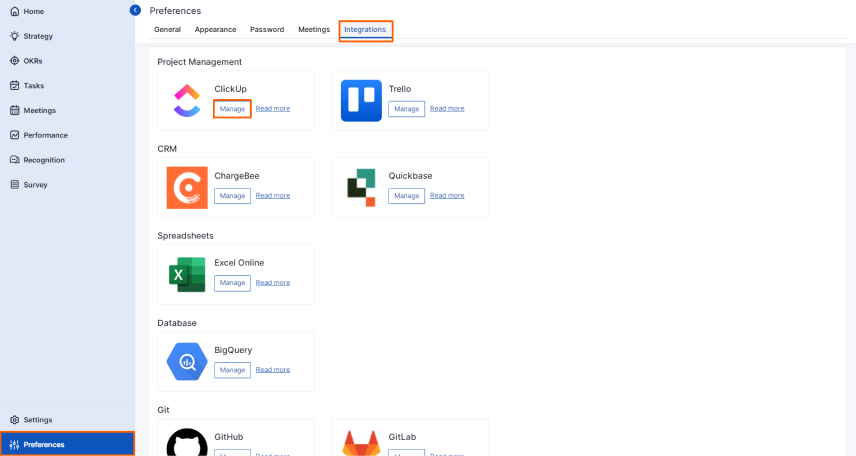
To establish a new connection, click on the Connect to ClickUp button

Step 2:
Now enter the Connection name and paste the copied API key from ClickUp here and click on the Create Button.
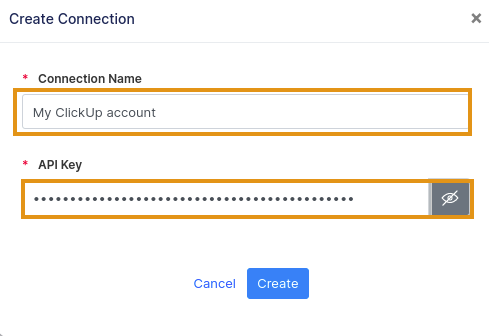
Now aClickUp connection will be successfully configured.

Step 3:
Now Create a key result Using the Form in Profit.co where you want to integrate the ChargeBee KPI in a key result.
Note: ClickUp supports Increase KPI, Decrease KPI, and Percentage tracked KPI type.
Enter the Key Result name, and choose the required Key Result type and KPI.
Select the Automate Check-in and choose ClickUp from the Connection dropdown.
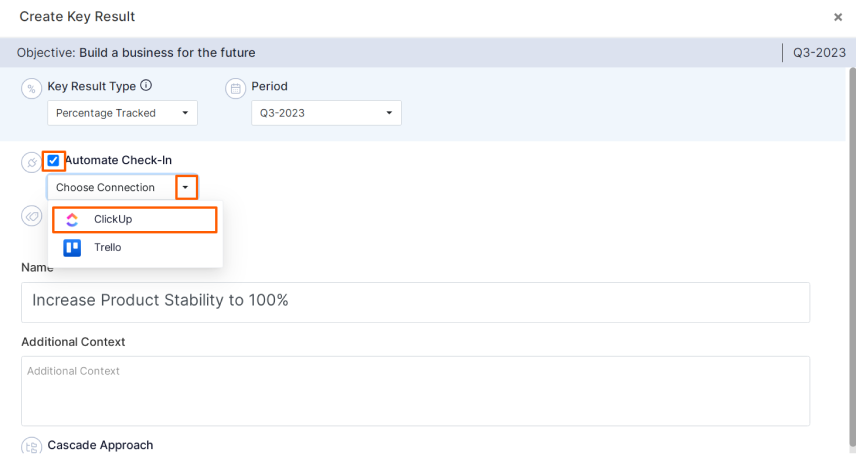
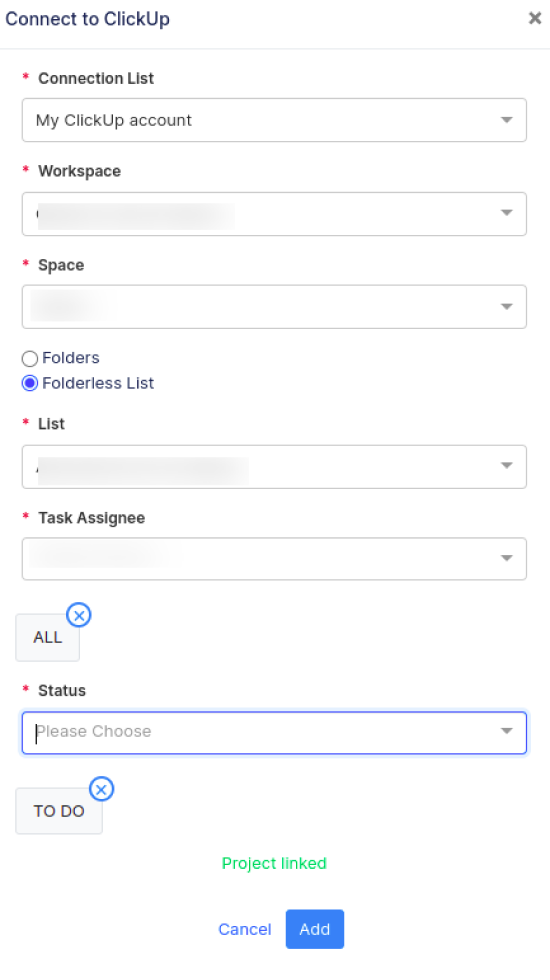
A pop-up page will appear. Fill in the following details in that pop-up page. Choose Connection, Workspace, Folders, List, Task Assignee and Status. At the bottom of the page, you will find the status of the Integration. Click on the Add Button.
Once the Keyresult is created, click on the Check-in button. The percentage value of the Selected Workspace, Space, Folder, List, Task Assignee and Status will be fetched from ClickUp and displayed. Click on the Check-in Button and complete the Check-in.
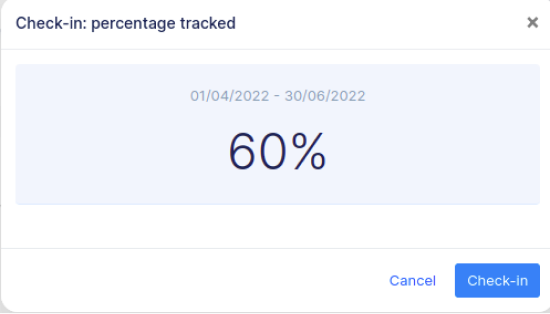
If you check-in you’ll be redirected to the review page. Finally, you can Update it to make progress to your key result.

Execute your strategy with the industry’s most preferred and intuitive software
30 Days Free Trial