Zendesk provides a user-friendly, scalable customer service solution with customizable portals, live chat, and seamless integration with Salesforce and Google Analytics.
What you can do with Zendesk and Profit.co Integration ?
Integrate Zendesk KPI in Profit.co key result and automate the progress.
Configure Zendesk KPI Integration in Profit.co
Note: Only Super Users can be able to configure the Profit.co <> Zendesk Integrations.
Step 1:
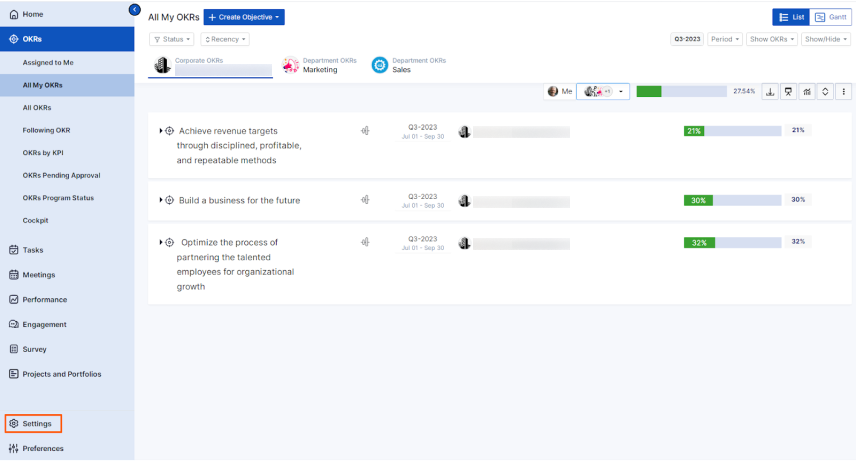
Navigate to Settings from the left navigation panel.
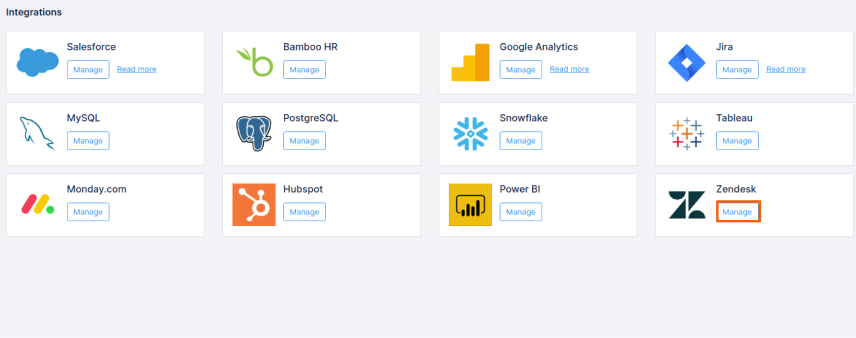
Click on Integrations, On the Connectors page, Select the Business Level tab and click on the Zendesk Manage button.
![manage](https://storage.googleapis.com/profit-prod/wp-content/uploads/2023/10/b3d33df6-manage_1.png)
Step 2:
Click on the Connect to Zendesk button.
![connect_to_zendesk](https://storage.googleapis.com/profit-prod/wp-content/uploads/2023/10/7ee44b68-connect_to_zendesk.png)
Step 3:
Provide your Zendesk domain name and press the Connect button. It will redirect you to the Zendesk Sign in page.
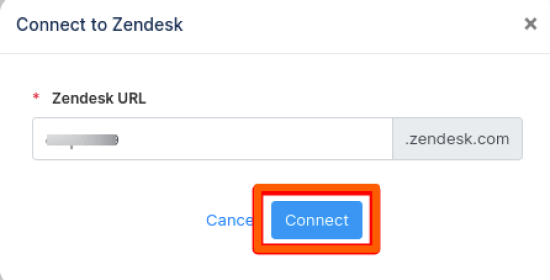
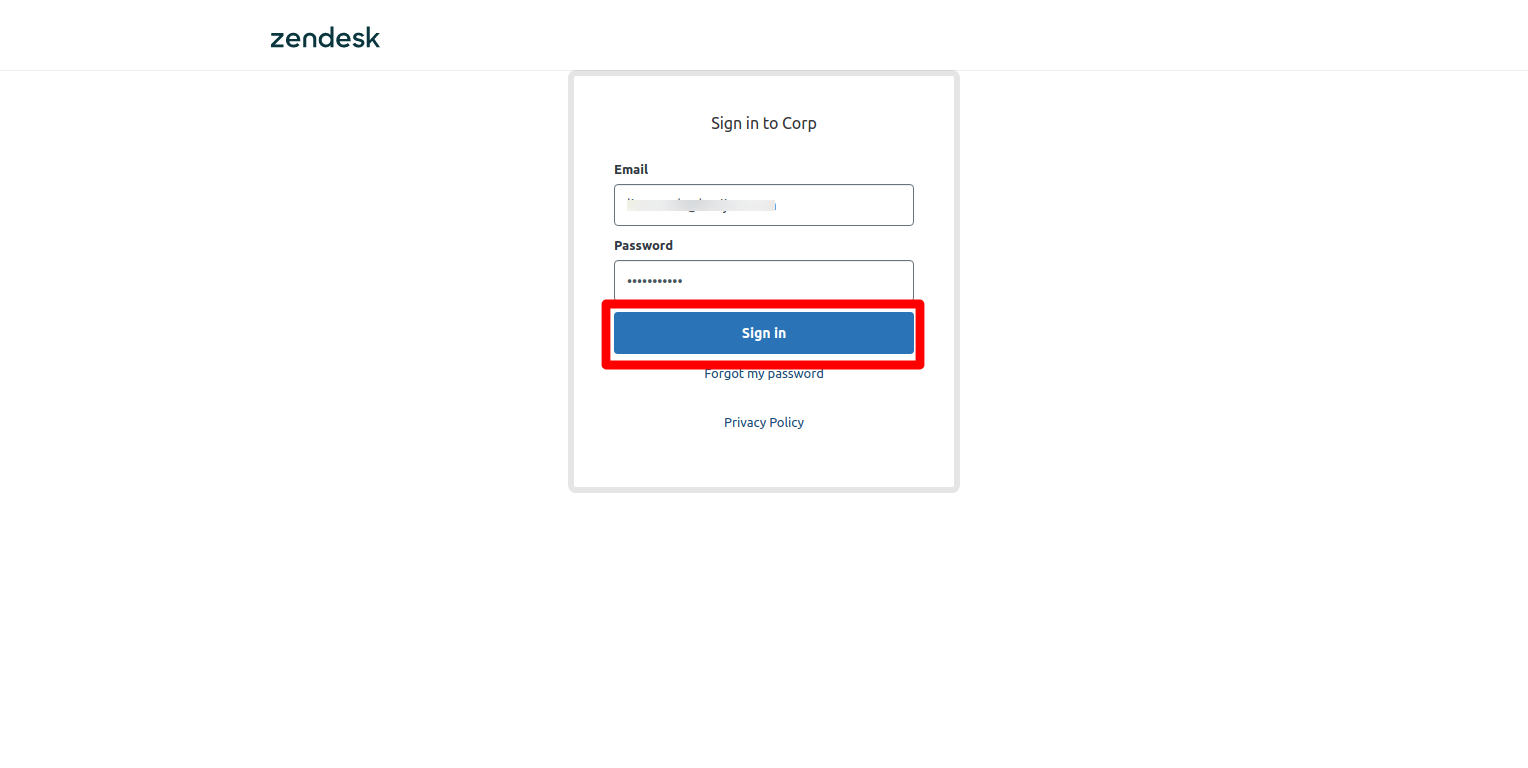
![connect](https://storage.googleapis.com/profit-prod/wp-content/uploads/2023/10/4c6010fc-connect.png)
Step 4:
Provide your Zendesk Email, Password and Press Sign In button
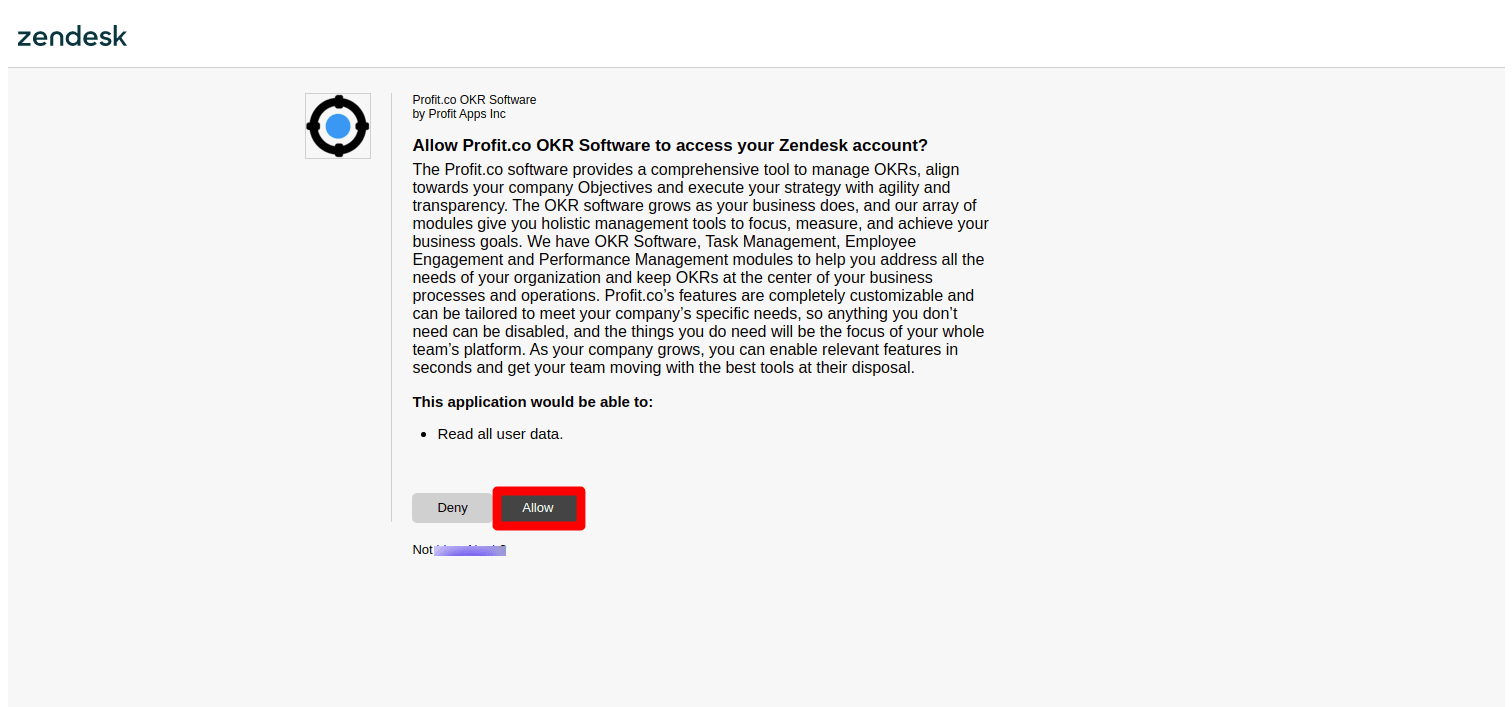
![Zendesk login](https://storage.googleapis.com/profit-prod/wp-content/uploads/2022/03/2d49864a-zendesk-login.png)
Step 5:
Press the Allow button to provide access to Profit.co App.
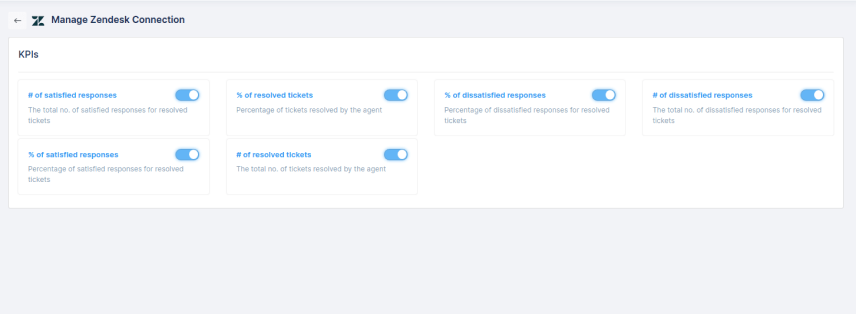
![allow profit.co account in zendesk account](https://storage.googleapis.com/profit-prod/wp-content/uploads/2022/03/90aa787f-allow-profit.co-access-your-zendesk.png)
Step 6:
The following 6 Default Zendesk KPIs will be added in your Profit.co account.
- # of resolved tickets
- # of satisfied responses
- # of dissatisfied responses
- % of resolved tickets
- % of satisfied responses
- % of dissatisfied responses
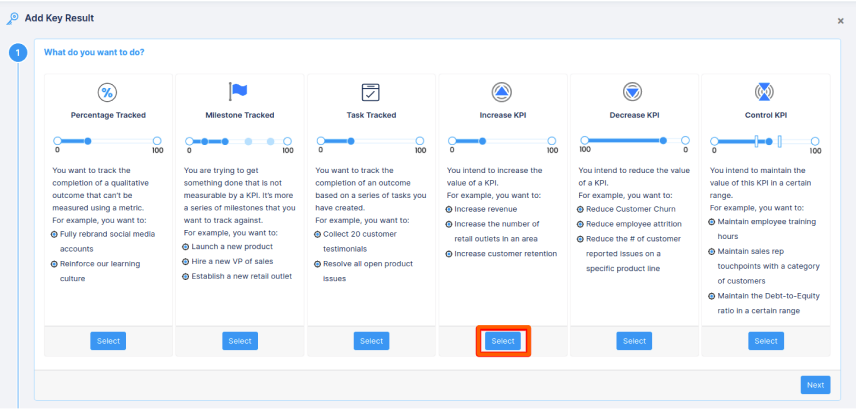
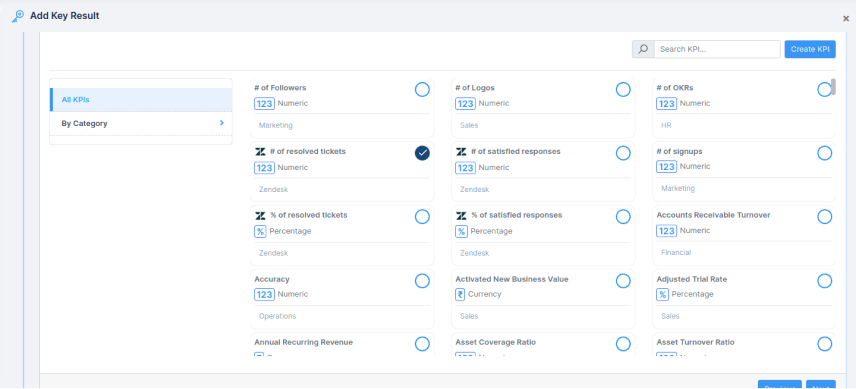
![kpis](https://storage.googleapis.com/profit-prod/wp-content/uploads/2023/10/0033934e-kpis.png)
Step 7:
Create a Key Result and choose the Increase KPI.
![select](https://storage.googleapis.com/profit-prod/wp-content/uploads/2023/10/636f4a80-select.png)
Step 8:
In KPI Section, Select any of the Zendesk KPI.
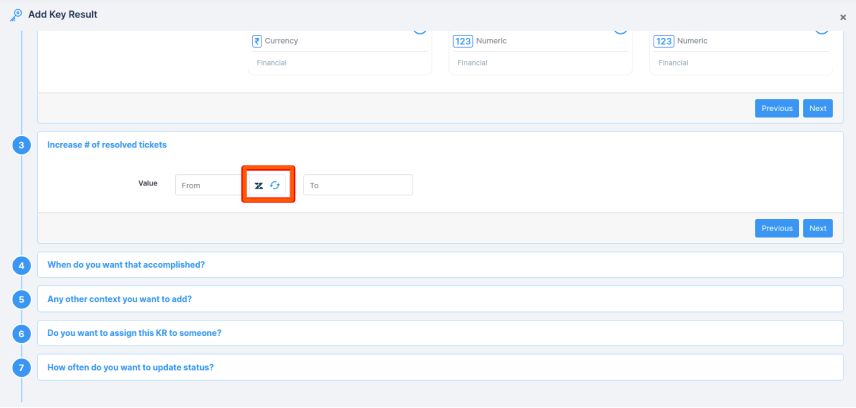
![kpi_section](https://storage.googleapis.com/profit-prod/wp-content/uploads/2023/10/44e8391f-kpi_section.png)
Step 9:
Press the Refresh button to see the current value of the KPI from Zendesk.
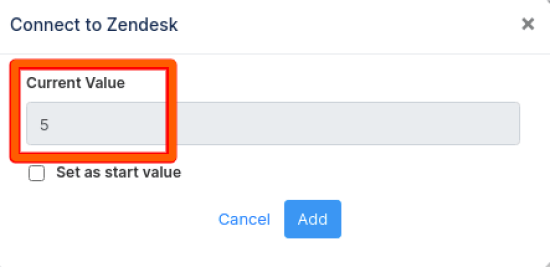
![refresh](https://storage.googleapis.com/profit-prod/wp-content/uploads/2023/10/e57f0033-refresh.png)
Step 10:
The progress value of the selected KPI will be fetched from Zendesk. Click on Add button and Complete the KR Creation.
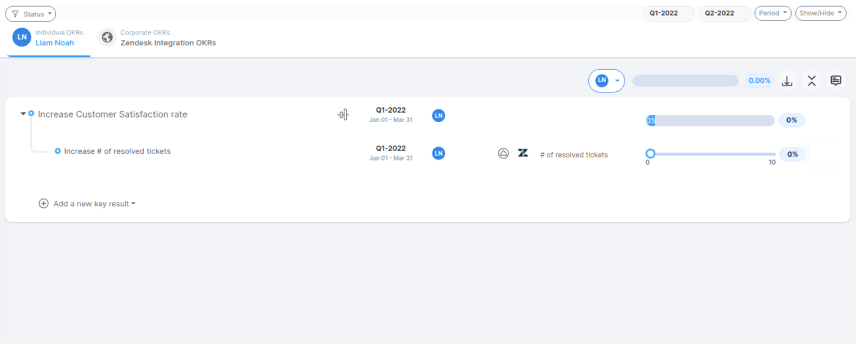
![current_value](https://storage.googleapis.com/profit-prod/wp-content/uploads/2023/10/3a0940cb-current_value.png)
![increase-kpi](https://storage.googleapis.com/profit-prod/wp-content/uploads/2023/10/c9d6f83c-increase-kpi.png)
Step 11:
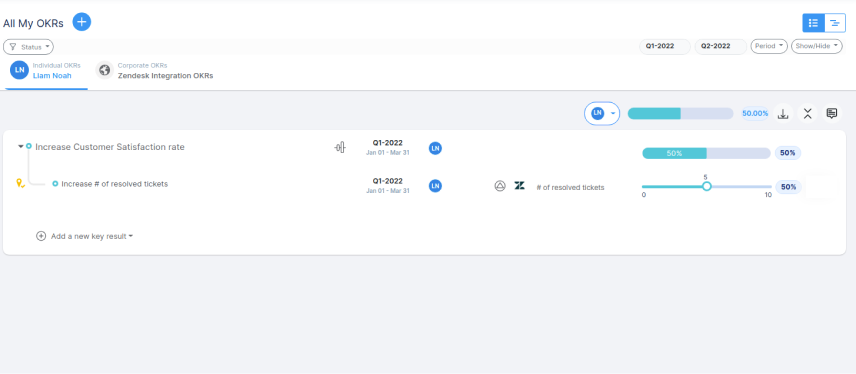
The Zendesk integrated Key Result created in Profit.co
![zendesk_integrated](https://storage.googleapis.com/profit-prod/wp-content/uploads/2023/10/217fdb3f-zendesk_integrated.png)
Step 12:
Check-in the Key Result to update the progress from Zendesk.
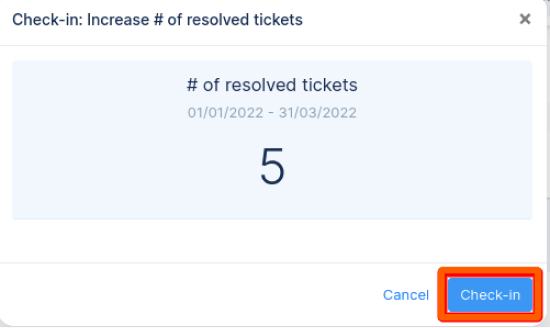
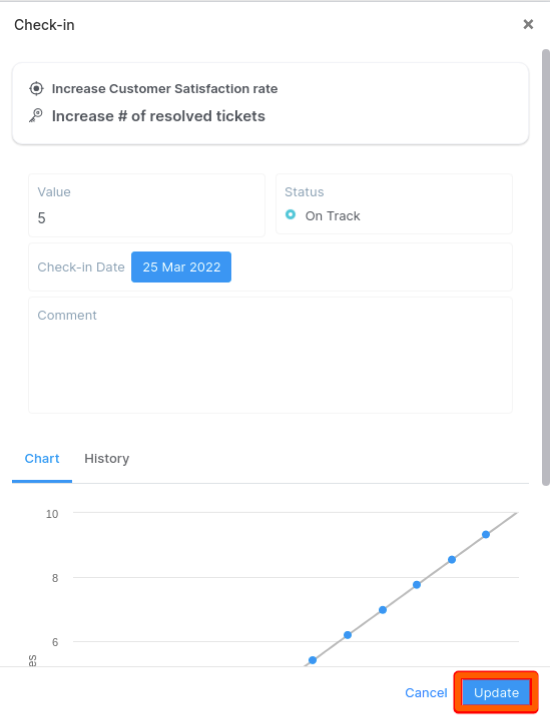
![check-in](https://storage.googleapis.com/profit-prod/wp-content/uploads/2023/10/eb0d473a-check-in.png)
![update](https://storage.googleapis.com/profit-prod/wp-content/uploads/2023/10/0494d226-update.png)
Step 13:
Now the progress value will be updated in the key result.
![Updated KR Value](https://storage.googleapis.com/profit-prod/wp-content/uploads/2023/10/e78adab9-integrated-key-result.png)
Execute your strategy with the industry’s most preferred and intuitive software
30 Days Free Trial