The planner is a lightweight, mobile, and web-based application that comes with most Office 365 for business subscriptions. With Planner, you and your team can create plans, assign tasks, chat about tasks, and see charts of your team’s progress.
What you can do with Profit.co – Microsoft Planner KPI Integration?
You can track the status of To Do, In Progress, and Completed tasks through Profit.co key results and keep your progress updated.
Configure Microsoft Planner KPI in Profit.co
Note: Super Users need to enable the Microsoft Planner integration in Profit.co.
Step 1
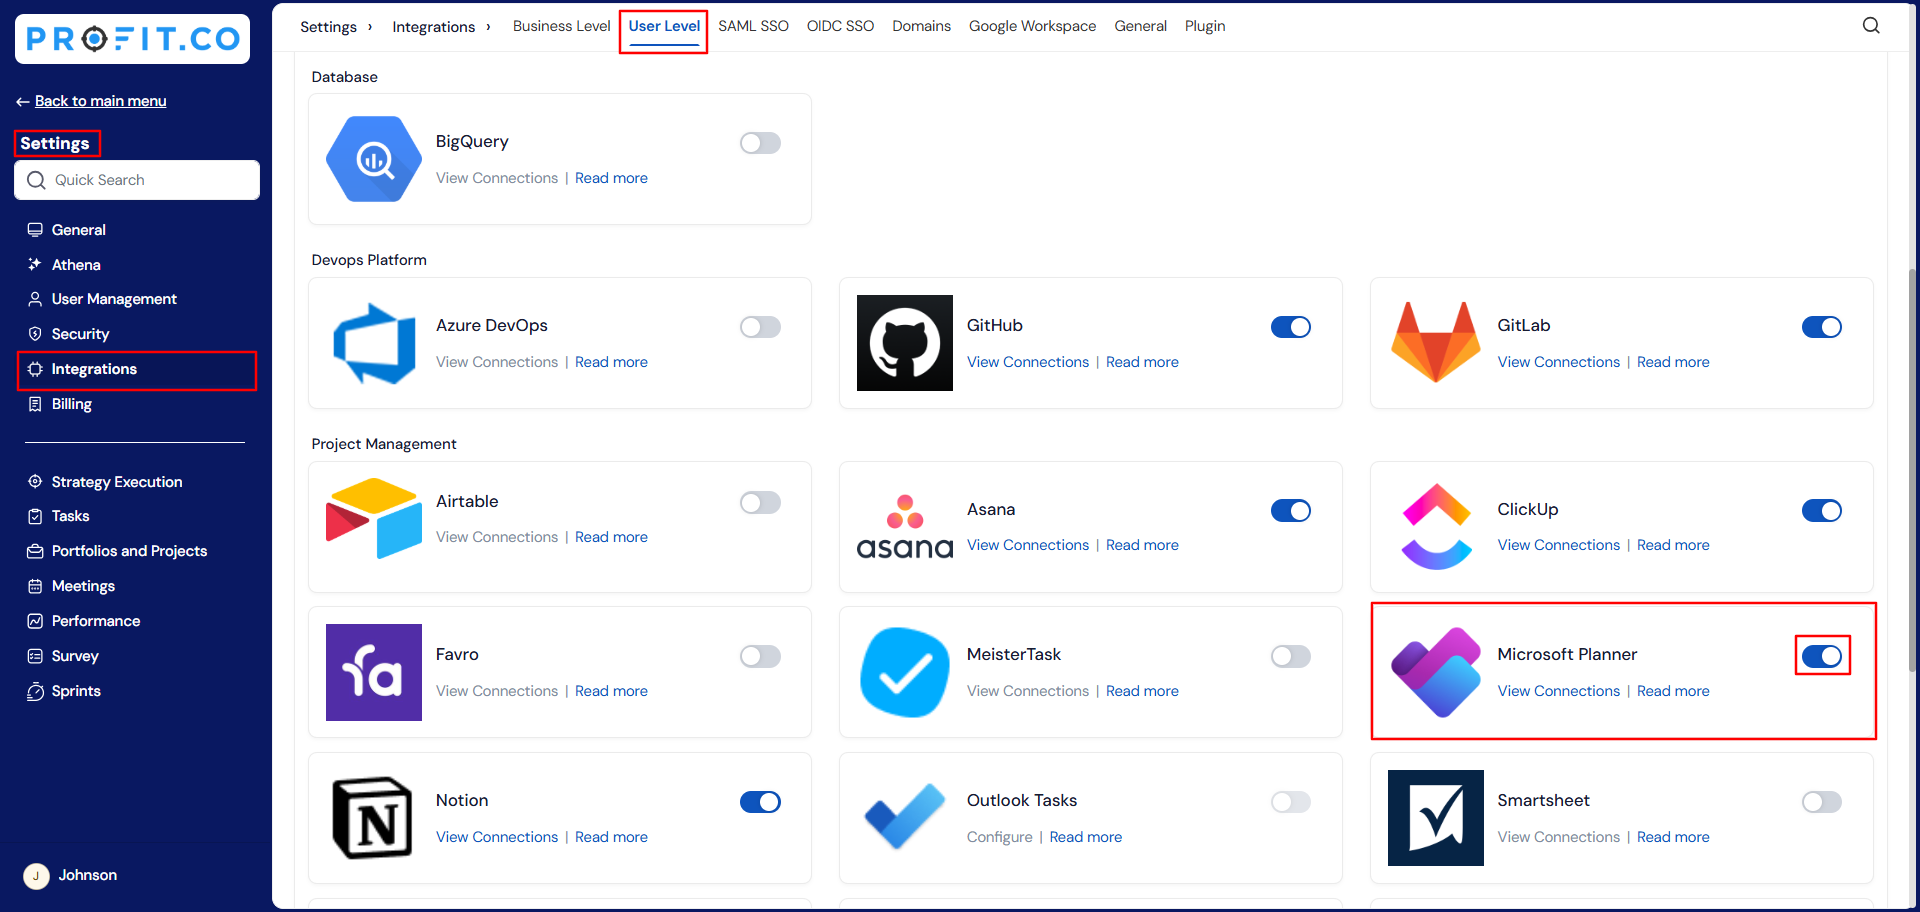
Navigate to Settings from the left navigation panel.
Click on Integrations. select the User Level tab and enable the Microsoft Planner toggle.
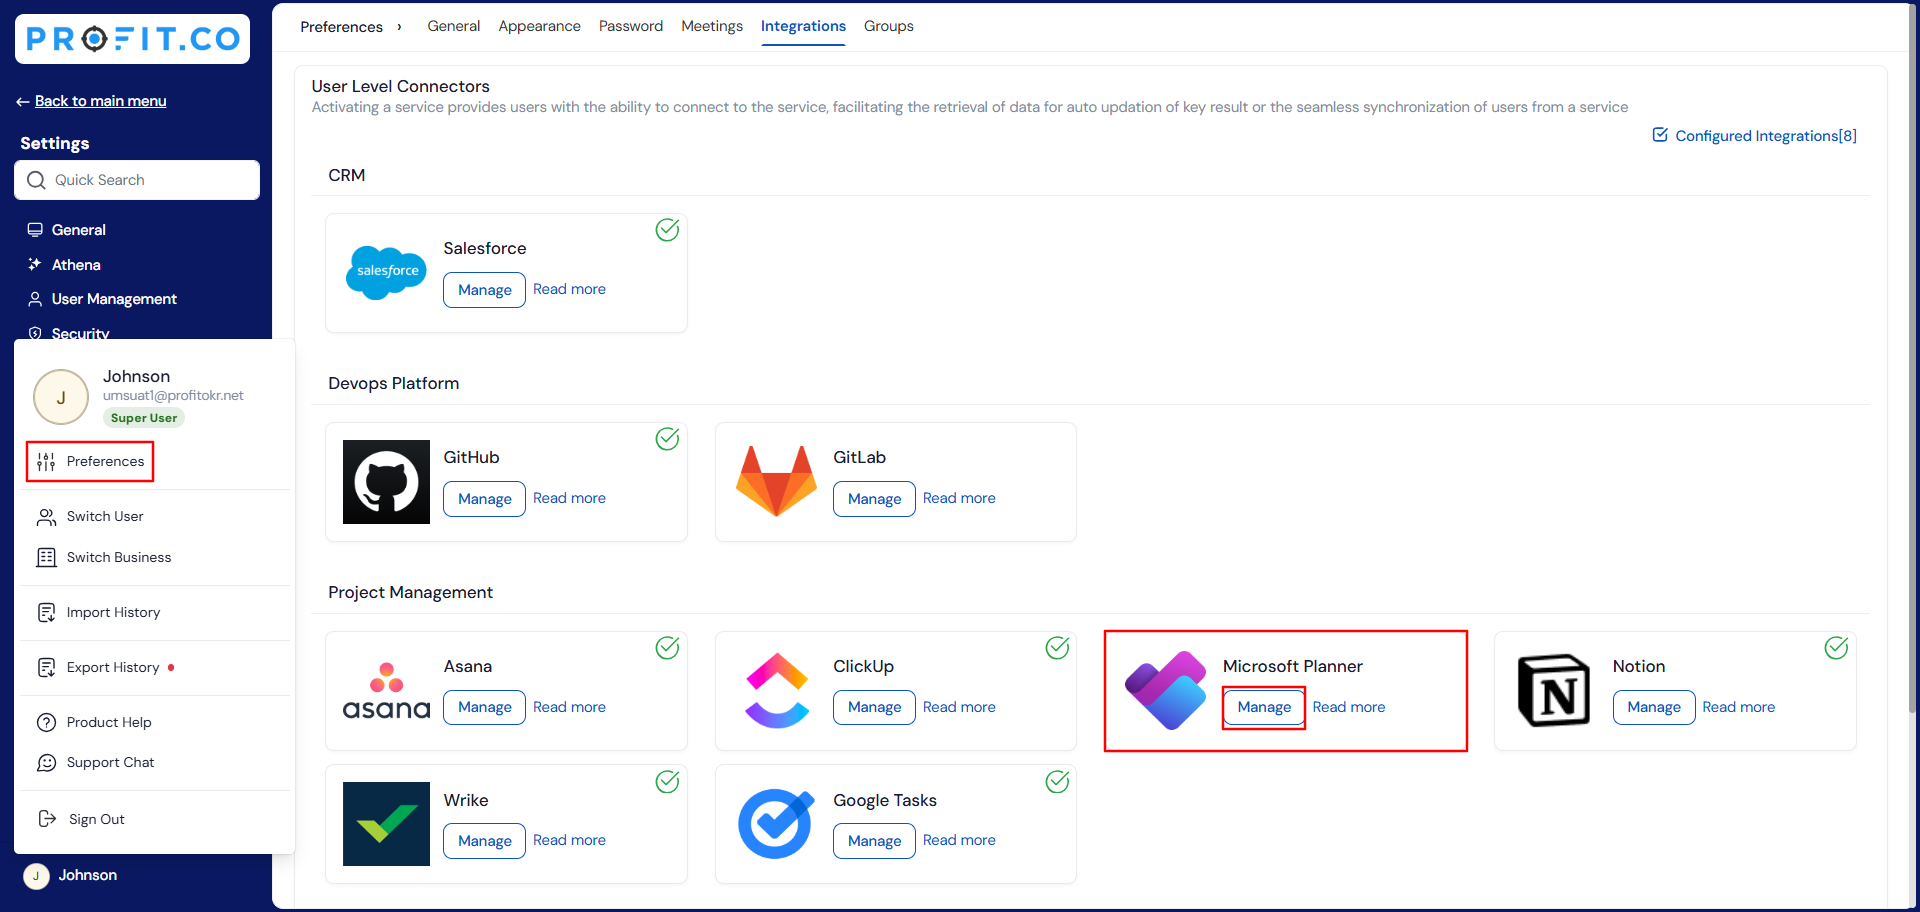
Click on Profile and choose the Preferences
Switch to the Integrations tab and click on the Microsoft Planner Manage button.
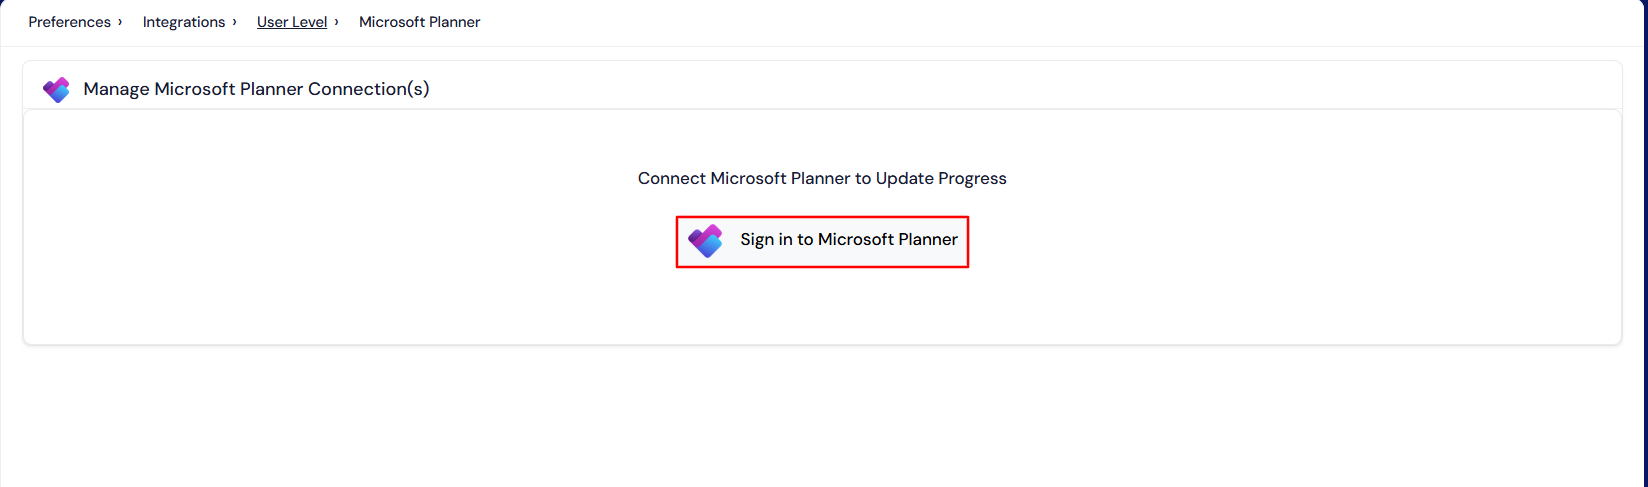
To establish a new connection, click on the Sign in to Microsoft Planner button.
Step 2
Enter your Microsoft email address and click Next.
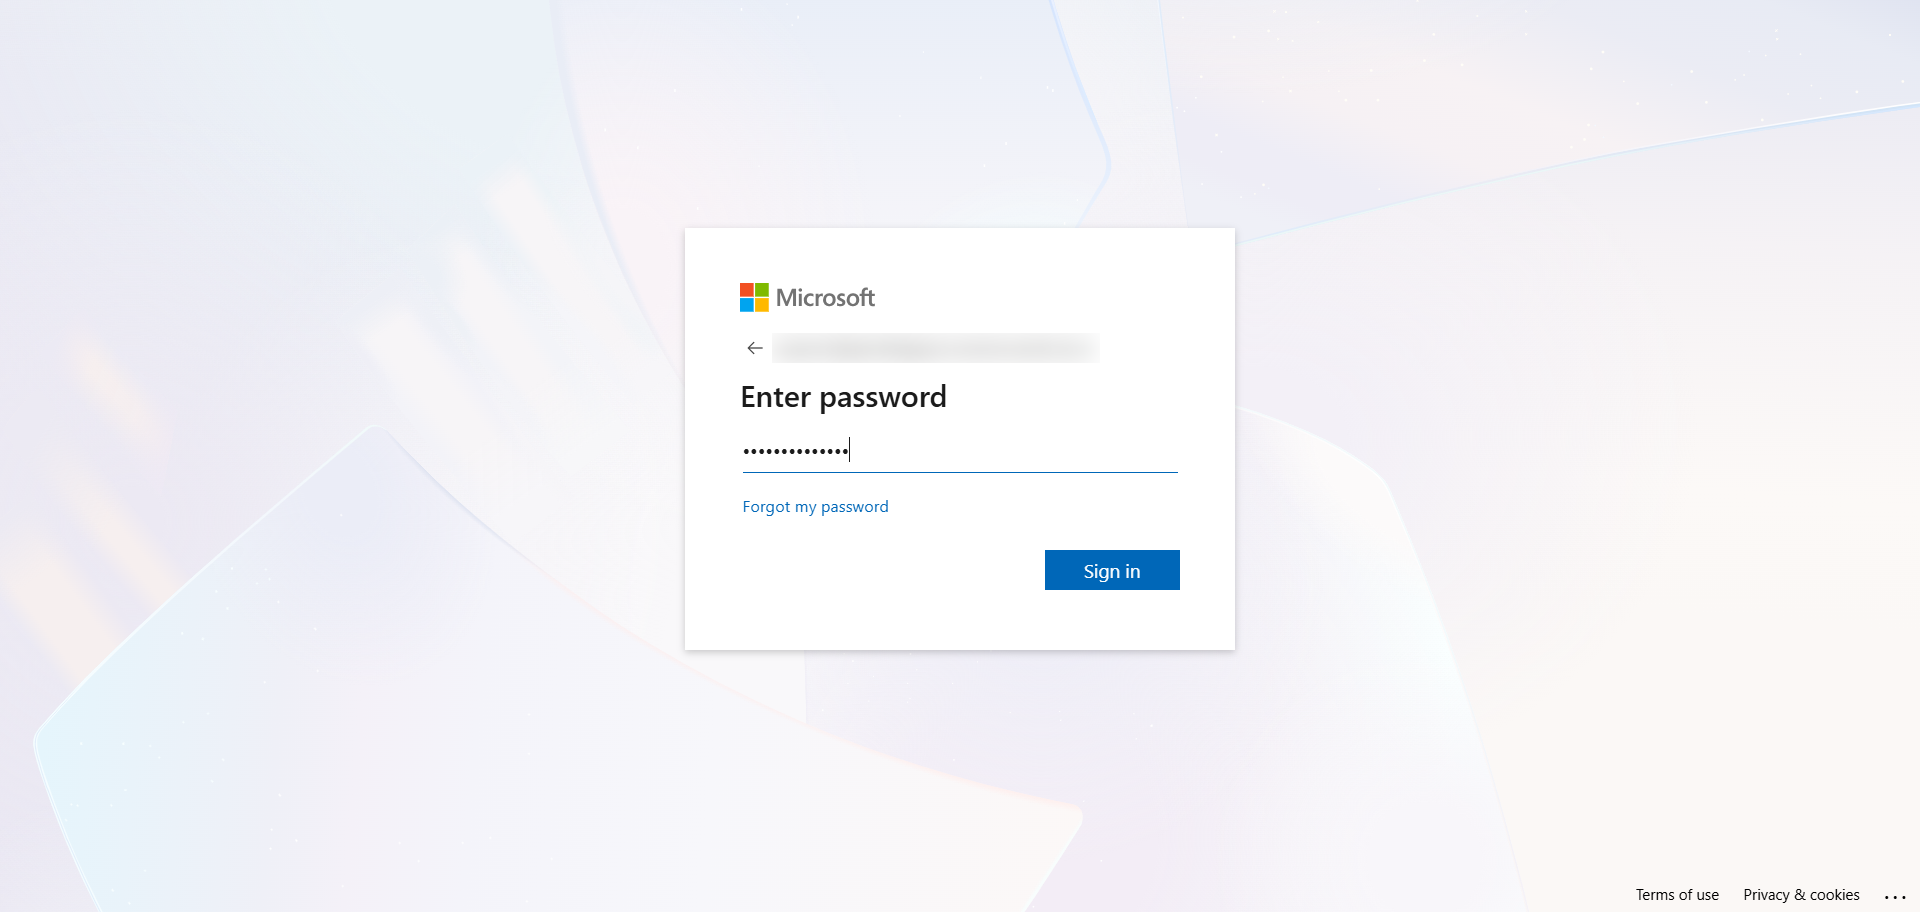
Now a Microsoft Planner connection is successfully configured in Profit.co.
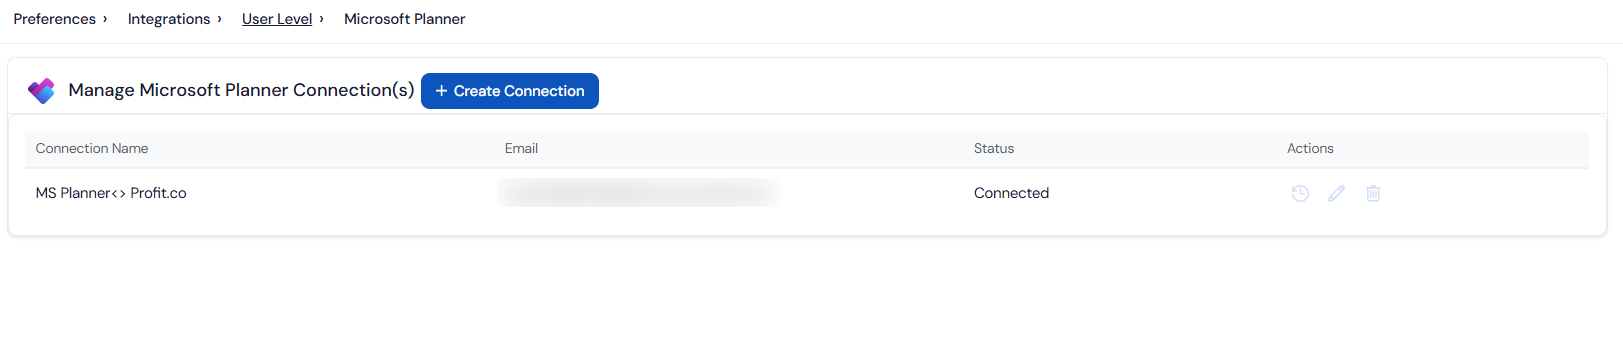
Step 3:
KPI-Based Key Results
Now, create a key result using the Form in Profit.co where you want to integrate the ChargeBee KPI in a key result.
Note: Microsoft Planner supports Percentage, Increase KPI, Decrease KPI, or Control KPI types.
Enter the Key Result name and choose the required Key Result type and KPI.
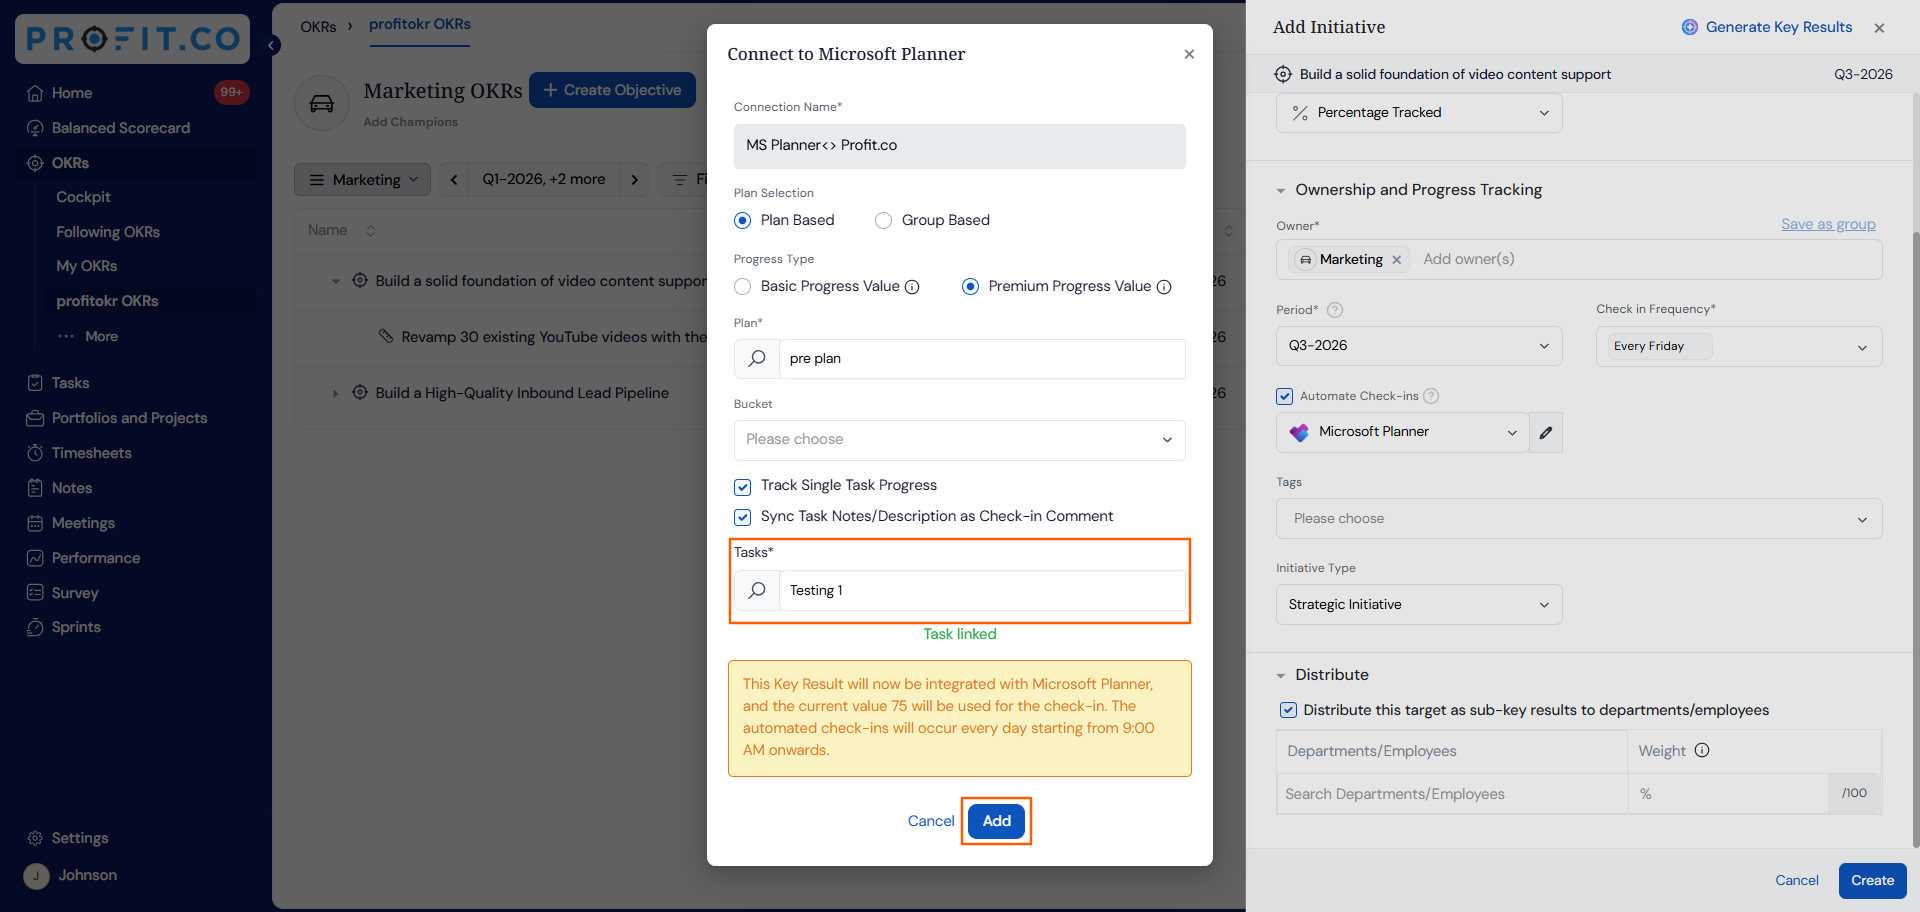
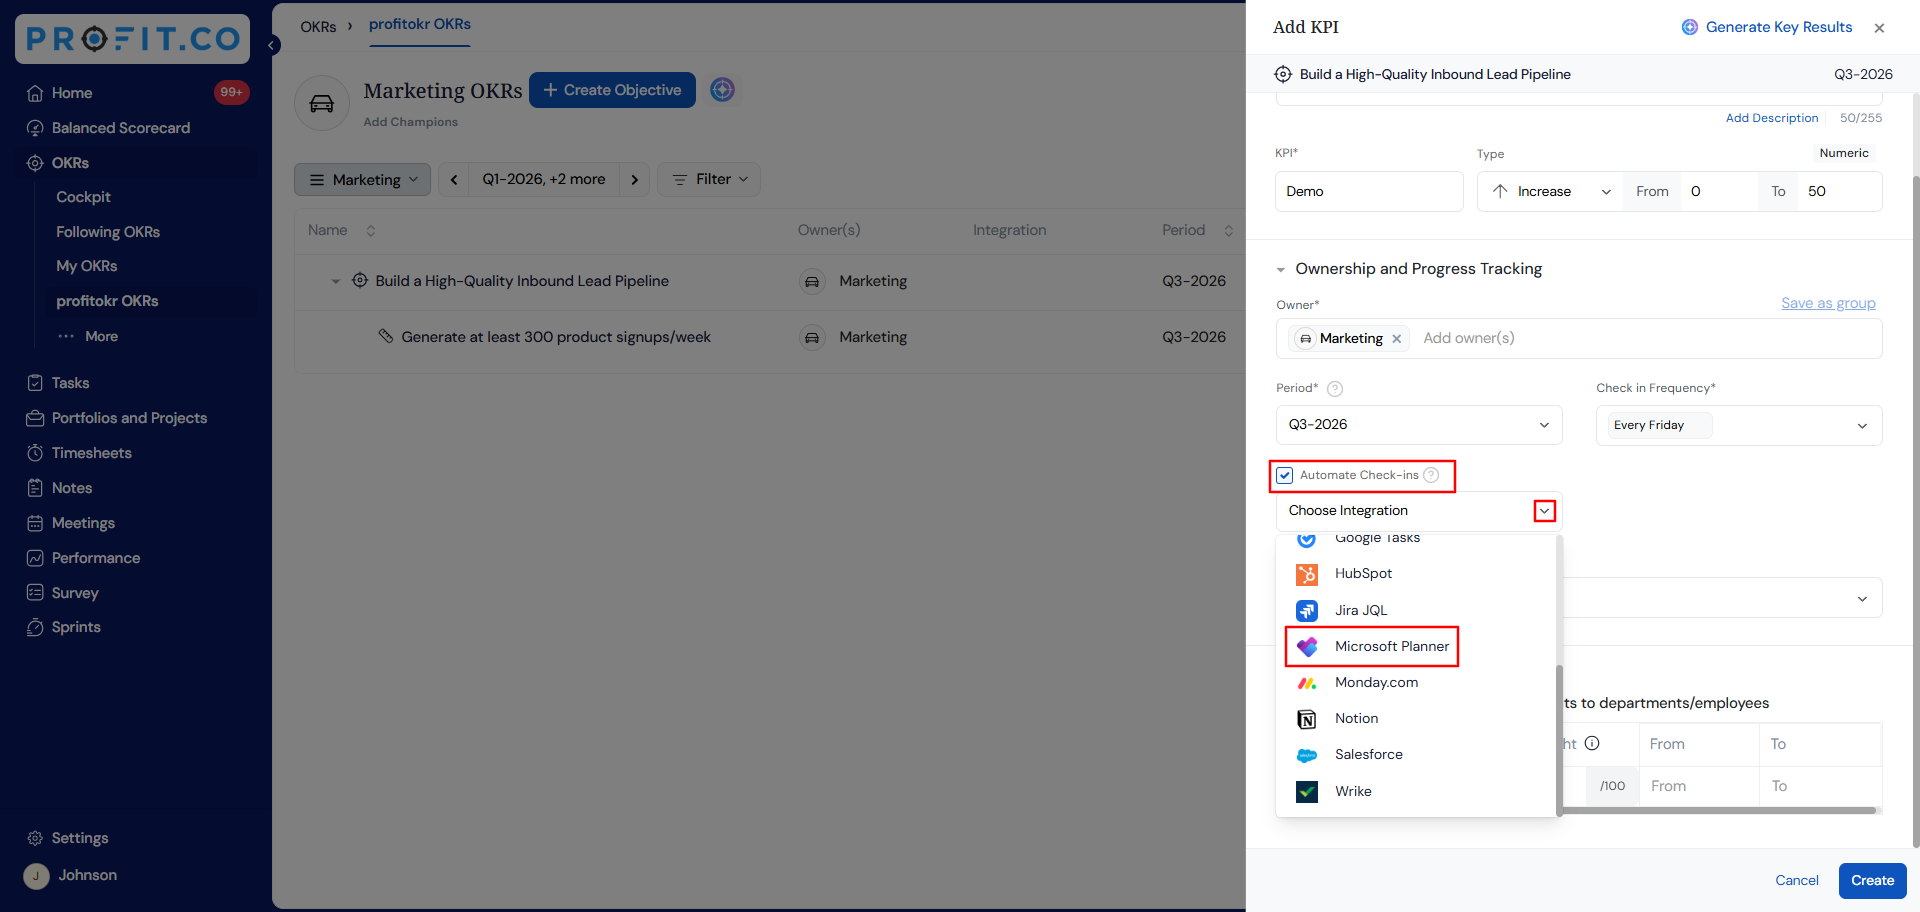
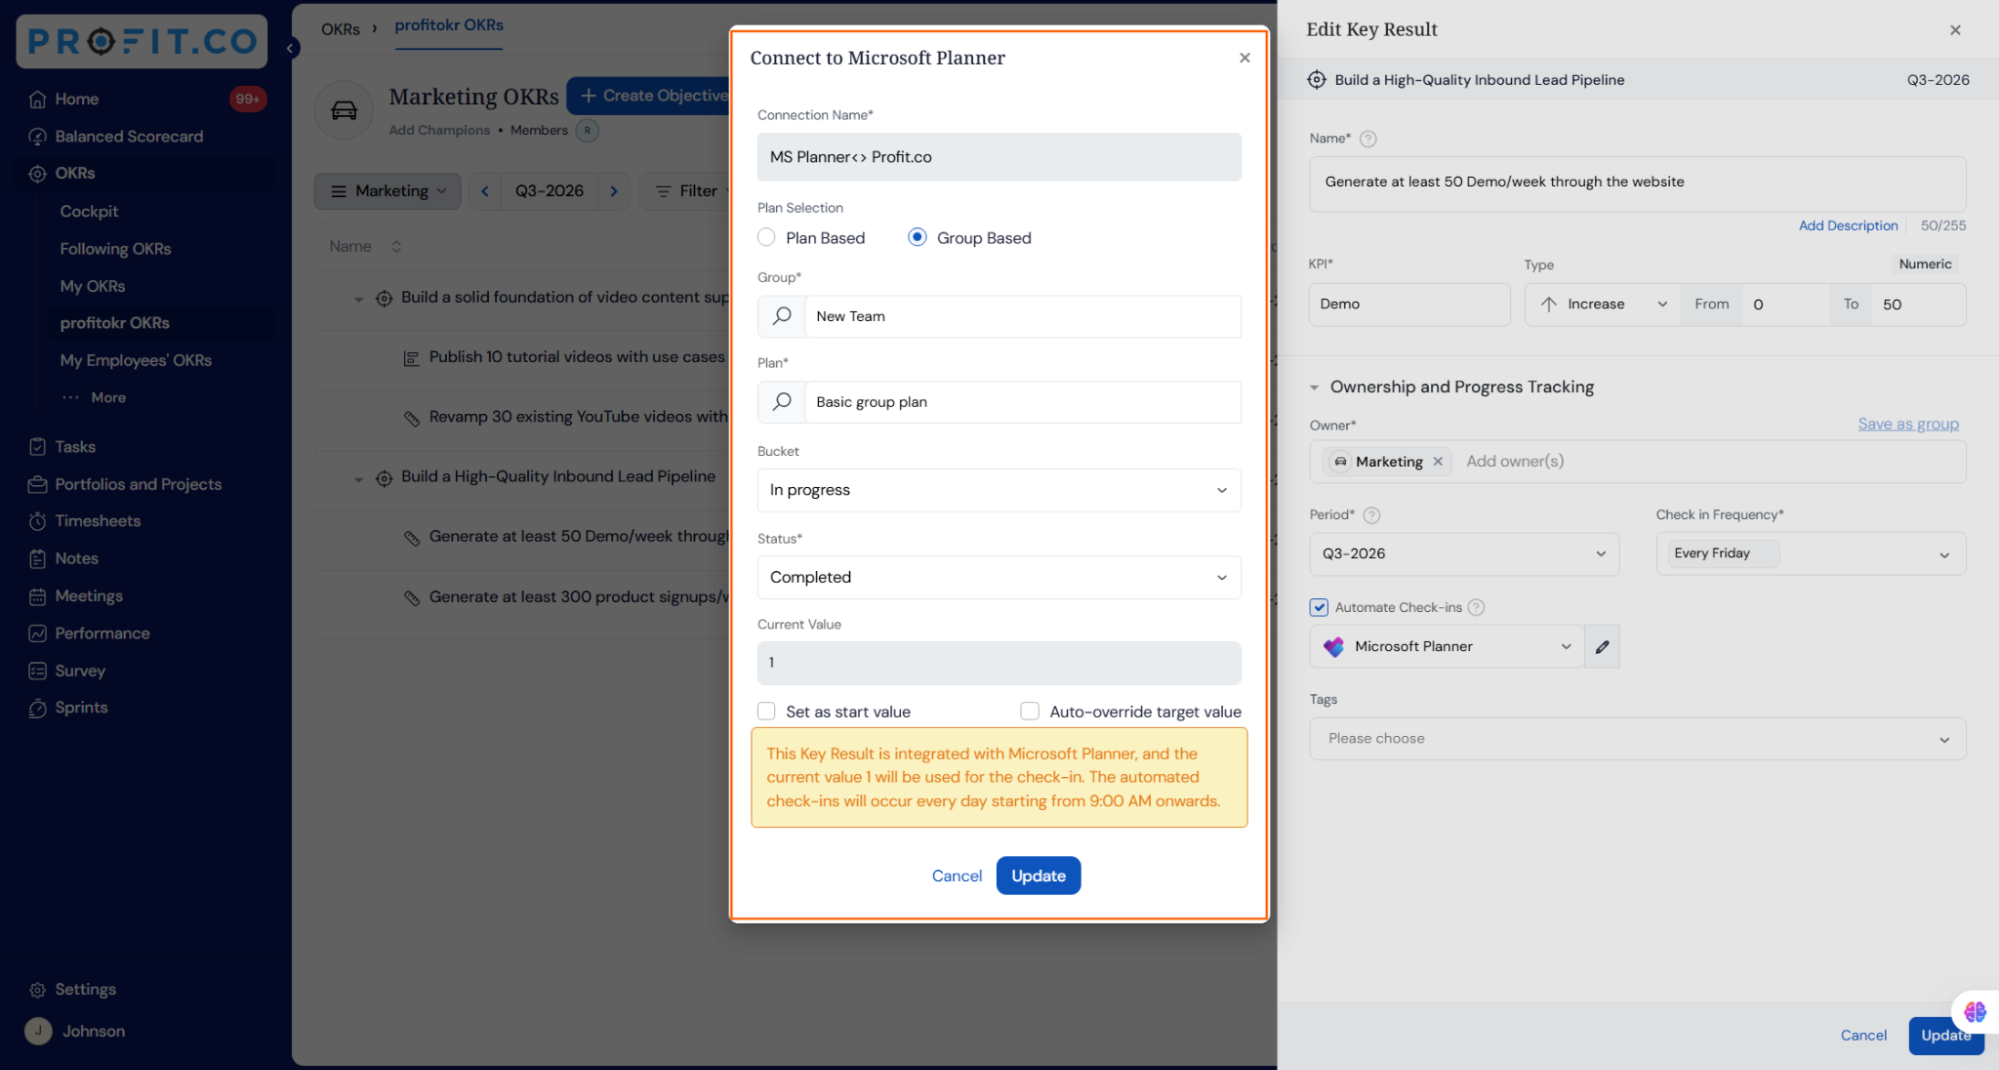
Select Automate Check-in and choose Microsoft Planner from the Connection dropdown.
Select the Name, you will find two options:
Plan Based –This option allows users to select and work with a specific plan, even if it’s not associated with a Microsoft 365 Group.
Group Based –This option enables users to select a Microsoft 365 Group, giving visibility into all plans associated with that group in Microsoft Planner.
Choose the required one.
For Plan Based,
Enter the plan name and bucket name, and from the drop-down, choose the status and you can click Add to update the current value from Planner to the key result and update the key result.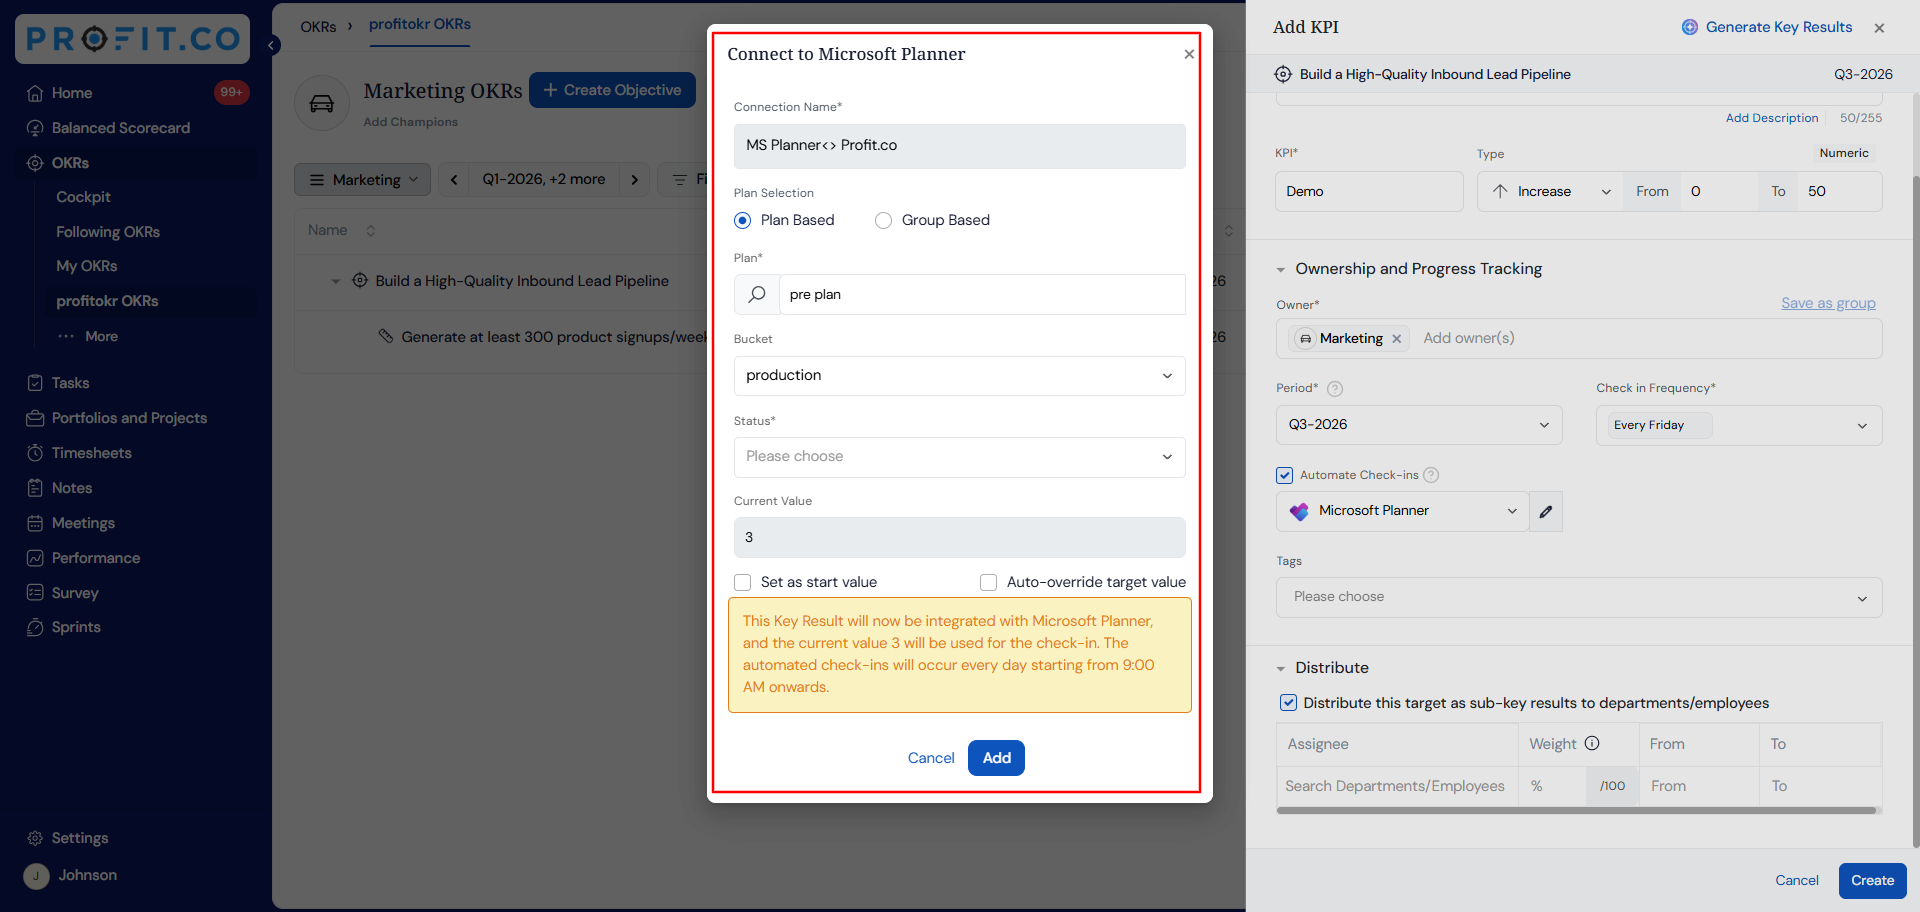
For Group Based,
Enter the group name and choose the plan and bucket, and from the drop-down, choose the status. After selecting, you will find the Current Value.
Step 4:
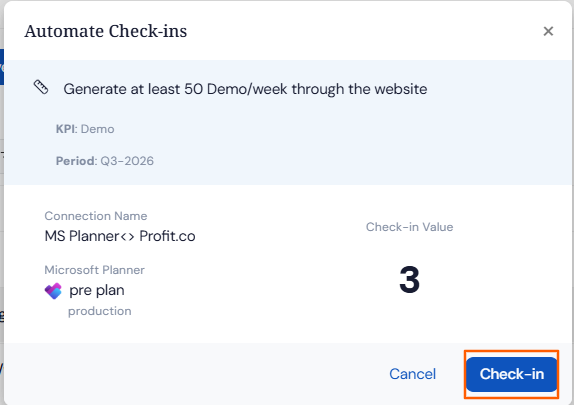
Once the key result is created, dragging the slider will automatically retrieve the current percentage from the MS Planner. Click on the Check-in button and complete the Check-in.
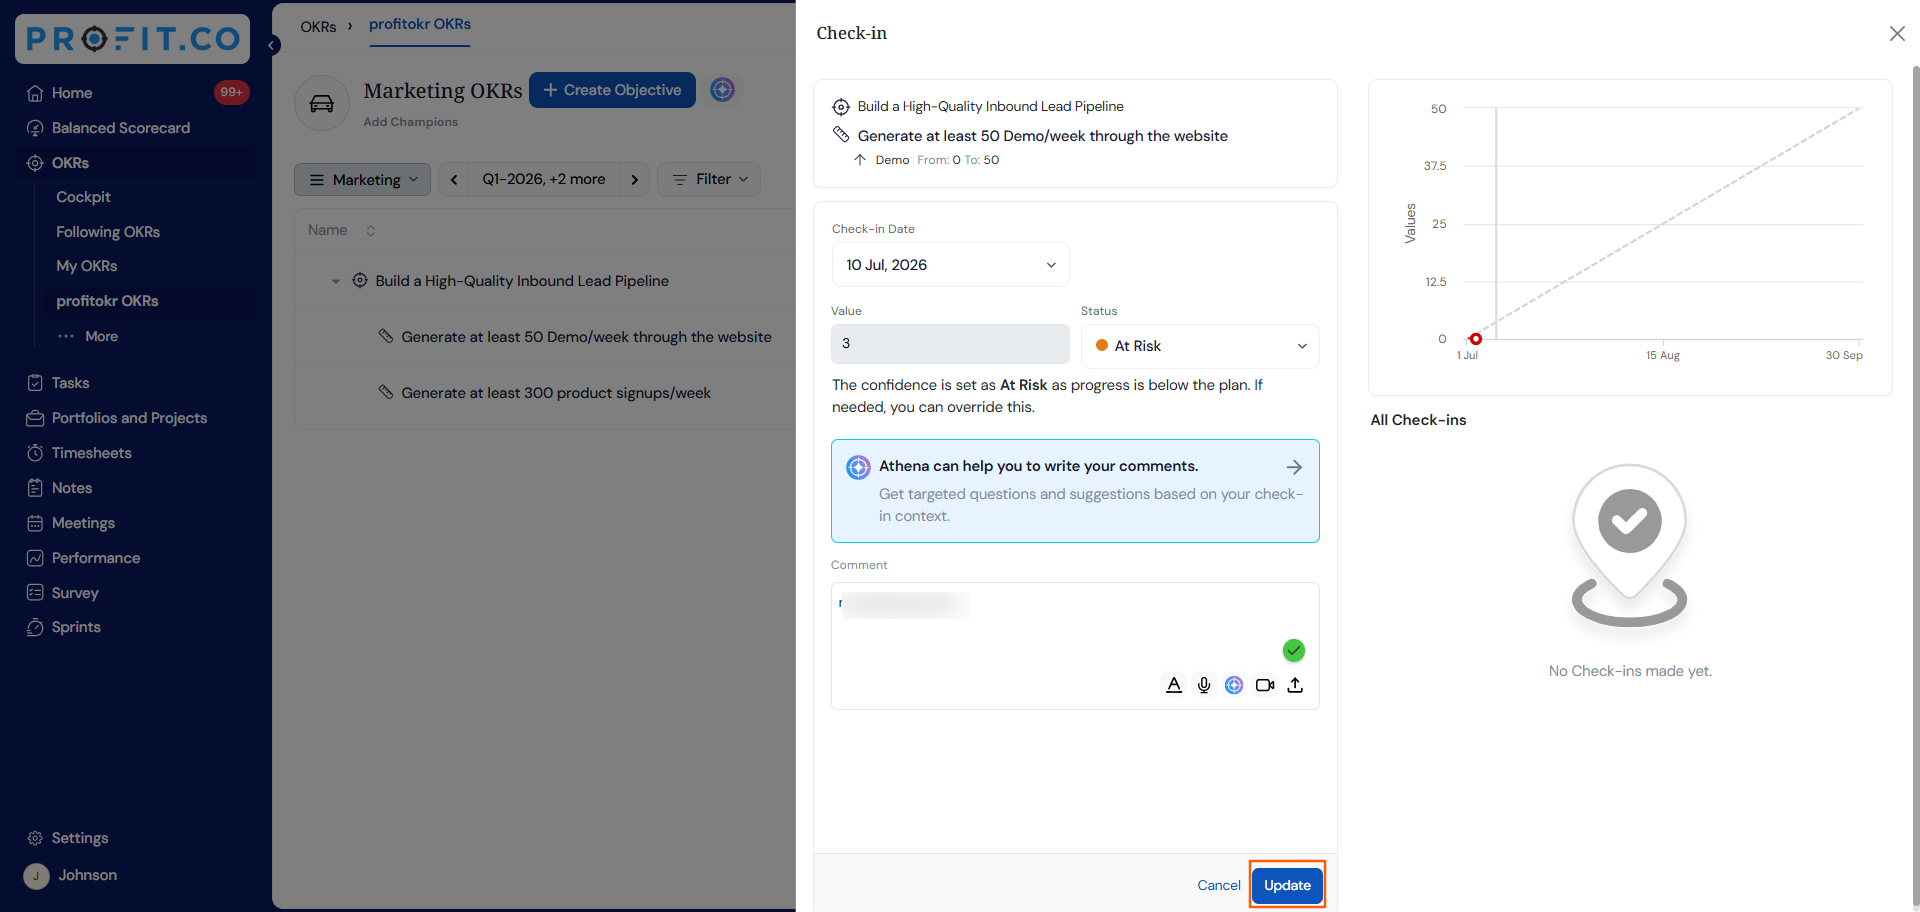
If you check-in you’ll be redirected to the review page. Finally, you can update it to make progress to your key result.
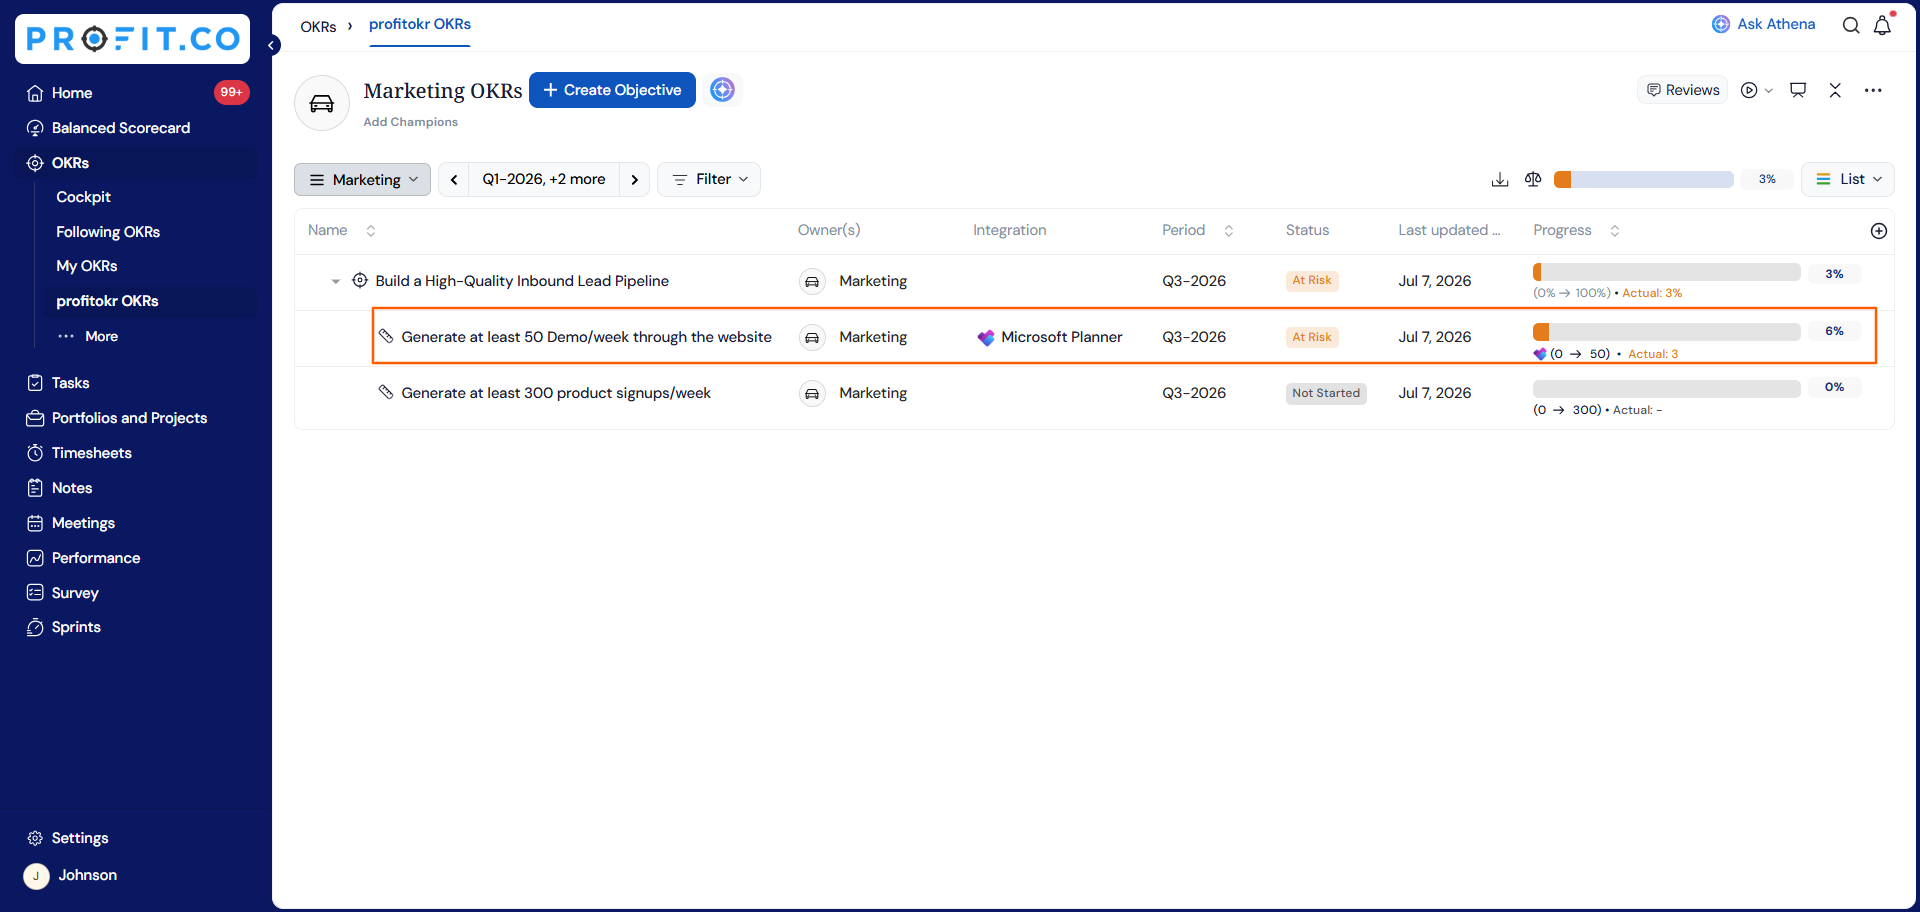
Note: The automatic check-in will happen every day at 09.00 AM based on the user’s region.
Percentage-Tracked Key Results
Enter the Key Result name and choose the required Key Result type (percentage) and KPI.
Select Automate Check-in and choose Microsoft Planner from the Connection dropdown.
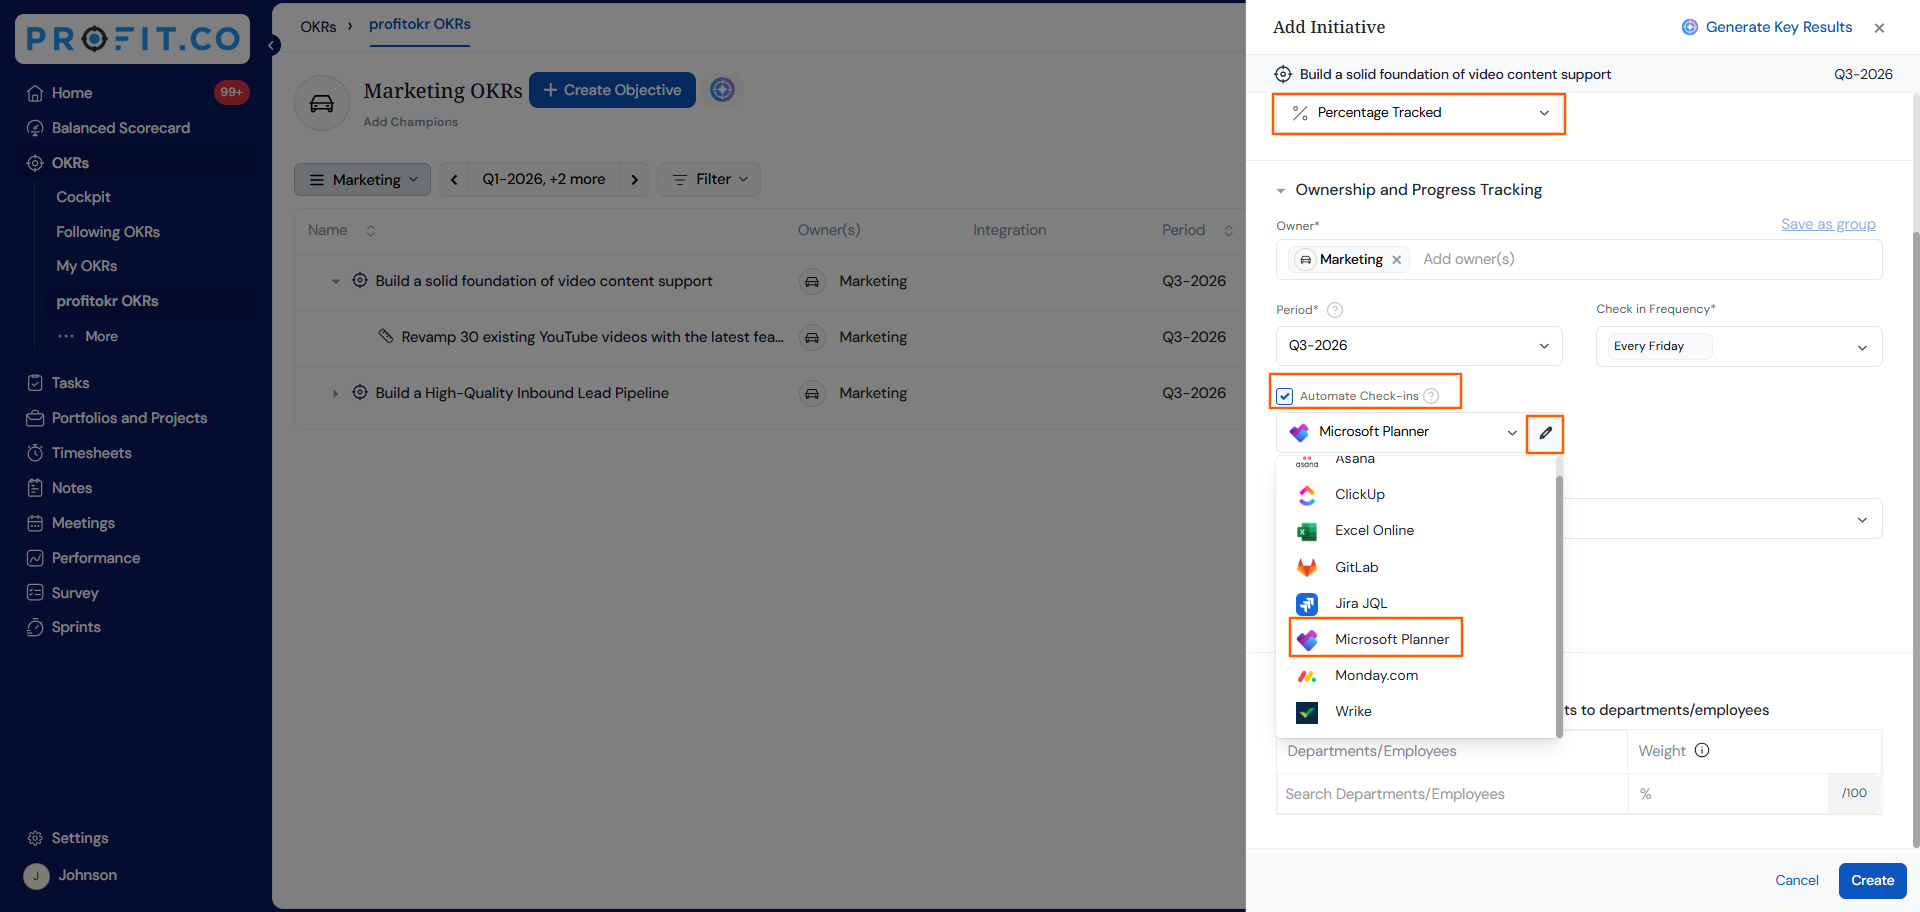
Choose the Progress Type. Microsoft Planner provides two methods to calculate progress:
- Basic Progress Value
- Premium Progress Value
For the Basic Progress Value,
The configuration is the same as the KPI-based Key Result. Select the required Plan or Group, choose the Plan and Bucket, and configure the remaining fields as described above.
- Basic Progress Value – Calculates progress using the following formula: Progress (%) = (Completed Tasks ÷ Total Tasks) × 100 A task is considered completed when its Percent Complete value is 100%.
For Premium Progress Value, select the required Plan.
- Premium Progress Value – Calculates progress using the following formula: Portfolio Progress (%) = Sum of Percent Complete ÷ Number of Tasks with a Start Date. Only tasks that have a Start Date are included in the calculation.
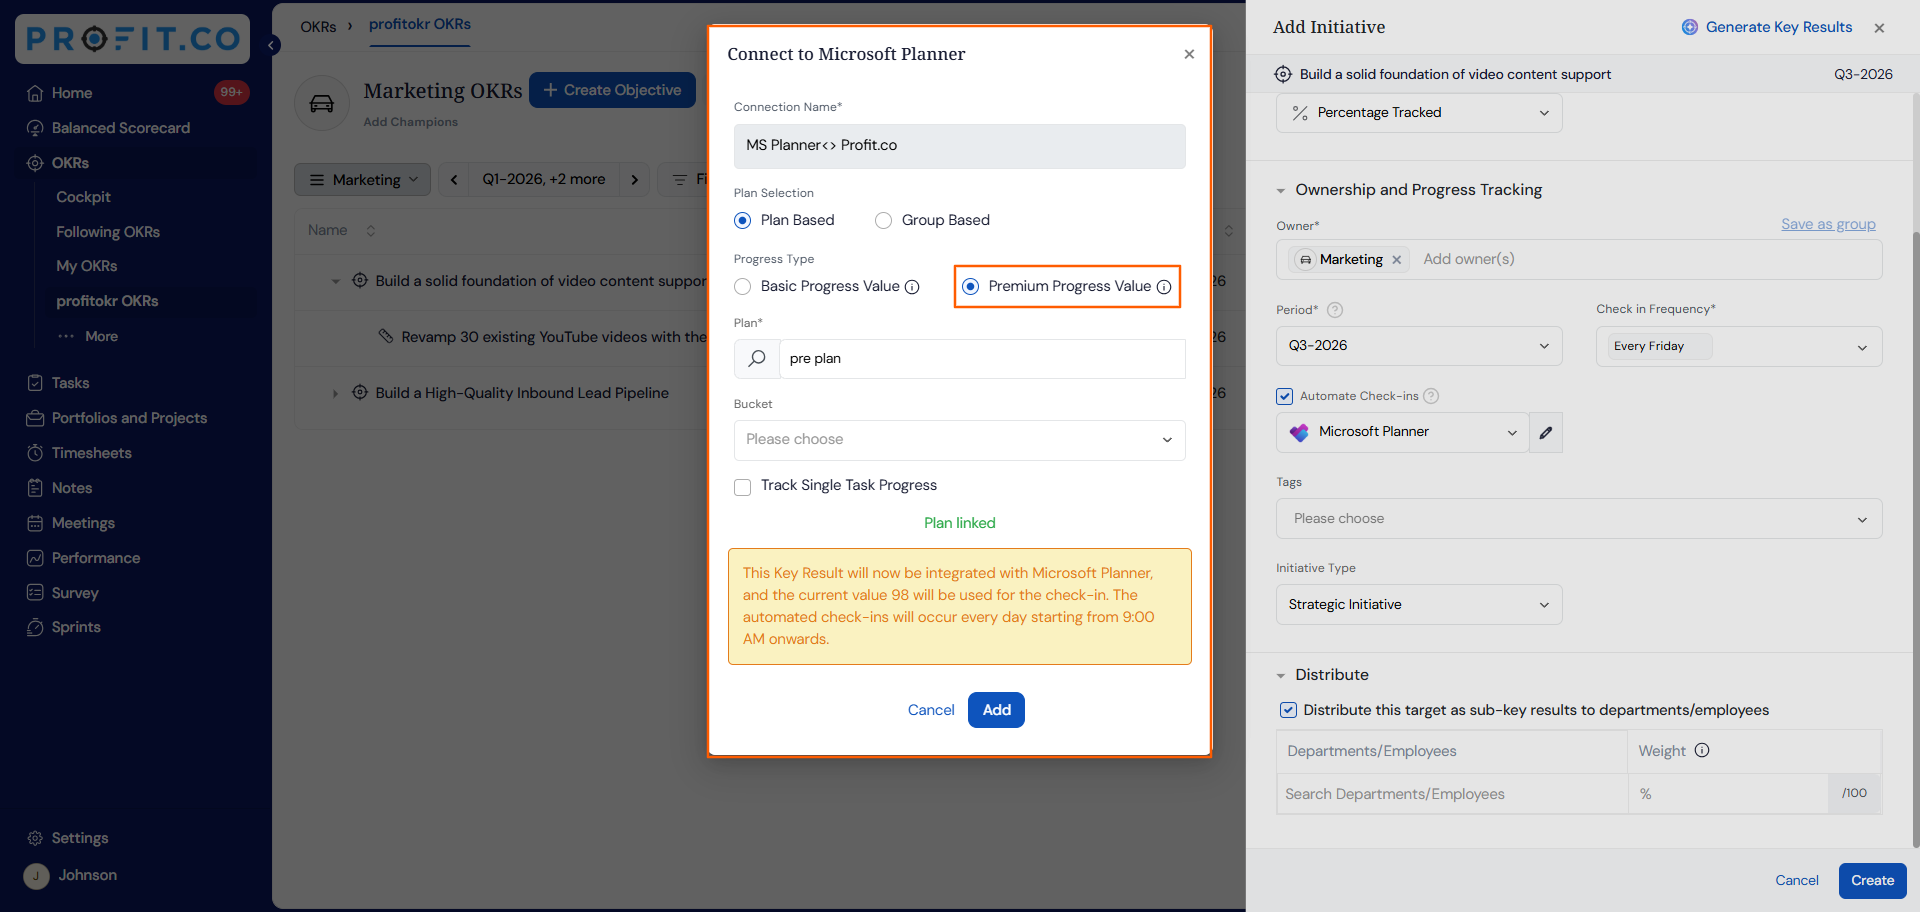
Track Single Task Progress
To track the progress of a specific task, enable the Track Single Task Progress option and select the required task.
If you want to synchronize Notes and Descriptions from Microsoft Planner as check-in comments, enable the Sync Notes and Descriptions as Check-in Comments option.
During each check-in, the selected notes and descriptions will be added automatically as check-in comments. If this option is disabled, notes and descriptions will not be included in the Checkin comments.
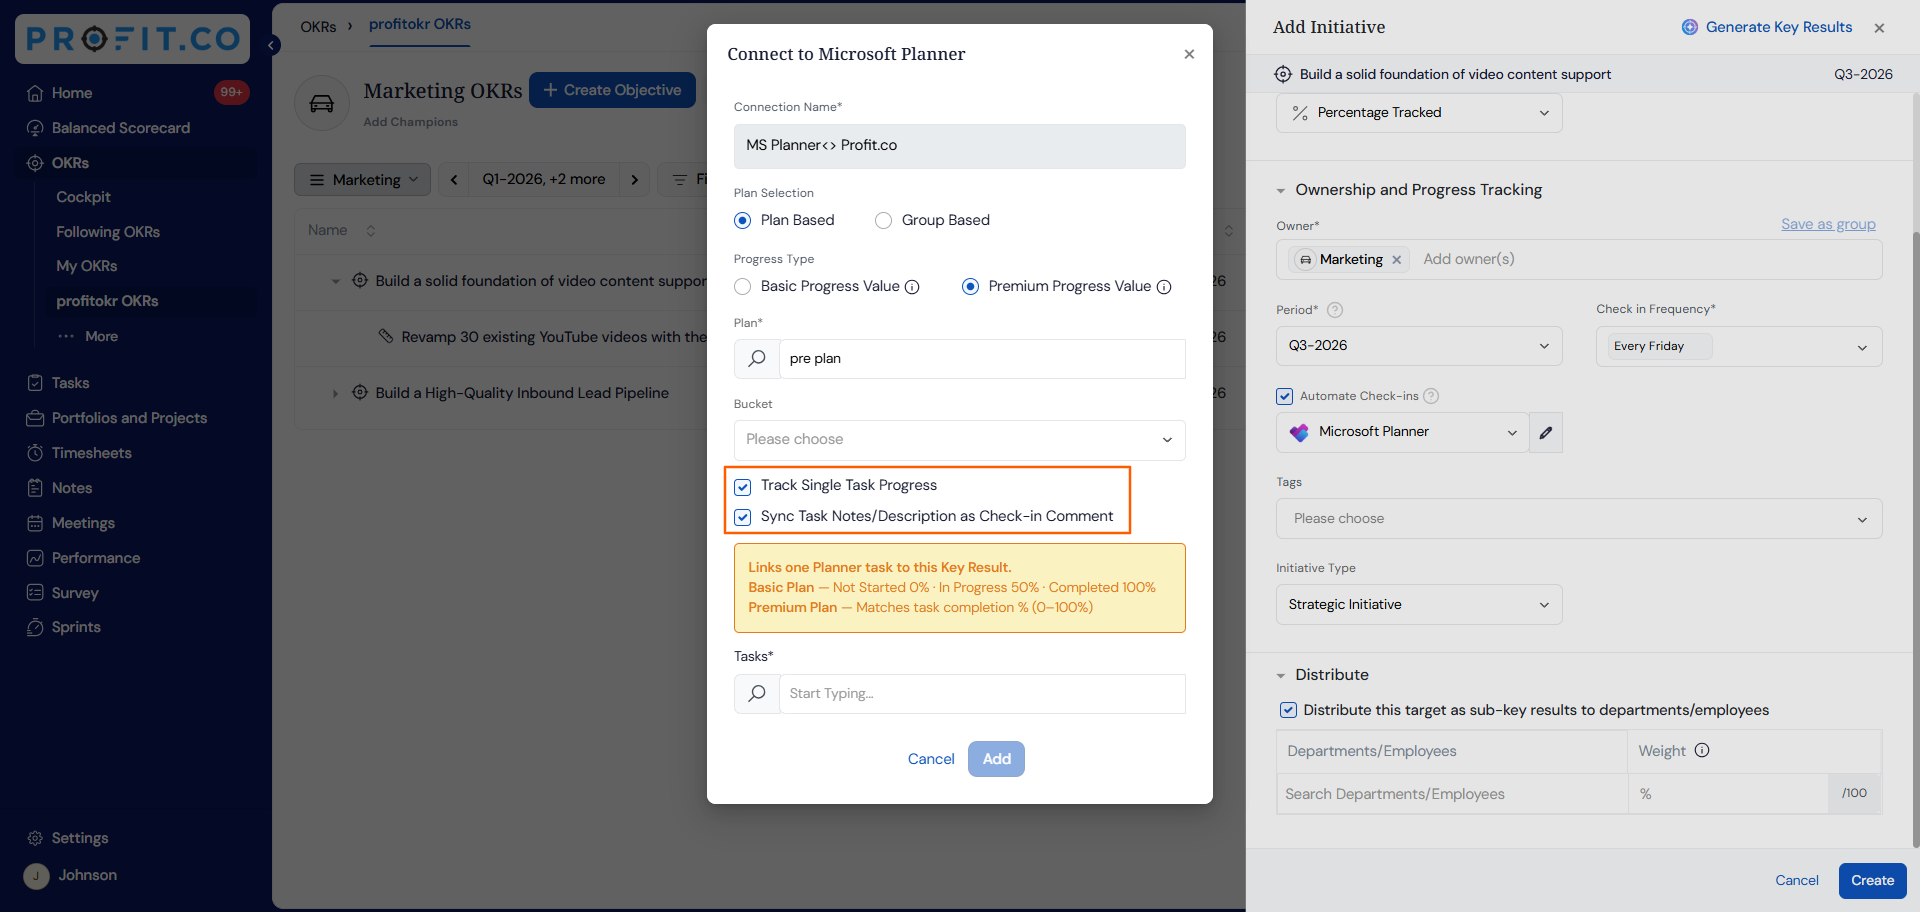
Choose the required task and follow Step 4 as described above.