


How do create custom app for Profit.co, within Office 365 account?
Here’s a walk-through of setting up custom app Office 365 for Profit.co.
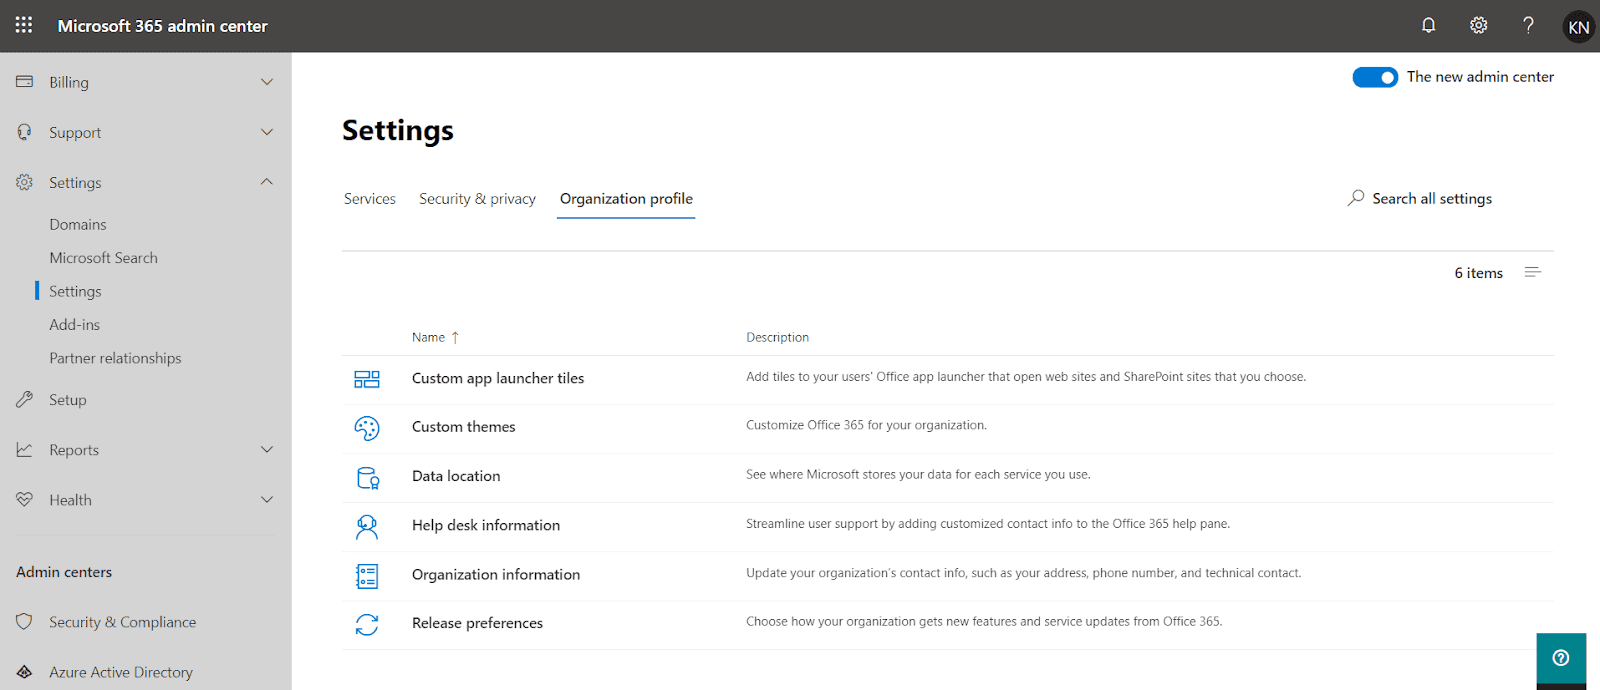
Step 1:
- In the admin center, go to the Settings -> Organization profile tab.
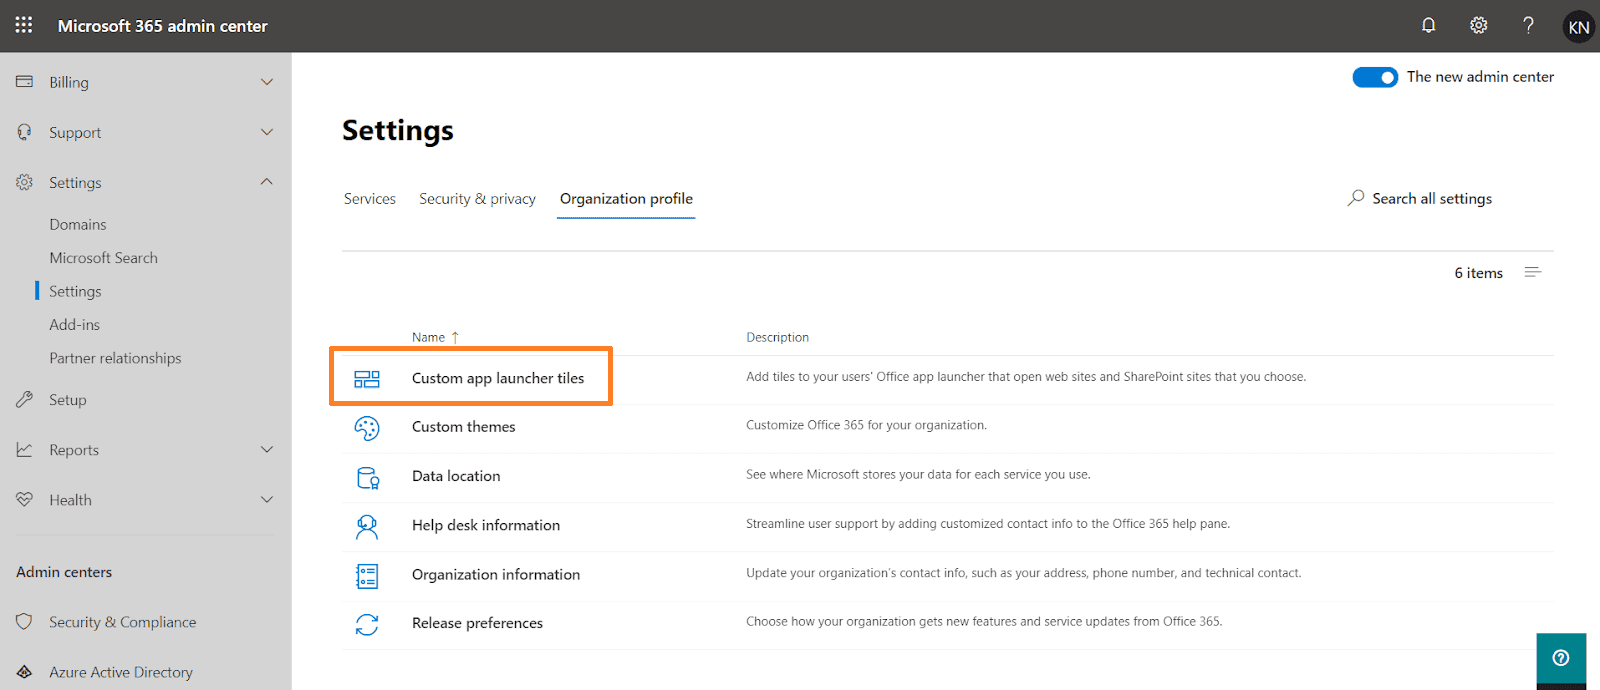
Step 2:
- On the Organization profile tab, choose Custom app launcher tiles.
Step 3:
- Select “Add a custom tile”.

Step 4:
- Add the necessary details to create the tile.
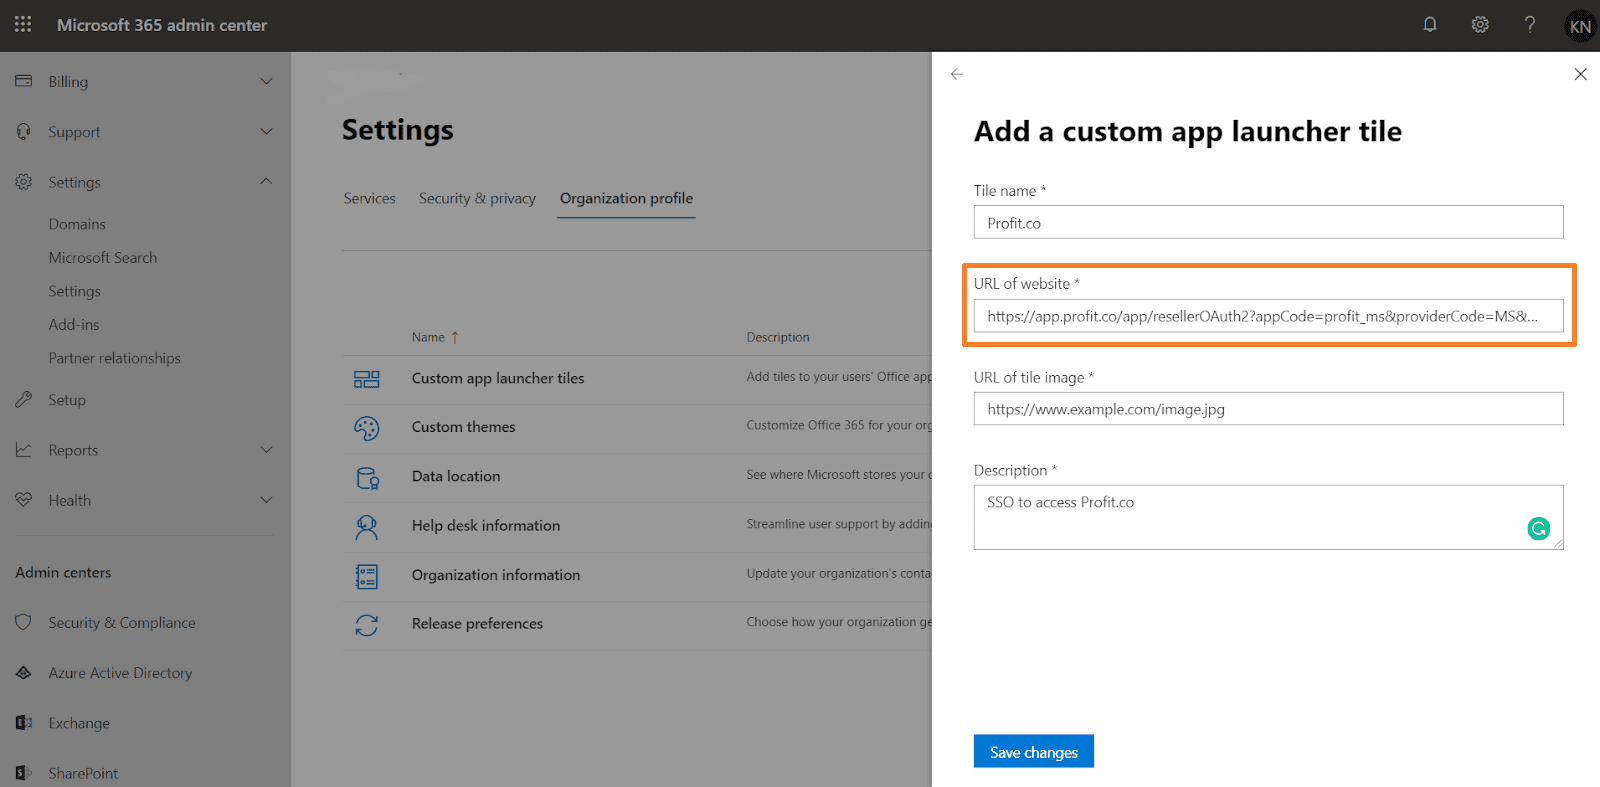
- Enter a Tile name for the new tile. Example “Profit.co”
- Copy and paste this URL in “URL of website”


- Enter an URL of the image (Click here to download the profit logo) for the tile. The image appears on the My apps page and app launcher. TIP: The image should be 60×60 pixels and be available to everyone in your organization without requiring authentication.
- Enter a Description for the tile. You see this when you select the tile on the My apps page and select App details.
- Select Save changes to create the custom tile.
Promote the tile to App Launcher
- Select the app launcher icon and select the All apps.
- Locate the new tile for your app, select the ellipsis, and choose Pin to launcher.
Important: Both you and your users need to perform the above two steps to promote custom tiles from the My apps page to the app launcher.
Note: If you don’t see the custom tile created in the previous steps, make sure you have an Exchange Online mailbox assigned to you and you’ve signed into your mailbox at least once. These steps are required for custom tiles in Office 365.